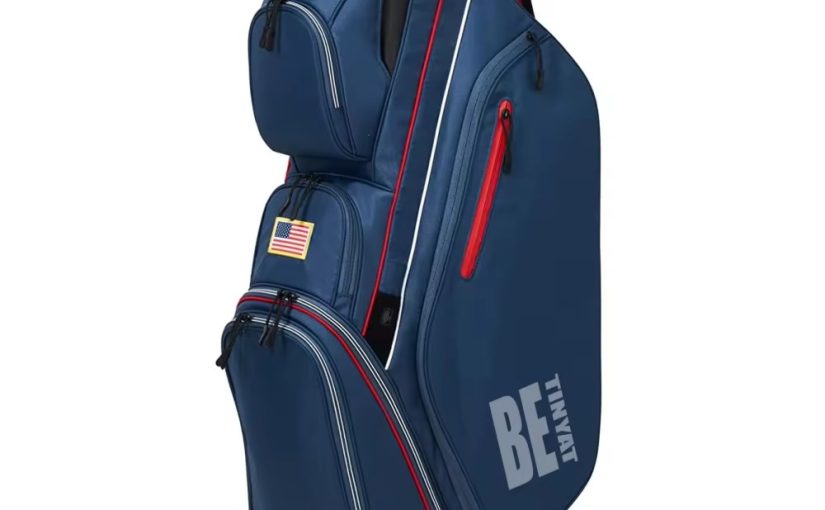
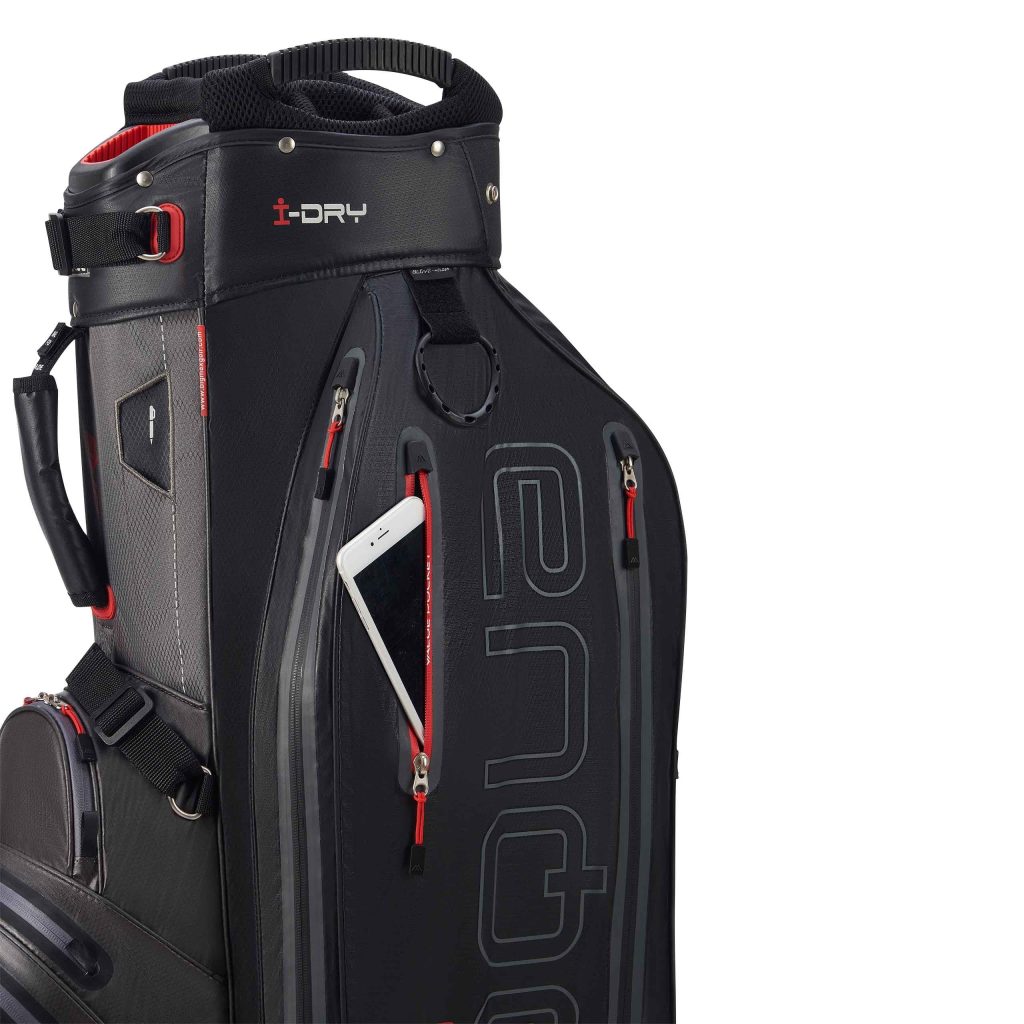
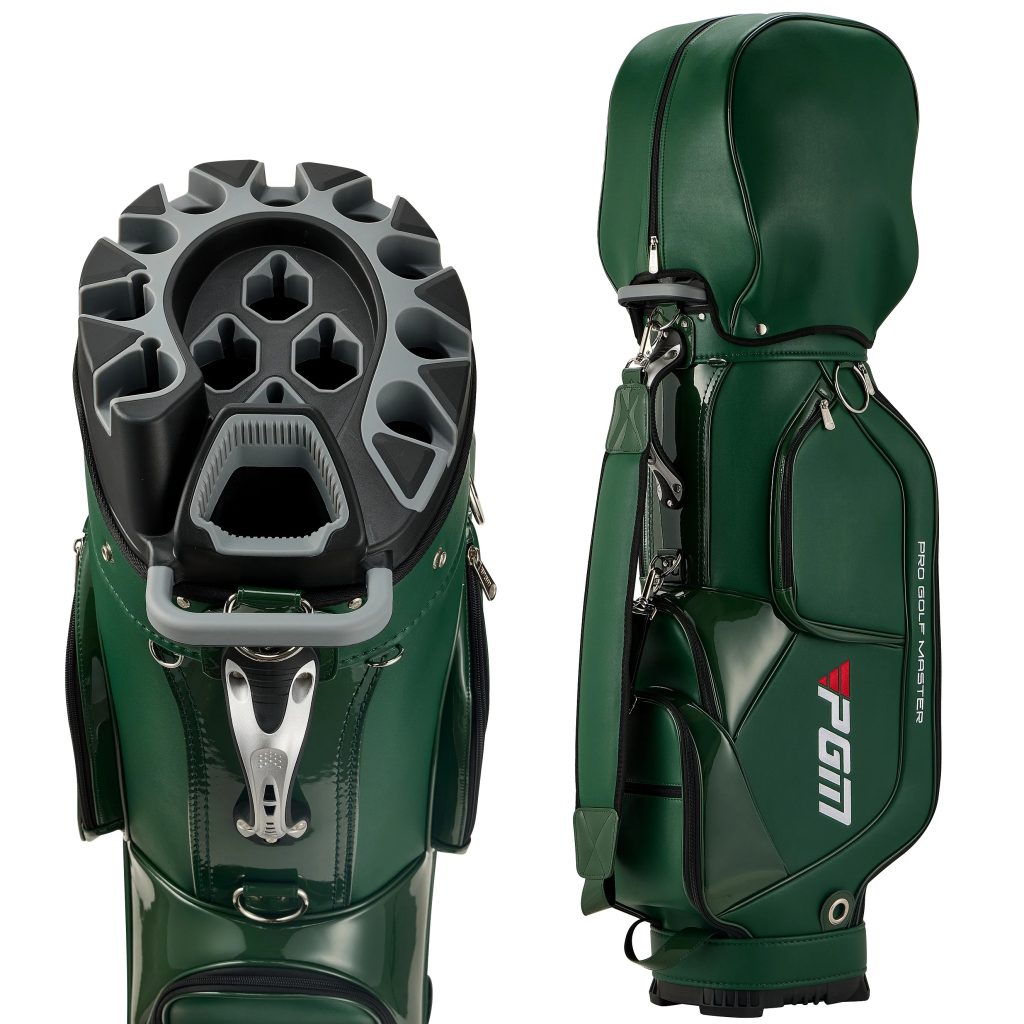
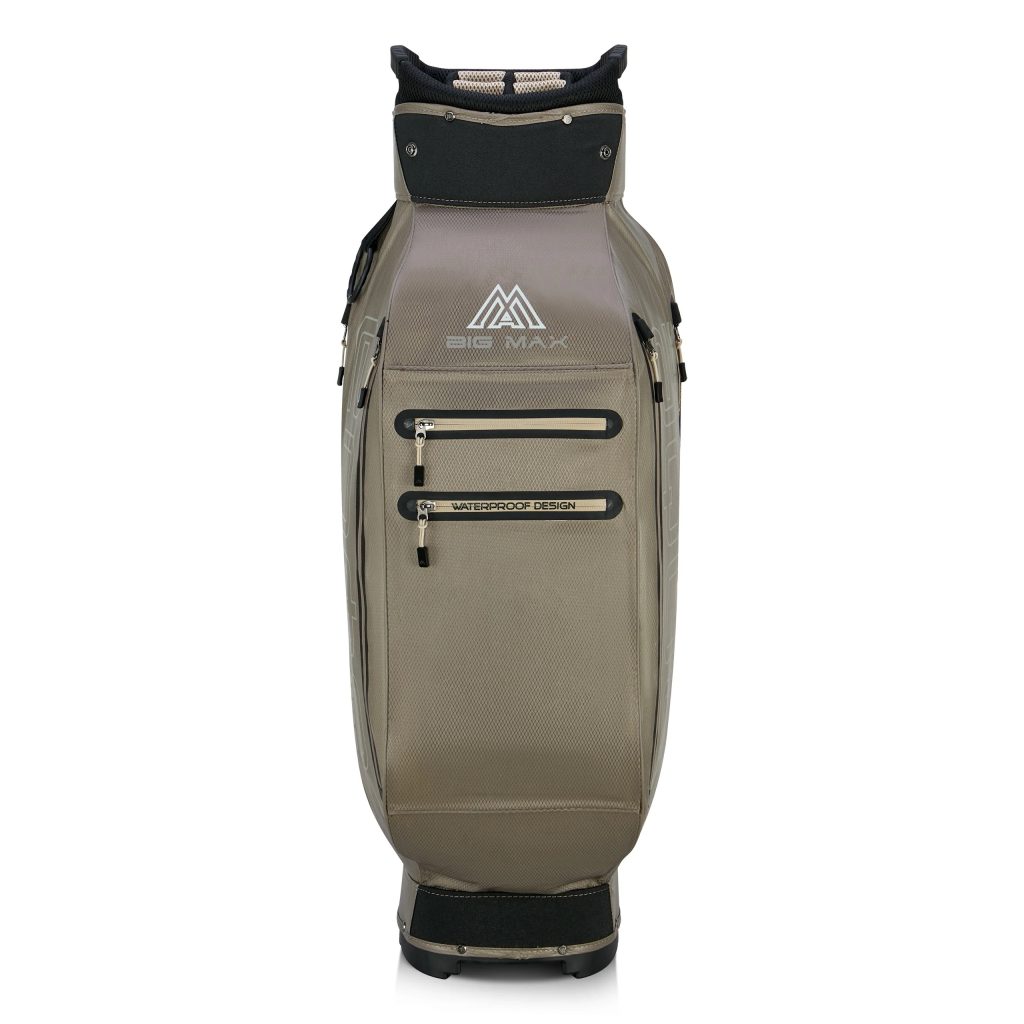
Golfers invest in quality gear. One key item is the waterproof golf bag. It protects clubs from rain, dew, and mud. However, even the best bags get dirty over time. So, how do you clean a waterproof golf bag?
This question matters to players who care about performance and longevity. A dirty bag not only looks bad but can also develop odors or mildew. Worse, improper cleaning may ruin the waterproof layer. This leads to leaks during storms.
The good news is that cleaning it doesn’t require special tools. With basic supplies and careful steps, you can restore your bag’s look and function. The process keeps the fabric strong and water-resistant.
Most waterproof bags use synthetic materials like polyester with a PU (polyurethane) or PVC coating. Some include DWR (durable water repellent) finishes. These allow water to bead up and roll off. Harsh scrubbing or chemicals can strip these layers.
So, knowing how do you clean a waterproof golf bag helps avoid mistakes. Simple methods work best. Gentle cleaning preserves protection while removing grime.
Whether you play weekly or seasonally, maintenance extends your bag’s life. It also ensures you’re ready for the next round—rain or shine.
 Why Cleaning Your Golf Bag Matters
Protecting Performance and Appearance
Regular cleaning keeps your waterproof golf bag working well. Dirt, grass, and sand build up after every round. These particles trap moisture. They scratch the surface over time.
When debris stays too long, it breaks down the outer layer. This reduces water resistance. Even small abrasions let dampness through. Then, your clubs get wet when they shouldn’t.
Odors grow if left unchecked. Sweat, wet towels, and muddy grips create smells. Mildew can form inside pockets. These issues spread quickly in warm environments.
Appearance affects pride of ownership. A clean bag looks professional. It shows respect for the game. Other players notice when your gear is well-maintained.
Additionally, resale value improves. Buyers prefer clean, cared-for items. Stains and wear lower price offers.
Cleaning also reveals damage early. Check for loose stitching or broken zippers. Fix them before they worsen.
Moreover, a fresh bag feels better to carry. Whether on a cart or your shoulder, comfort increases.
Therefore, asking how do you clean a waterproof golf bag is not just about hygiene. It’s about protecting your investment.
Tools and Supplies You’ll Need
What to Gather Before Starting
Before you begin, collect the right tools. Using proper supplies prevents accidental harm. The wrong cleaner might remove waterproofing.
First, get a soft brush. A clean toothbrush or microfiber cloth works well. Avoid wire brushes or abrasive pads. These scratch the material.
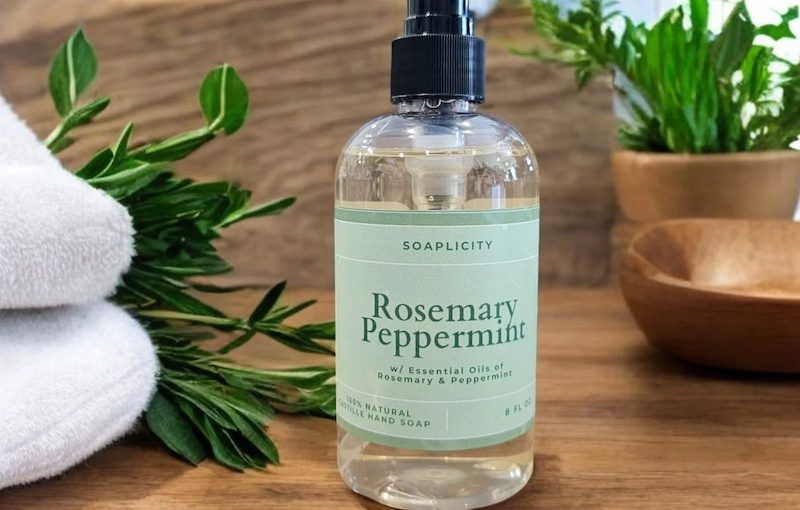
Next, prepare a mild detergent. Use gentle dish soap or laundry detergent. Never use bleach or strong solvents. These weaken fibers.
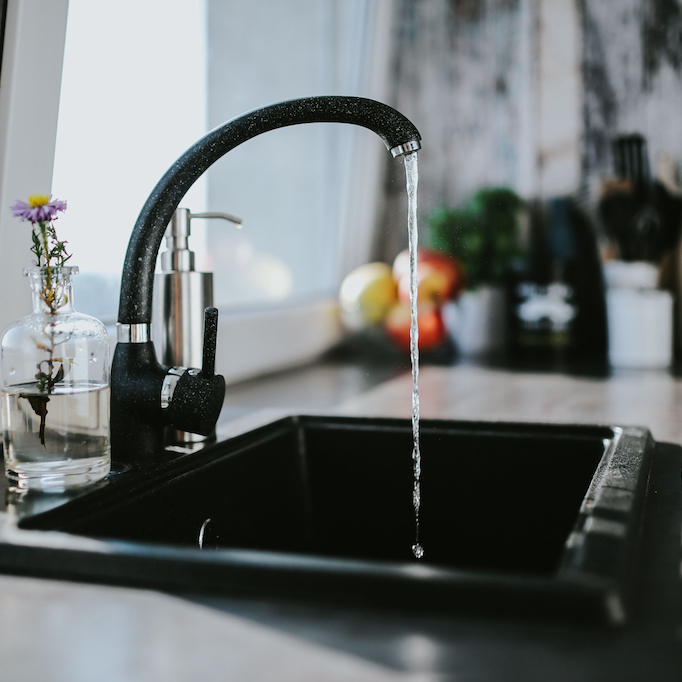
A bucket of lukewarm water is essential. Hot water damages coatings. Cold water won’t lift dirt well. Warm is ideal.
Have clean towels ready. Use absorbent cotton or terry cloth. They dry the bag after washing.
A hose with low pressure helps rinse large areas. Avoid high-pressure sprayers. They force water into seams.
Small bowls hold soapy water. Use one for mixing, another for rinsing your brush.
Cotton swabs clean tight spots. Zippers, logos, and strap joints need detail work.
Optional: a second bucket for clean rinse water. This removes soap residue fully.
Check if your bag has removable parts. Some have detachable rain hoods or accessory pockets. Remove them first.
Finally, pick a shaded outdoor area. Avoid direct sunlight. UV rays degrade fabric during wet stages.
With all tools ready, you’re set to answer how do you clean a waterproof golf bag safely.
 Step-by-Step Cleaning Process
From Emptying to Final Dry
How do you clean a waterproof golf bag? Now that you know what you need, follow these steps. Each phase ensures safe, effective cleaning.
Start by emptying the bag completely. Remove all clubs, towels, gloves, and balls. Take out dividers if possible. Shake out loose dirt.
Unzip every pocket. Look for forgotten tees, receipts, or snacks. Clean each compartment separately later.
Rinse the outside with a hose. Use light water flow. Loosen caked-on mud. Let it fall away naturally.
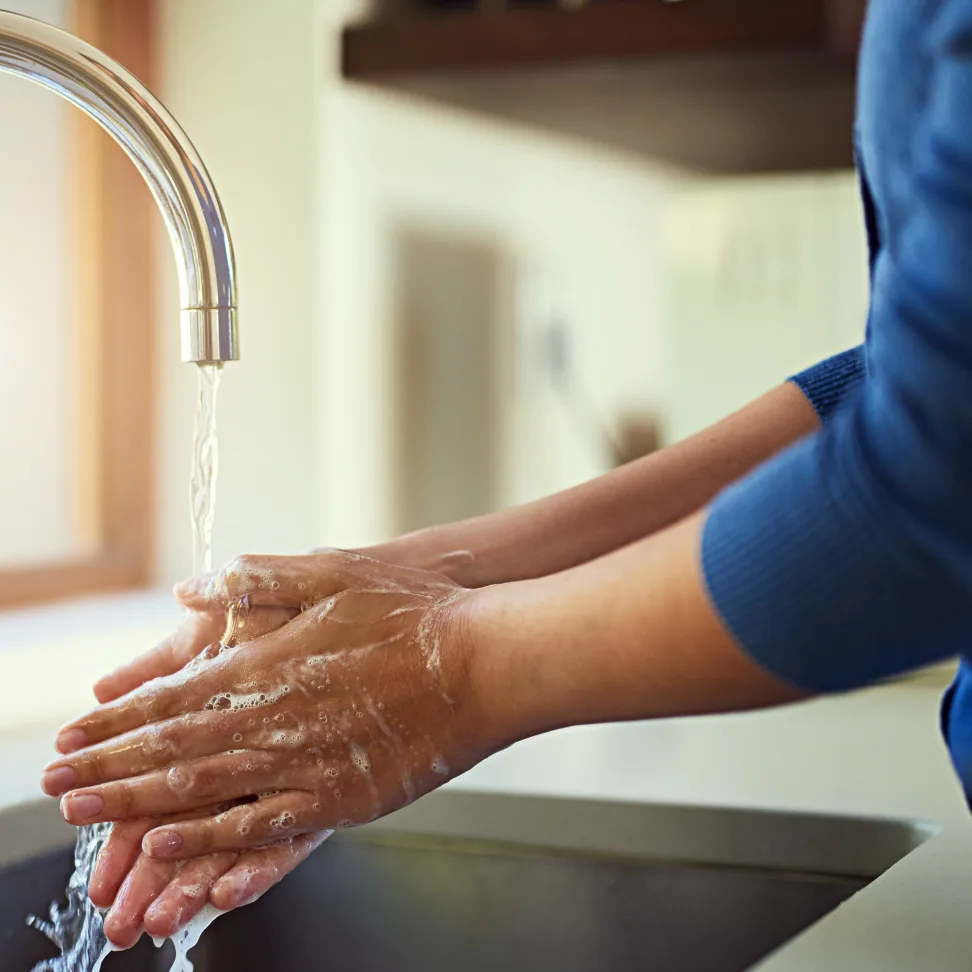
Mix mild soap in a bucket. Dip your brush into the solution. Gently scrub the surface. Focus on stained areas. Use circular motions.
Avoid soaking the bag. Excess water seeps into linings. Wipe instead of drenching.
Clean one section at a time. Work from top to bottom. Gravity helps carry grime downward.
Use a cotton swab for zippers. Soak it in soapy water. Slide it along teeth. This removes grit and restores smooth action.
Wipe metal parts carefully. Clips, buckles, and feet may rust. Dry them fast after contact.
Rinse thoroughly with clean water. Repeat until no suds remain. Leftover soap attracts more dirt.
Dry with clean towels. Press gently. Do not wring or twist the bag.
Then, air-dry fully. Hang it upside down in a ventilated space. Keep it out of sun.
This process answers how do you clean a waterproof golf bag properly.
Caring for Pockets and Interior Linings
Don’t Forget the Inside
Many people only clean the outside. But the interior holds sweat, dust, and spills. It needs equal attention.
Once empty, inspect each pocket. Fabric liners trap moisture. Over time, this causes mildew.
Use a dry microfiber cloth first. Wipe surfaces lightly. Remove loose debris.
For deeper cleaning, mix a weak vinegar-water solution. Use one part white vinegar to three parts water. This kills bacteria and removes odors.
Dip a cloth in the mixture. Wipe pocket walls. Avoid soaking. Too much liquid weakens glue or stitching.
Let it sit for five minutes. Then, wipe again with a damp clean cloth. Remove any vinegar smell.
Air-dry each pocket fully. Open all zippers wide. Let airflow reach deep corners.
If your bag has mesh dividers, spot-clean them. Use a soft brush and soapy water. Rinse with a damp cloth.
Never machine wash the bag. Agitation damages structure. Water gets trapped in sealed zones.
Remove odor-causing items fast. Wet towels should not stay overnight. Store them separately.
Use odor absorbers between rounds. Place a silica gel pack or charcoal bag inside. These reduce humidity.
By cleaning both inside and out, you truly master how do you clean a waterproof golf bag.
 Maintaining Waterproof Coating After Cleaning
Preserving the Protective Layer
After washing, the next step is preserving waterproofing. Many forget this. Yet, it’s crucial.
Even gentle cleaning can wear down DWR finishes. Water may no longer bead up. Instead, it soaks in slowly.
To restore protection, apply a spray-on waterproofing treatment. Choose one made for synthetic fabrics. Brands like Nikwax or Scotchgard make suitable products.
Wait until the bag is 100% dry. Spray evenly across the surface. Hold the can 6–8 inches away. Avoid oversaturation.
Focus on stress areas. Seams, straps, and bottom panels face more exposure. Give them extra coverage.
Let it dry again for 24 hours. Do not use heat. Air drying maintains chemical bonding.
Do not repeat too often. Reapply every few seasons. Overuse clogs pores in the fabric.
Check performance after treatment. Sprinkle water on the bag. Watch how it behaves. Beads mean success.
Some bags don’t need re-treatment. Check manufacturer guidelines. Follow their advice.
Proper care ensures your bag stays truly waterproof. This completes the full answer to how do you clean a waterproof golf bag.
Drying Techniques That Prevent Damage
Avoiding Mold and Warping
Drying is as important as cleaning. Poor drying causes mold, odors, and shape loss.
Always air-dry your bag. Never use a dryer, heater, or oven. High heat melts glue and warps plastic parts.
Hang it upside down. This lets water drain from pockets. It also speeds internal drying.
Choose a well-ventilated area. Garages, covered patios, or breezeways work. Use a clothesline or hook.
Keep it away from direct sunlight. UV rays fade colors. They also break down waterproof coatings.
Ensure all zippers are open. Closed ones trap moisture. This leads to mildew growth.
If available, use a fan. Point it nearby. Circulating air helps. Do not blow directly onto wet fabric.
Stuff pockets with paper towels. Change them once damp. This pulls out hidden moisture.
Avoid folding or compressing. Let the bag keep its natural shape. Creases may become permanent.
Drying takes 12–24 hours. Wait fully before storing. Touch test multiple spots.
Patience here prevents future problems. A fully dried bag lasts longer.
 Frequently Asked Questions About Cleaning Waterproof Bags
Clear Answers for Common Concerns
Can I use a pressure washer? No. It forces water into seams. It strips protective layers.
Is machine washing safe? No. It damages structure. Hand cleaning is best.
How often should I clean it? After heavy rain or visible dirt. At minimum, twice per season.
Can I clean leather trims? Yes. Use leather conditioner. Avoid soaking.
Does cleaning void warranty? Only if harsh methods are used. Follow brand instructions.
Can I store it while damp? Never. Always dry completely. Moisture ruins fabric.
Should I remove wheels before cleaning? If detachable, yes. Otherwise, wipe around them.
These answers help users take confident action.
 Final Thoughts on How Do You Clean a Waterproof Golf Bag
How do you clean a waterproof golf bag? Knowing how do you clean a waterproof golf bag makes a big difference. It keeps your gear functional, fresh, and long-lasting. Regular care prevents damage and saves money over time.
From using gentle cleaners to air-drying correctly, every step counts. The goal is cleanliness without compromising protection. A well-maintained bag performs when you need it most.
Whether you’re a weekend player or serious golfer, this routine supports your game. It reflects discipline and pride. Plus, it ensures your clubs stay dry—even in a downpour.
Answering how do you clean a waterproof golf bag isn’t complicated. It just requires attention and consistency. Follow these tips, and your bag will serve you for years.

 Why Backward Compatibility Matters for Gamers
 Will Physical Switch 1 Games Work on Switch 2?
 Potential Exceptions: Games That Might Not Work
 Frequently Asked Questions About Can You Play Switch 1 Games on Switch 2
 Final Thoughts on Whether Can You Play Switch 1 Games on Switch 2