Introduction
Eye shadow is a essential part of any makeup look, from subtle everyday looks to glamorous evening glam. Whether you’re a makeup novice or a seasoned pro, mastering the art of eye shadow application is essential for creating stunning eye looks. In this comprehensive guide, we’ll cover everything you need to know about eye shadow guide, from choosing the right shades to mastering different application techniques.
Part 1: Choosing the Right Eye Shadow
Level 1: Understanding Eye Shadow Formulas
There are several different eye shadow formulas to choose from, including powders, creams, and gels. Each formula has its own unique benefits and drawbacks, so it’s important to understand the differences before making a purchase.
Powder eye shadows are easy to blend and typically have a matte or shimmer finish. Cream eye shadows are more pigmented and long-lasting, making them ideal for creating dramatic looks. Gel eye shadows are great for creating bold, vibrant looks and often have a waterproof formula.
Level 2: Shopping for Eye Shadow
When shopping for eye shadow, it’s important to consider your skin tone and eye color. For those with fair skin, cool toned shades such as grays and blues look best. Medium skin tones are complemented by warmer shades, such as browns and golds. Deep skin tones can pull off rich, intense shades such as purples and deep greens. When considering eye color, the opposite shade on the color wheel will make your eyes pop. For example, blue eyes look stunning in warm shades of bronze and copper, while green eyes stand out in shades of purple and plum.
Part 2: Eye Shadow Tools and Brushes
Level 1: Essential Eye Shadow Brushes
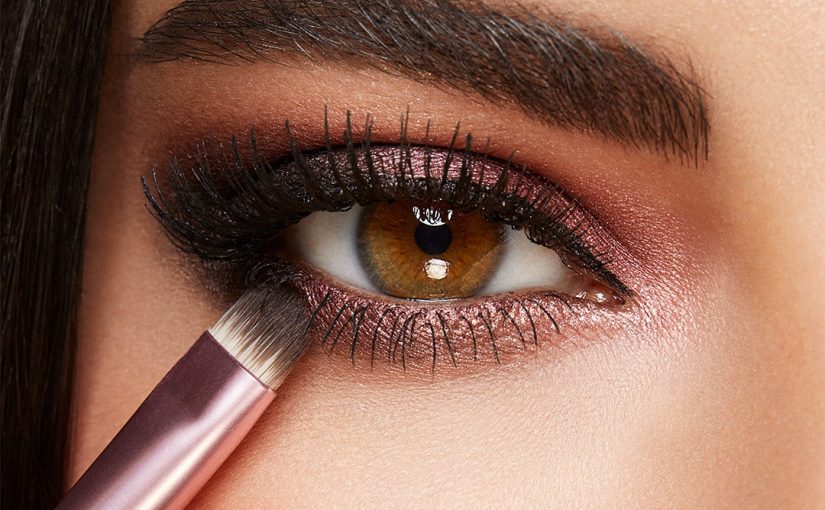
The right tools can make all the difference when it comes to applying eye shadow. Essential brushes include a flat shader brush for applying color to the lid, a blending brush for blending out harsh lines, and a small angled brush for applying color to the lower lash line. Investing in high-quality brushes will make a noticeable difference in the overall application and blending of eye shadow.
Level 2: Other Eye Shadow Tools
In addition to brushes, there are other tools that can be helpful when applying eye shadow. An eye shadow primer can help to intensify the color and longevity of your eye shadow. A concealer brush can be used to clean up any mistakes and create a sharp, defined edge. Additionally, a spoolie brush can be used to groom and shape the eyebrows before applying eye shadow.
Part 3: Basic Eye Shadow Application Techniques
Level 1: Applying Eye Shadow to the Lid
Start by applying a light, neutral shade to the lid as a base. This will create a smooth canvas for the rest of your eye shadow. Next, apply a medium shade to the crease of the eye to create depth and dimension. Finally, add a darker shade to the outer corner of the eye and blend it outwards for a more dramatic effect.
Level 2: Creating a Smoky Eye
The smoky eye is a classic eye shadow look that adds drama and intensity to the eyes. Start by priming the lids, and then apply a dark shade to the lid, blending it out towards the crease. Next, add a medium shade to the crease, blending it into the darker shade. Finally, use a lighter shade to highlight the brow bone and blend out any harsh lines.
Part 4: Advanced Eye Shadow Techniques
Level 1: Cut Crease Eye Shadow
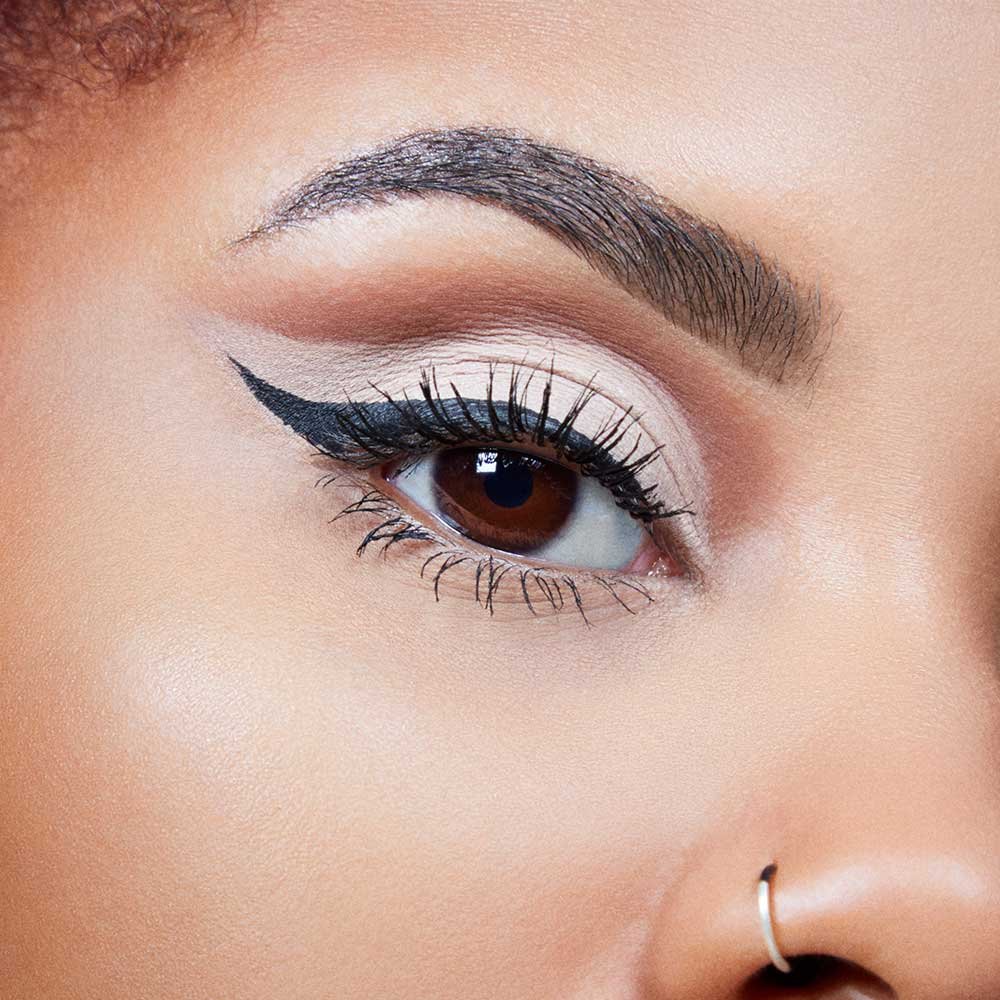
The cut crease is a bold and dramatic eye shadow technique that involves creating a sharp, defined line above the crease of the eye. Start by applying a neutral shade to the lid, and then use a concealer to carve out a sharp line above the crease. Next, apply a darker shade to the outer corner of the eye and blend it into the crease. Finally, add a shimmer shade to the lid to create a dramatic, defined look.
Level 2: Halo Eye Shadow
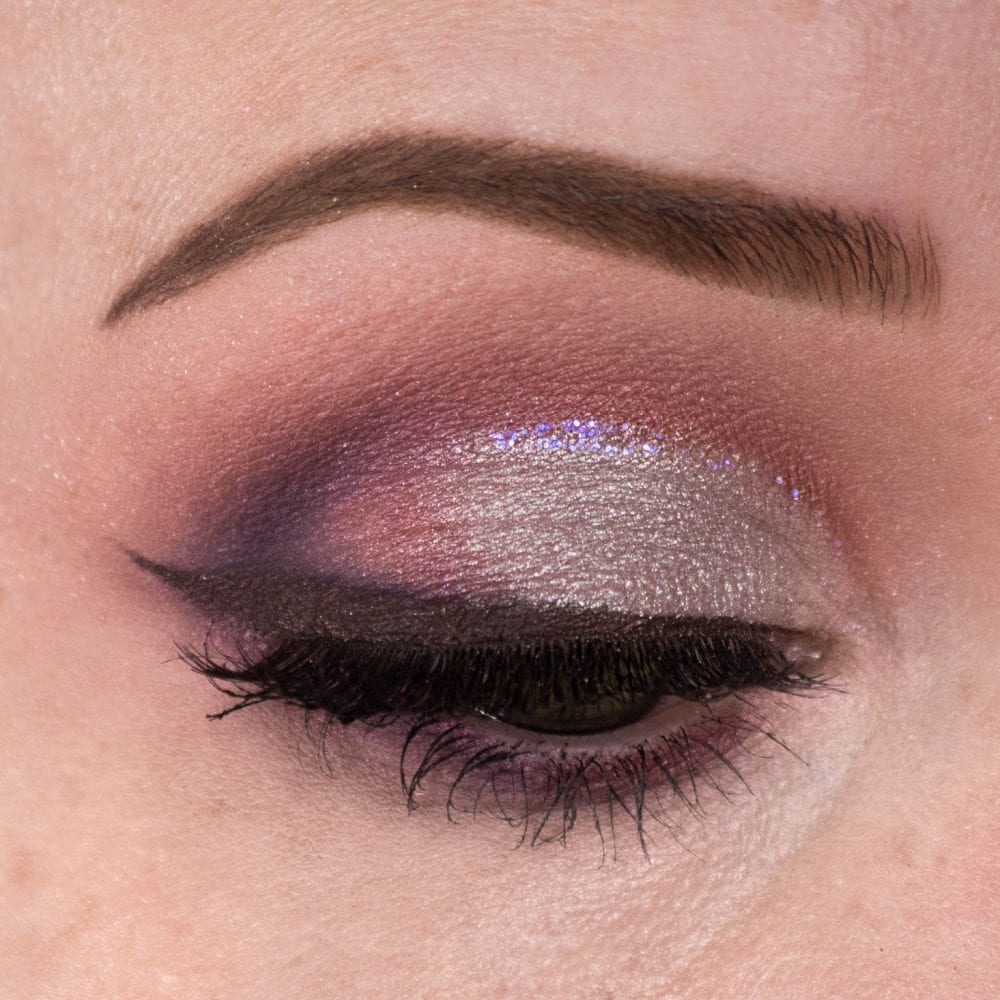
The halo eye shadow technique creates a dramatic, spotlight effect on the eyes. Start by applying a light, shimmery shade to the center of the lid. Next, use a darker shade to define the inner and outer corners of the eye, blending it into the center shade. Finally, add a pop of shimmer to the center of the lid to create a halo effect.
Part 5: Eye Shadow Tips and Tricks
Level 1: Making Eye Shadow Last
To ensure your eye shadow looks last all day, use an eye shadow primer before applying your eye shadow. This will create a smooth, crease-free base for your eye shadow and help it stay in place. Additionally, spritzing your eye shadow brush with a setting spray before applying eye shadow can intensify the color and longevity of your eye shadow.
Level 2: Adding a Pop of Color
To add a bold pop of color to your eye look, try applying a bright, vibrant shade to the lower lash line. This will add a fun, unexpected element to your eye shadow look and draw attention to the eyes. If you’re feeling bold, experiment with colorful eyeliner or glitter for a statement-making eye look.
Part 6: Choosing the Right Eye Shadow Color
Choosing the right eye shadow color can be overwhelming with the wide variety of options available. However, understanding your eye color, skin tone, and personal style can help narrow down the choices.
For blue eyes, warm tones like bronze, copper, and champagne can help make the blue pop. Purple and deep blue shades can also enhance the color. For green eyes, warmer shades like brown, gold, and orange can bring out the green tones. Pink and purple shades can also complement green eyes. Brown eyes can pull off a wide range of colors, from cool shades like silver and blue to warm tones like gold and bronze.
When it comes to skin tone, those with fair skin may want to go for softer, more pastel shades, while those with medium to dark skin can rock deeper, more vibrant colors. It’s important to consider your personal style and the look you want to achieve when choosing eye shadow colors.
Part 7: Application Techniques for Eye Shadow
The application of eye shadow can make a significant difference in the final look. Understanding different application techniques can help you achieve various effects, from a natural everyday look to a more dramatic, evening look.
For a basic, everyday look, start with a neutral base shade applied all over the eyelid. Then, add a slightly darker shade to the crease to create dimension. Finally, use a light, shimmery shade on the brow bone and inner corner of the eye to highlight.
For a more intense, dramatic look, consider using a primer to help the eye shadow stay in place and appear more vibrant. You can also experiment with different tools, such as brushes and sponges, to achieve different results. Blend the colors seamlessly for a professional, polished finish.
Part 8: Eye Shadow Tips for Different Eye Shapes
Different eye shapes require different approaches when it comes to applying eye shadow. Understanding your eye shape can help you create the most flattering looks.
For hooded eyes, which have a deeper crease, it’s important to use lighter shades to create the appearance of more open, larger eyes. Applying eye shadow slightly above the natural crease can also help create the illusion of more space.
Almond-shaped eyes can pull off a variety of looks, but it’s important to blend the colors well and pay attention to the outer corners of the eyes. Deep-set eyes can benefit from using lighter shades to bring the eyes forward, while protruding eyes may want to use darker shades to create depth.
No matter your eye shape, it’s essential to experiment and find what works best for you. Don’t be afraid to try new techniques and colors to find your perfect eye shadow look.
Conclusion
Mastering the art of eye shadow application takes practice, but with the right techniques and tools, anyone can create stunning eye looks. From choosing the right eye shadow shades to mastering different application techniques, this guide has covered everything you need to know to enhance your eye shadow game. Whether you’re a makeup novice or a seasoned pro, use these tips and tricks to elevate your eye shadow looks to the next level.


