The Importance of Eco-Friendly Hand Soap
In today’s world, the focus on environmental sustainability is no longer optional. Eco-friendly hand soap plays a crucial role in this movement. It’s more than just about keeping hands clean. It’s about how we impact the planet with every squirt of soap. Every time we wash our hands, we decide what flows down our drains and into our water systems. Traditional soaps often contain chemicals that can harm aquatic life and disrupt ecosystems. They also come in single-use plastics, adding to the ever-growing waste problem.
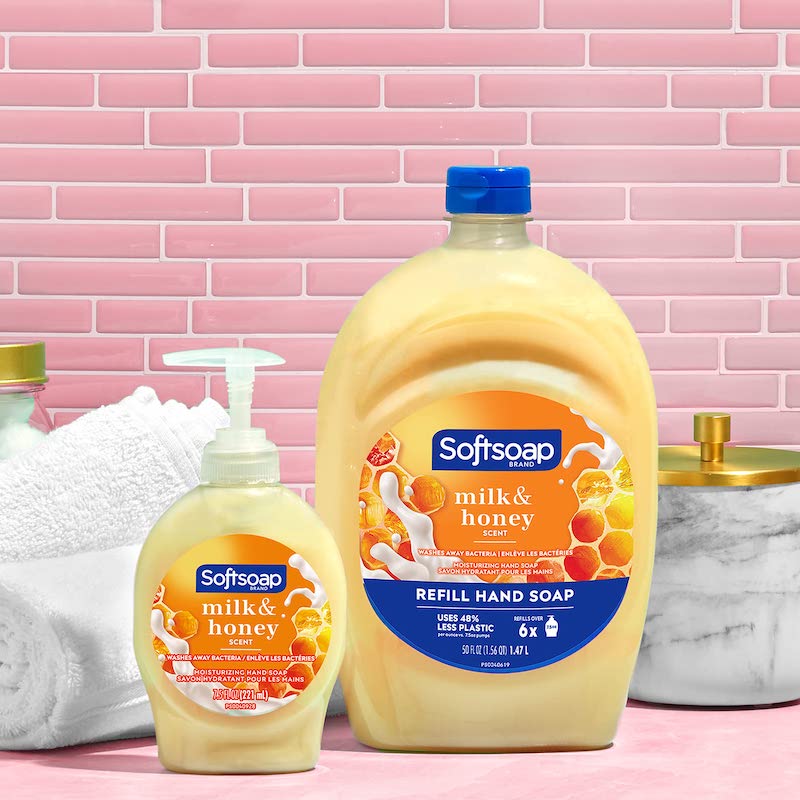
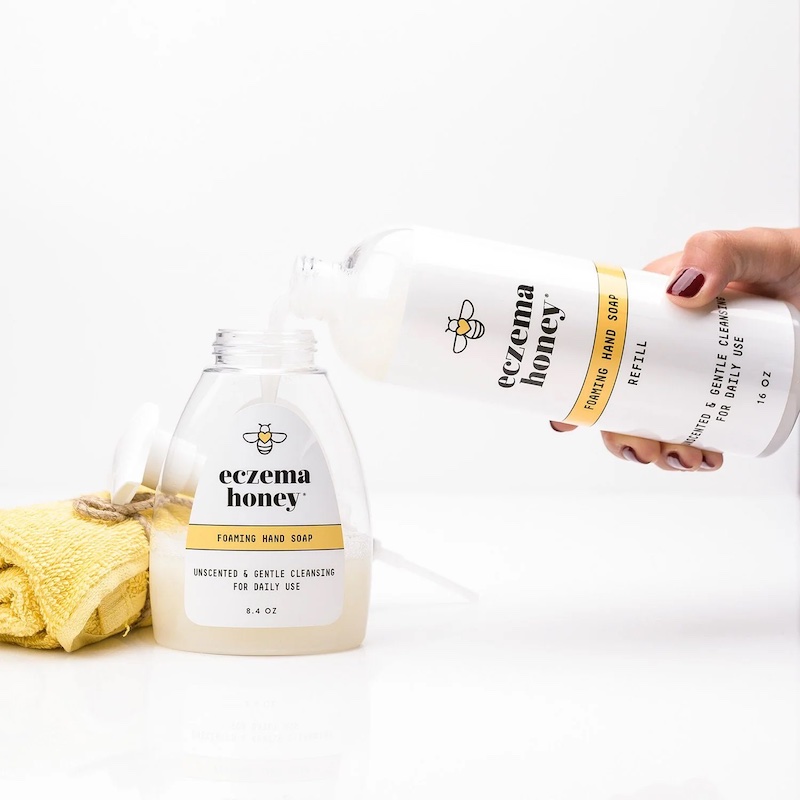
Choosing eco-friendly hand soap refills is a simple yet powerful way to bring positive change. These refills use fewer resources and generate less waste. They often come in biodegradable or recyclable packaging. Or, even better, they can be refilled at local stores to minimize packaging altogether. By opting for hand soap refills, we cut down on the use of plastic and the carbon footprint of production and shipping. It’s a step towards cleaner oceans and a healthier planet.
Moreover, eco-friendly hand soap often includes natural ingredients. These are kinder to our skin and the environment. By using these products, we avoid releasing harmful substances into the natural world. We support a market that values environmental health as much as personal hygiene.
In summary, hand soap refills are essential for a sustainable future. They help to safeguard our waterways, reduce plastic waste, and promote a healthier ecosystem. Embracing eco-friendly products can lead to a significant impact over time. It’s a choice that benefits not just the individual, but the entire planet.
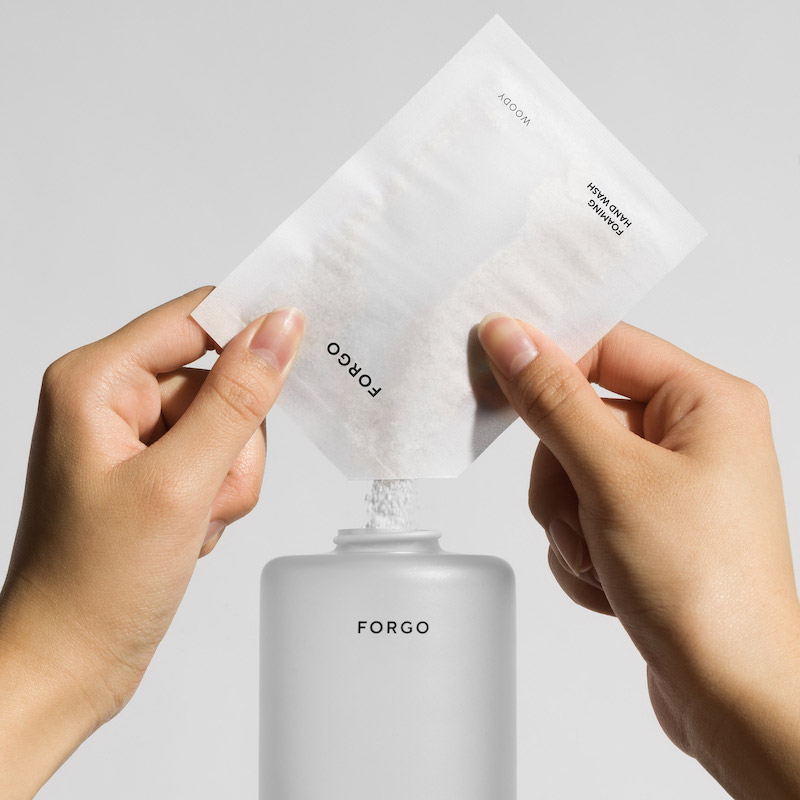
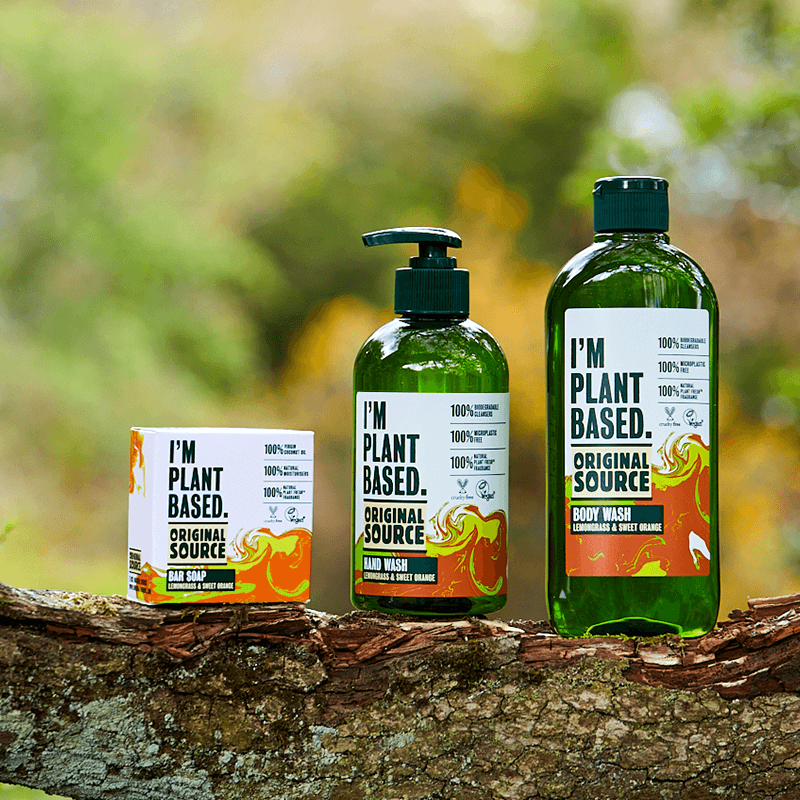
Types of Sustainable Hand Soap Refills
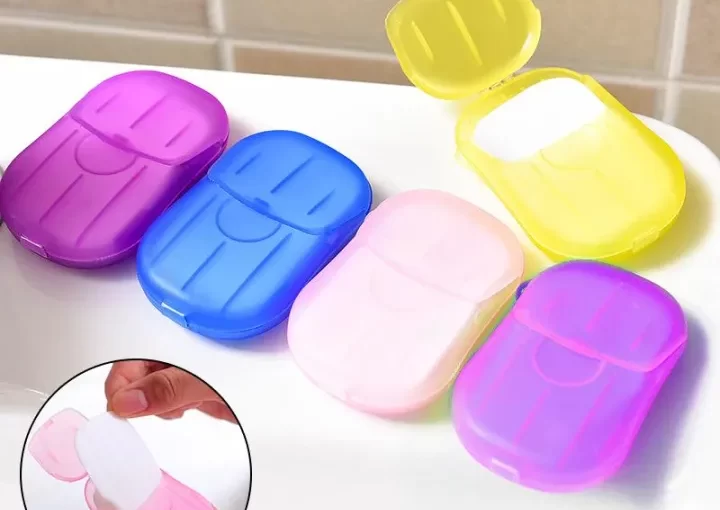
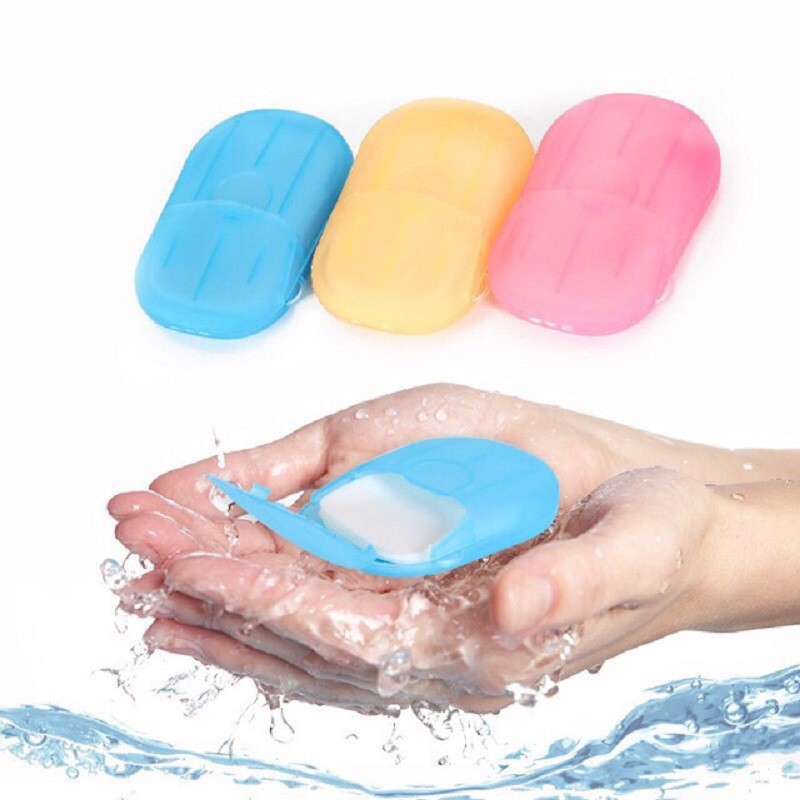
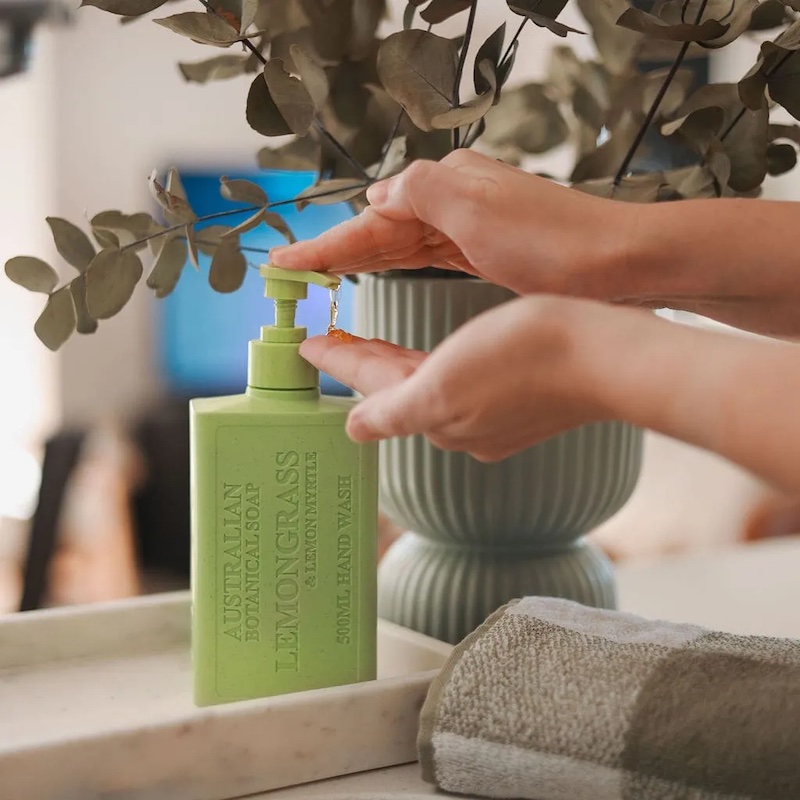
When embracing eco-friendly hand hygiene practices, it’s vital to know the different types of sustainable hand soap refills available. Here’s a breakdown of the most common types, offering guidance on making environmentally conscious choices.
Biodegradable Packaging Refills
These refills come in materials that decompose naturally, avoiding landfill pile-up. Brands often use cardboard, bamboo, or starch-based plastics for these products. They break down faster than traditional plastics, reducing environmental harm.
Recyclable Material Refills
Some hand soap refills are designed with recyclability in mind. They might use materials like aluminium or recyclable plastics. It’s essential to dispose of these correctly to ensure they’re processed and reused.
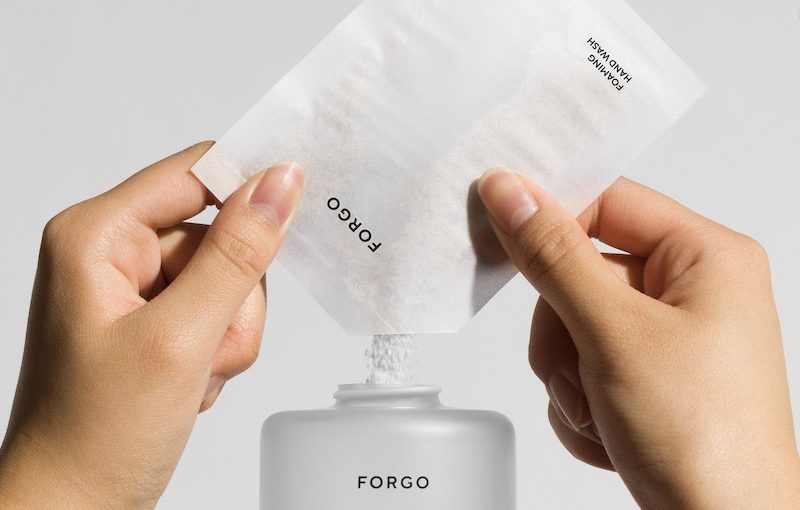
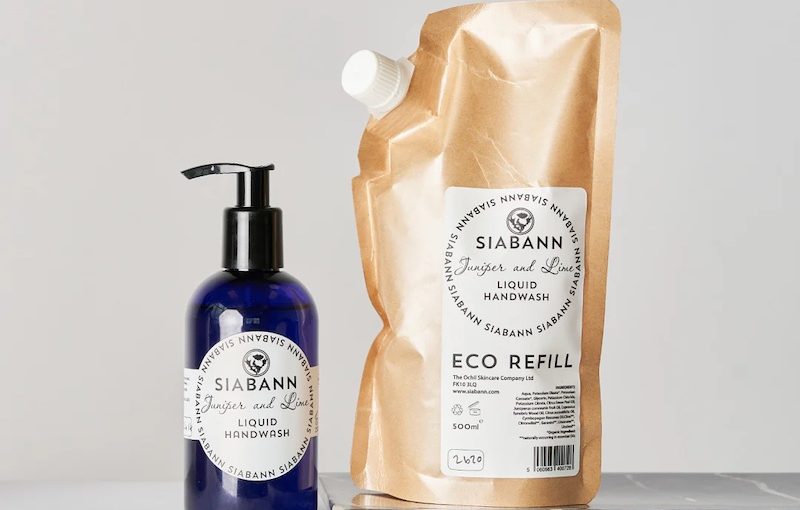
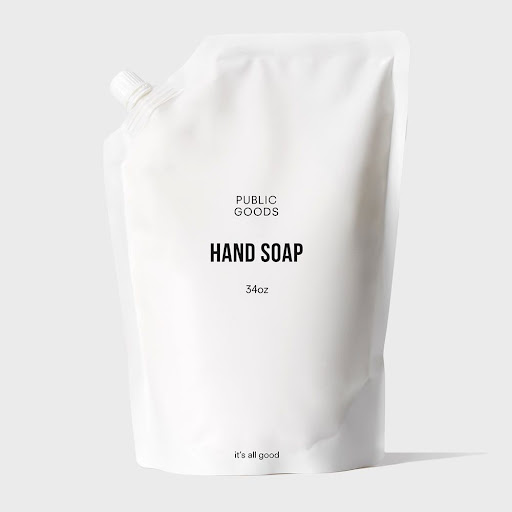
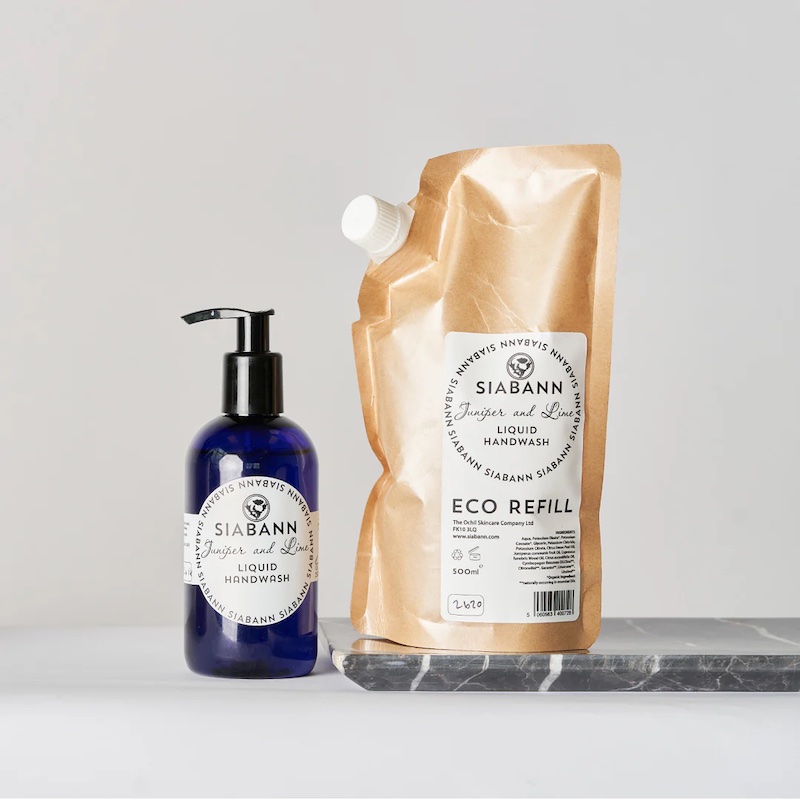
Bulk Refills
Purchasing in bulk minimizes packaging waste significantly. Bulk refills often allow you to fill up your own containers at home or at local refill stations.
Concentrated Formulas
Concentrates reduce the need for excess water in products, which cuts down on shipping weight and packaging size. You mix them with water at home, offering a powerful clean with less environmental impact.
Zero Waste Shops
Some shops specialize in zero waste products where you can refill your soap with no packaging at all. You bring your container and only pay for the soap.
Online Subscription Services
Subscription-based models deliver hand soap refills to your door. They typically use minimal packaging and offer convenient, routine delivery.
By familiarizing yourself with these types of hand soap refills, you can make informed decisions that align with your sustainability goals. The choice of hand soap refills contributes directly to reducing plastic waste and protecting aquatic ecosystems. It’s up to consumers to support practices that favor the planet while keeping hands clean.
The Environmental Impact of Soap Packaging
The packaging of hand soap holds significant environmental impact. Traditional soap packaging often uses single-use plastics that end up in landfills or oceans, taking centuries to degrade. This leads to soil and water pollution, harming wildlife and disrupting ecosystems. Every plastic bottle produced also contributes to the carbon footprint through the energy-intensive manufacturing process. Additionally, transporting these bulky items requires substantial energy, further increasing the ecological toll.
To combat these issues, many eco-friendly hand soap refills come in packaging designed to minimize harm. Biodegradable packages can decompose without leaving toxic residues. Recyclable materials allow for reprocessing and reuse. However, the recycling rate remains low worldwide, so reduction is even more critical.
Furthermore, the size and shape of soap packaging can affect its environmental footprint. Bulky and non-stackable designs waste space during transport, leading to more trips and higher emissions. Savvy brands are innovating with space-efficient packaging to address this problem.
For eco-conscious consumers, understanding the environmental impact of soap packaging is key. It influences purchasing decisions and promotes practices that help reduce pollution. By choosing hand soap refills with eco-friendly packaging, individuals can contribute to a healthier planet. This action supports the push for more sustainable production practices across industries.
How to Choose the Right Eco-Friendly Hand Soap Refill
Making the right choice when picking eco-friendly hand soap refills can be tricky. There are several factors you should consider to ensure your choice aligns with your sustainability goals. Here’s a simple guide to help you choose the best eco-friendly hand soap refill for your needs:
- Check the Packaging: Look for hand soap refills that come in biodegradable or recyclable packaging. Brands that use cardboard, bamboo, or plant-based plastics are making efforts to minimize waste.
- Assess the Ingredients: Select soaps with natural ingredients. These are gentler on the environment and on your skin. Avoid soaps with synthetic fragrances and parabens, as these can harm wildlife when washed into waterways.
- Consider Bulk Buying: Choosing bulk refills can drastically reduce packaging waste. If you have the storage space, it’s a practical and eco-friendly option.
- Evaluate Concentration: Concentrated formulas often require less packaging and result in lower transport emissions. They also last longer, making them a cost-effective and eco-conscious choice.
- Support Zero Waste Options: If you have access to a zero waste shop, take advantage of the opportunity to refill your containers directly. This reduces the need for any packaging.
- Subscription Services: For convenience without compromising on eco-friendliness, consider subscription services that focus on minimal packaging and sustainable practices.
- Read the Labels: Transparency is key. Brands that disclose information about their sourcing and manufacturing processes are typically more reliable. They show a commitment to sustainability.
When deciding on eco-friendly hand soap refills, remember the broader impact of your choices. By selecting a product that protects both your health and the environment, you contribute to a greener future. It’s a simple step with profound benefits for our planet.
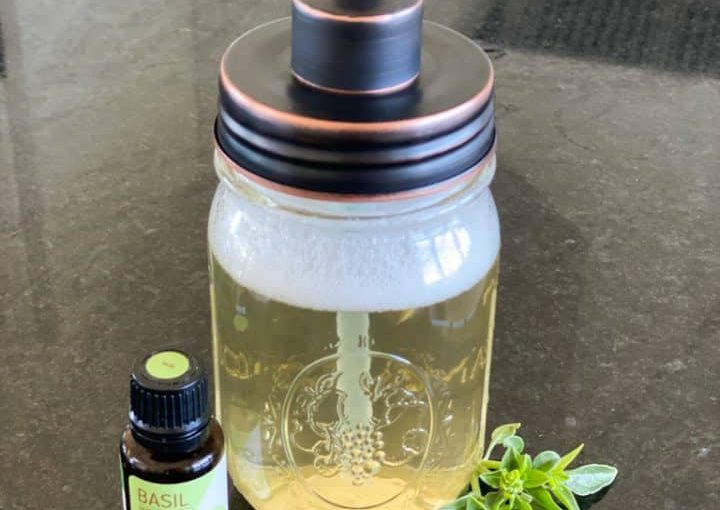
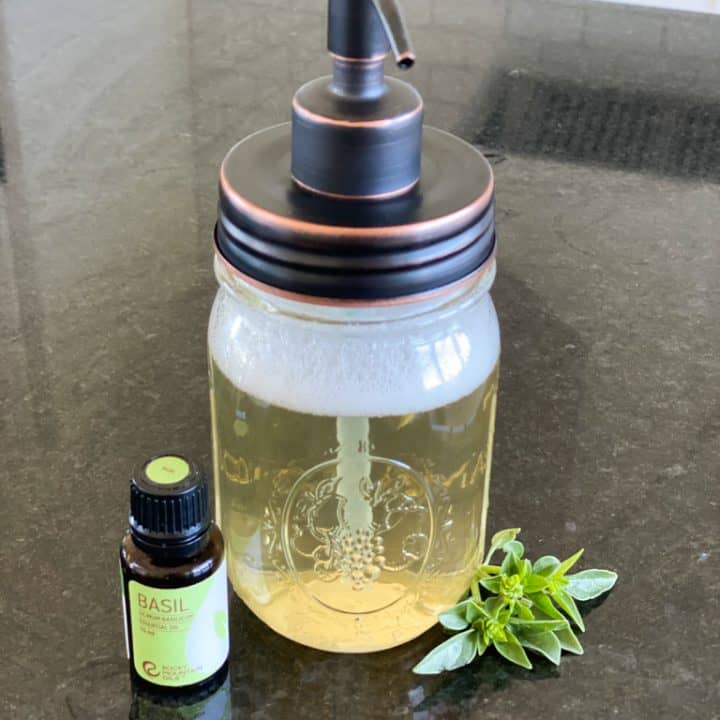
DIY Hand Soap Refills: A Sustainable and Creative Approach
Creating your eco-friendly hand soap refills can be a rewarding experience. It’s an opportunity to reduce waste, tailor ingredients to your preferences and make a positive environmental impact. Here’s how you can start your DIY journey into sustainable hand hygiene:
- Source Natural Ingredients: Seek out pure oils, glycerin, and essential oils. These natural substances are kinder to the planet.
- Repurpose Containers: Use bottles you already have. This cuts down on plastic consumption further.
- Mix and Match: Experiment with different scents and ingredients. Engage in creating a product that’s uniquely yours.
- Less is More: A small amount of concentrated soap goes a long way. Mix with water to create the perfect consistency.
- Share Your Creations: Inspire others by gifting or showing them how to make hand soap refills.
- Educate Yourself: Learn about the properties of various ingredients. This ensures you’re using the best options for the environment and your health.
By embracing DIY, you take an active role in your consumption habits. You’re not just buying an eco-friendly product, but creating one. This approach can reduce the overall demand for commercially packaged goods. Everyone can make their hand hygiene routine more sustainable with a little creativity and effort.

The Role of Natural Ingredients in Eco-Friendly Soaps
Eco-friendly soaps embrace natural ingredients for several reasons. These ingredients come from the Earth and are considered safer for both users and the environment. Here are some points explaining the role natural ingredients play in eco-friendly hand soap refills:
- Gentle on Skin: Natural ingredients are often more gentle than chemicals. They can soothe the skin rather than irritate it.
- Biodegradable: Ingredients like essential oils and plant extracts break down easily. They won’t pollute waterways as synthetic substances could.
- Sustainable Sourcing: Many eco-friendly brands source ingredients responsibly. They ensure their products do not harm natural habitats.
- Healthier Ecosystems: When washed away, these natural substances are less likely to disrupt ecosystems.
- Avoiding Toxins: Eco-friendly soaps do not use harmful parabens or sulfates. These can harm aquatic life when they enter the water system.
- Supporting Biodiversity: By using a variety of natural ingredients, eco-friendly soaps can help support plant diversity.
- Transparency: Brands using natural ingredients often provide full disclosure. They allow consumers to know exactly what they’re using.
It’s clear that the role of natural ingredients in hand soap refills is crucial for sustaining a healthy planet. They provide a win-win for personal care and environmental stewardship. When choosing your next hand soap refill, consider the power of nature packed inside each bottle.
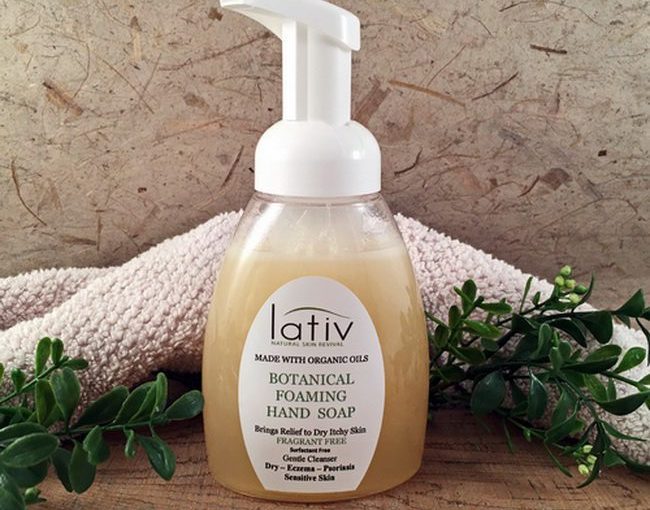
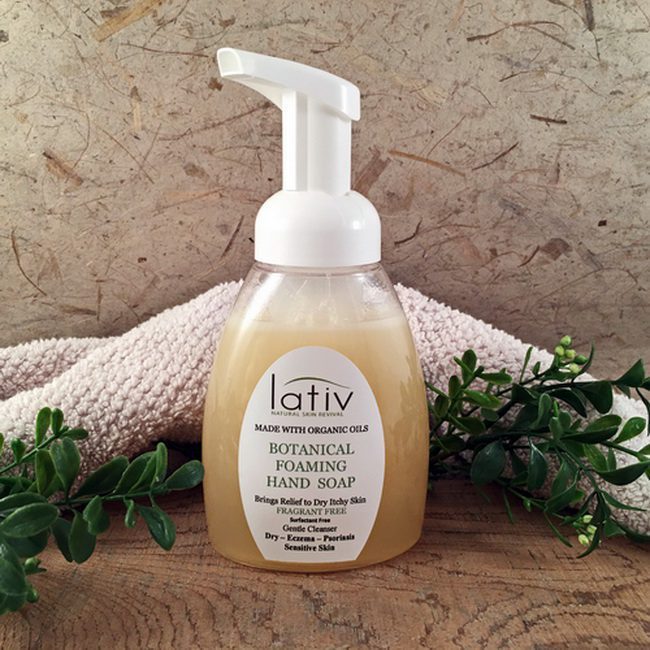
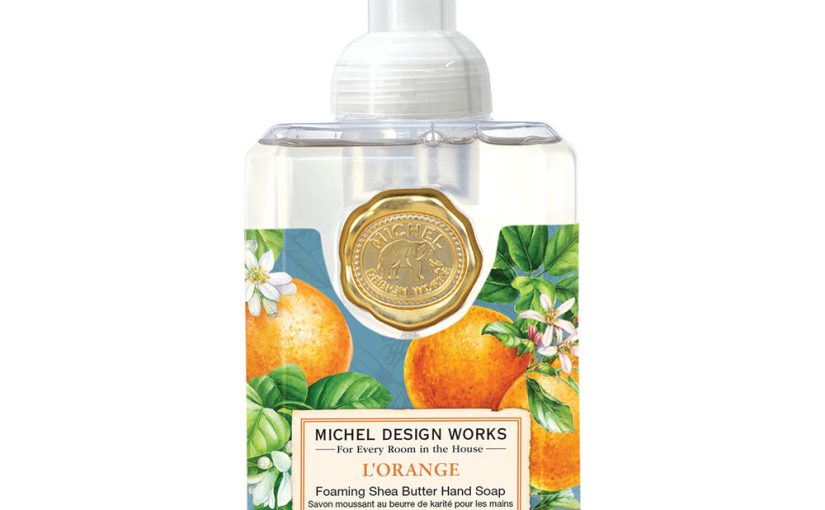
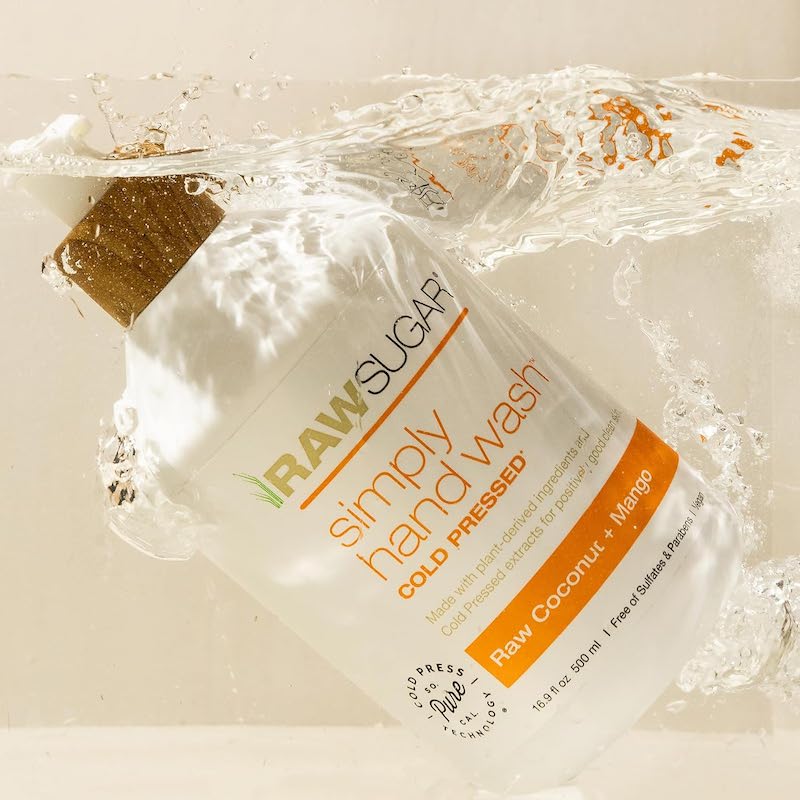
Popular Brands Offering Eco-Friendly Hand Soap Refills
With the growing demand for sustainable products, several brands have emerged as leaders in providing eco-friendly hand soap refills. These brands are committed to environmental stewardship and offer products that help to reduce waste and minimize the negative impact on our planet. Here are some popular brands that are known for their sustainable hand soap refill options:
- Ecover: This brand prioritizes plant-based ingredients and biodegradable formulas. Their refills come in recyclable packaging.
- Method: Known for their naturally derived, biodegradable ingredients, Method offers hand soap refill pouches designed to use less plastic.
- Common Good: Common Good products are made with natural ingredients and come in refillable glass bottles to reduce plastic waste.
- Dr. Bronner’s: A favorite for those who support organic ingredients, Dr. Bronner’s liquid soaps are highly concentrated and versatile.
- Seventh Generation: They provide hand soaps made with plant-based ingredients, and their packaging is designed to be recyclable.
- Blueland: This innovative company offers hand soap in tablet form. Just add water to a reusable bottle, reducing plastic waste altogether.
- The Honest Company: They offer thoughtfully formulated hand soap refills that are both eco-friendly and gentle on the skin.
Each of these brands has taken steps to ensure that their hand soap refills support a sustainable lifestyle without compromising on quality or effectiveness. By opting for their products, consumers can enjoy clean hands and a cleaner environment. Keep these brands in mind as you look to make eco-friendly choices in your hand hygiene routine.
The Future of Hand Hygiene: Innovations in Sustainability
As eco-consciousness grows, so do innovations in sustainable hand soap refills. Here’s what the future holds:
- Eco-Focused Product Design: Brands will invest more in creating products that are eco-friendly from the start. Shapes and materials will be optimized to reduce waste and improve recyclability.
- Advanced Biodegradable Materials: Research will bring new, more efficient biodegradable materials. These will break down quicker without harming the environment.
- Refill Infrastructure: More local stores and businesses will offer refill stations. This trend will make zero-waste options more accessible to people.
- Smart Dispensers: Technology will lead to smart soap dispensers. These will control the amount of soap used and minimize waste.
- Regenerative Agriculture: Ingredients for hand soaps will come from regenerative farming practices. These methods rebuild soil health and capture carbon.
- Community Initiatives: Communities will come together. They will create programs to promote and educate on sustainable hygiene practices.
- Policy Change: Governments might incentivize companies to be more eco-friendly. They could offer tax breaks or grants for sustainable product development.
In the journey toward sustainability, our small choices make a big difference. By choosing eco-friendly hand soap refills today, we pave the way for a greener tomorrow. Let’s stay informed and support the brands and innovations that work towards a more sustainable planet.