What Are Hypoallergenic Hand Soaps?
Hypoallergenic hand soap is a gentle cleanser. They aim to reduce the risk of skin irritation. Unlike regular soaps, they contain fewer allergenic ingredients. These soaps are perfect for sensitive skin. Manufacturers design them to minimize the chance of allergic reactions.
Hypoallergenic soaps often skip fragrances and dyes. These elements can cause skin problems. They prioritize simple and natural ingredients. The focus is on safety and comfort for the skin. These soaps provide effective cleaning while being kind to your skin.
People with allergies or skin conditions like eczema benefit from these soaps. Hypoallergenic hand soap is also great for those who wash their hands frequently. It helps maintain the skin’s natural moisture barrier. Consistent use can lead to healthier skin over time. Such soaps usually undergo tests to confirm their hypoallergenic status.
Overall, hypoallergenic hand soaps offer a soothing alternative. They give peace of mind to those with sensitive skin. For everyday use, they’re an excellent choice. They ensure cleanliness without the harsh effects of standard soaps.

The Benefits of Using Hypoallergenic Hand Soap
Choosing hypoallergenic hand soap offers many advantages, especially for those with sensitive skin. Here are some key benefits:
- Reduces Allergic Reactions: Designed with fewer allergens, hypoallergenic hand soap minimizes the chance of triggering allergies. This is crucial for people prone to skin reactions.
- Gentle on Skin: With ingredients meant to be soft on the skin, these soaps help avoid the dryness and irritation that can come from harsher cleansers.
- Suitable for Frequent Hand-Washers: For people who need to wash their hands often, such as healthcare workers, hypoallergenic soaps can be a game changer, keeping the skin protected and less prone to cracking or chapping.
- Maintains Skin’s Natural Barrier: Regular soaps may strip away natural oils and harm the skin’s defensive barrier. Hypoallergenic hand soap, however, helps maintain this vital layer of protection.
- Safeguards Children’s Delicate Skin: Children’s skin can be extra sensitive. Hypoallergenic formulas offer a safe way to introduce hand hygiene from a young age.
- Promotes Skin Health: With consistent use, individuals can see an improvement in skin health and a reduction in discomfort associated with common skin issues.
Each point mentioned aligns with the goal of hypoallergenic hand soap – to provide thorough cleansing while ensuring the highest level of comfort and safety for the user’s skin.
Key Ingredients in Hypoallergenic Hand Soaps
When looking for hypoallergenic hand soap, it’s vital to understand the key ingredients that make them suitable for sensitive skin. Here are some commonly used components in these gentle cleansers:
- Glycerin: This ingredient helps the skin retain moisture. It keeps hands soft and hydrated.
- Aloe Vera: Aloe vera soothes and calms the skin. It is known for its healing properties.
- Chamomile Extract: Chamomile has anti-inflammatory effects. It helps reduce skin irritation and redness.
- Oatmeal: Oatmeal can naturally cleanse the skin. It also offers relief to itchy and uncomfortable skin.
- Vitamin E: This antioxidant helps protect the skin. It supports skin health and repairs damage.
- Cocoa Butter: Cocoa butter provides deep moisture. It creates a barrier to protect the skin from dryness.
- Shea Butter: Shea butter is another excellent moisturizer. It also has vitamins that nourish the skin.
These ingredients work together in hypoallergenic hand soap to clean without causing harm. They avoid harsh chemicals that can trigger allergic reactions. Instead, they focus on natural and simple elements. Using hypoallergenic hand soap helps keep the skin in good condition. It cleanses while protecting against common irritants found in regular soaps.
Who Should Use Hypoallergenic Hand Soaps?
Hypoallergenic hand soaps are for anyone seeking gentle skincare. These soaps serve well for a variety of users:
- People with Sensitive Skin: If your skin reacts easily to products, choosing a hypoallergenic hand soap can reduce irritation.
- Individuals with Skin Conditions: Those who suffer from eczema, psoriasis, or other skin issues can benefit from the less irritating formulas.
- Healthcare Workers and Cleanliness Professionals: Frequent handwashing can be harsh on the skin. Hypoallergenic options protect against dryness and cracking.
- Parents of Young Children: Children’s skin is delicate. Non-allergenic soaps are safer for teaching them hand hygiene.
- Allergy Sufferers: If you’re allergic to specific ingredients commonly found in soaps, hypoallergenic options are a safer bet.
- Eco-Conscious Consumers: Those looking for soaps with natural ingredients will find hypoallergenic hand soaps align with their values.
- Beauty Enthusiasts: Users who prioritize skin health as part of their beauty routine can turn to hypoallergenic hand soaps to prevent damage.
Remember, hypoallergenic hand soaps are not just for people with medical concerns. Anyone after a kind and safe option for cleaning their hands can use these soaps. They offer benefits to all, regardless of skin type.
How to Choose the Right Hypoallergenic Hand Soap
Selecting the right hypoallergenic hand soap is crucial for your skin’s health. Here is a step-by-step guide to help you make an informed choice:
- Check the Ingredients: Look for soaps that list ingredients known to be gentle, like glycerin and aloe vera. Avoid soaps with a long list of unrecognizable chemicals.
- Avoid Fragrances and Dyes: These can often lead to skin irritation. Go for soaps labeled ‘fragrance-free’ or ‘unscented’.
- Seek Soothing Compounds: Ingredients like chamomile extract and oatmeal are known for their skin-calming properties. Ensure your soap includes such soothing elements.
- Look for Moisturizing Agents: Elements like shea butter and cocoa butter should be present. They help keep skin hydrated.
- Consider Skin Type: Your skin type dictates the kind of soap you should use. Choose variants that cater to either dry, oily, or combination skin.
- Read Product Reviews: Gain insights from others’ experiences. Reputable reviews can guide you to high-performing products.
- Patch Test: If possible, test the soap on a small skin area before full use. This ensures the soap is truly hypoallergenic for you.
- Eco-Friendly Packaging: If you are environmentally conscious, consider the packaging. Opt for soaps in recyclable or biodegradable packaging.
By taking these steps, you can find hypoallergenic hand soap that not only cleanses but also cares for your skin. Remember, the perfect soap should leave your hands clean, soft, and irritation-free.

Common Misconceptions About Hypoallergenic Hand Soaps
When it comes to hypoallergenic hand soap, there are some common myths people believe. Understanding and debunking these misconceptions can help you make better choices for your skincare routine.
- Misconception 1: Hypoallergenic Means Allergy-Proof: Some think that ‘hypoallergenic’ means a product can’t cause allergies at all. This is not true. The term ‘hypoallergenic’ means that the soap has a lower risk of causing allergic reactions, not zero risk.
- Misconception 2: Fragrance-Free Soaps Are Always Hypoallergenic: Not all fragrance-free soaps are hypoallergenic. Some fragrance-free options may still contain other irritants or allergens, so it’s important to check the full ingredient list.
- Misconception 3: You don’t need to patch test hypoallergenic soaps: Even with hypoallergenic hand soap, it’s wise to do a patch test. This ensures the soap suits your specific skin needs without causing a reaction.
- Misconception 4: Natural Ingredients Guarantee No Reactions: Just because an ingredient is natural doesn’t mean it’s non-allergenic. Some natural ingredients can still irritate sensitive skin or cause reactions in certain individuals.
- Misconception 5: Hypoallergenic Soaps Don’t Clean Well: Some may worry that hypoallergenic soaps don’t clean as effectively. However, these soaps are designed to clean well while being gentle on the skin.
- Misconception 6: These Soaps Are Only for People with Conditions: While they are suitable for those with skin conditions, hypoallergenic hand soap is a good choice for anyone seeking a gentler alternative to regular soaps.
By recognizing these misconceptions and obtaining accurate information, consumers can confidently select the right hypoallergenic hand soap for their needs.
The Role of Hypoallergenic Hand Soaps in Skincare Routines
Incorporating hypoallergenic hand soap into daily skincare routines can play a pivotal role. Its gentle nature supports the skin’s overall health. For many, it’s not just a matter of cleaning but nurturing the skin. Here’s how hypoallergenic hand soaps make a difference:
- Prevents Irritation: Regular use of these soaps helps avoid the irritation that can result from harsh ingredients found in standard soaps.
- Maintains Hydration: They are crafted to keep skin moisturized. This is vital for those who frequently wash their hands.
- Supports Skin’s Natural Functions: Hypoallergenic hand soap is formulated to respect the skin’s natural defense mechanisms. This is essential for a healthy skin barrier.
- Complements Other Skincare Products: They pair well with other gentle skincare items. This creates a cohesive, skin-friendly regimen.
- Flexible for All Skin Types: Whether your skin is dry, oily, or somewhere in between, there’s a hypoallergenic hand soap that fits.
- Promotes Long-Term Skin Health: With consistent use, hypoallergenic hand soaps can contribute to the long-term well-being of your skin.
By choosing hypoallergenic hand soap, you support your skin’s needs daily. You set a foundation for healthy, happy skin every time you cleanse your hands.

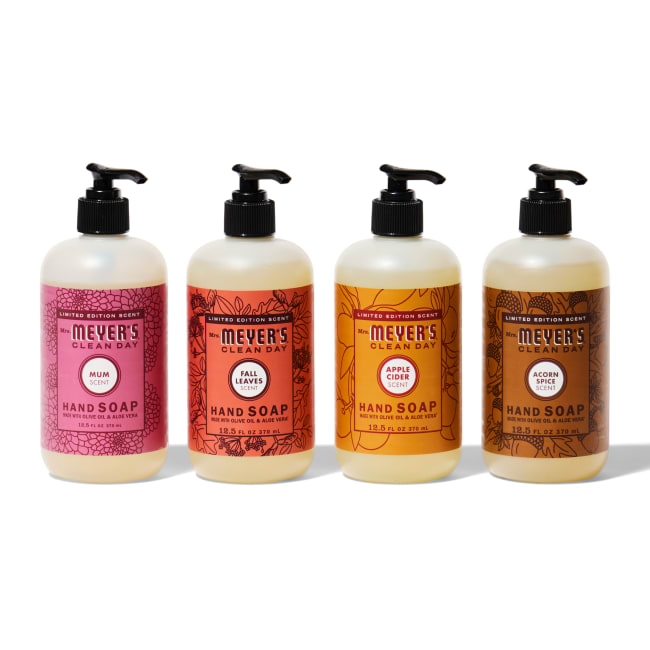
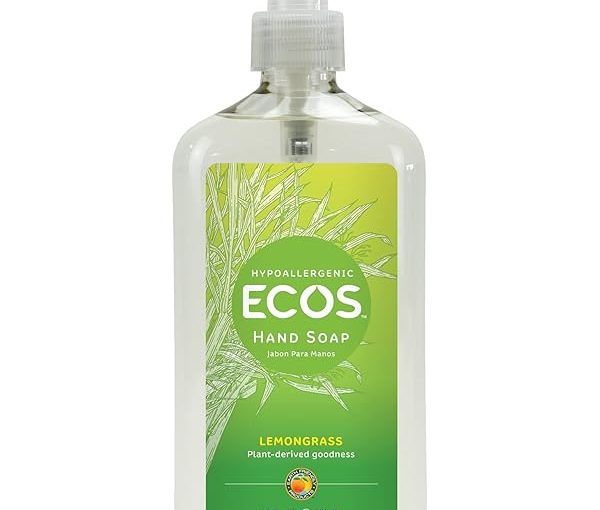
Top Recommended Hypoallergenic Hand Soap Brands
After discussing the importance of hypoallergenic hand soap, it’s helpful to know some top brands. These recommendations come with a strong history of customer satisfaction and ingredient integrity. When you’re shopping for a hypoallergenic hand soap, consider these well-respected brands:
- Dove Sensitive Skin Unscented: Known for its mildness, this brand keeps it simple and effective.
- Cetaphil Gentle Cleansing Bar: A dermatologist-recommended brand that offers soap-free bars, ideal for sensitive skin.
- Aveeno Skin Relief Fragrance-Free Body Wash: This brand uses soothing oatmeal to protect and nourish skin.
- Eucerin Advanced Cleansing Body & Face Cleanser: Perfect for both face and hand washing, Eucerin is a go-to for sensitive skin.
- Vanicream Liquid Basic Cleansing: Free of dyes, lanolin, fragrance, parabens, and formaldehyde. It’s a top choice for allergy sufferers.
- Neutrogena Ultra Gentle Hydrating Cleanser: This brand offers a creamy formula that leaves skin feeling soft and hydrated.
Look for these brands when you search for a hypoallergenic hand soap. Remember, hypoallergenic hand soap is an investment in your skin’s health. Always read labels and conduct a patch test where possible. This ensures that the soap you choose aligns with your specific skin care needs. By selecting a reputed hypoallergenic hand soap brand, you pave the way towards a happier, healthier skin routine.