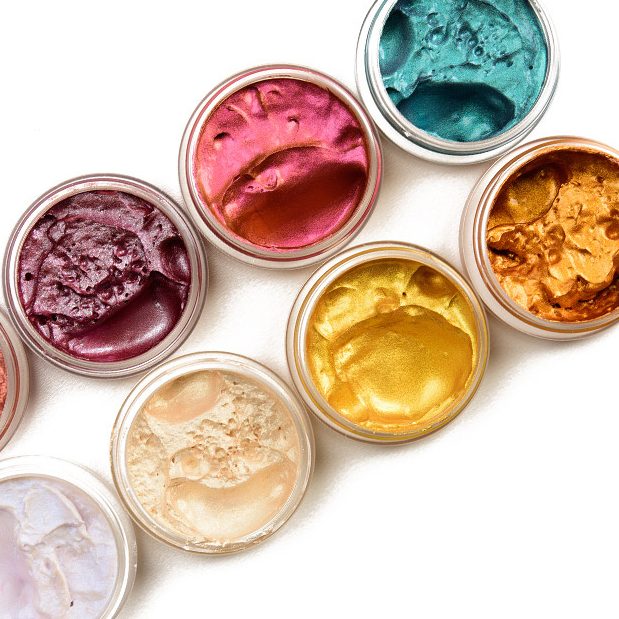
Introduction: The Evolution of Lipstick as a Staple Beauty Product
Lipstick has long been a symbol of confidence, self-expression, and timeless beauty. From ancient civilizations using crushed berries to modern-day innovations in pigments and formulations, the quest for the best lipstick has never been more dynamic. Today’s market offers a staggering array of options, catering to diverse preferences, skin tones, and lifestyles. However, with so many choices available, selecting the perfect shade can feel overwhelming. This guide aims to simplify your search by exploring key factors like skin tone compatibility, texture preferences, and brand reliability. Whether you’re a makeup novice or a seasoned pro, understanding these elements will help you find a best lipstick that complements your unique style.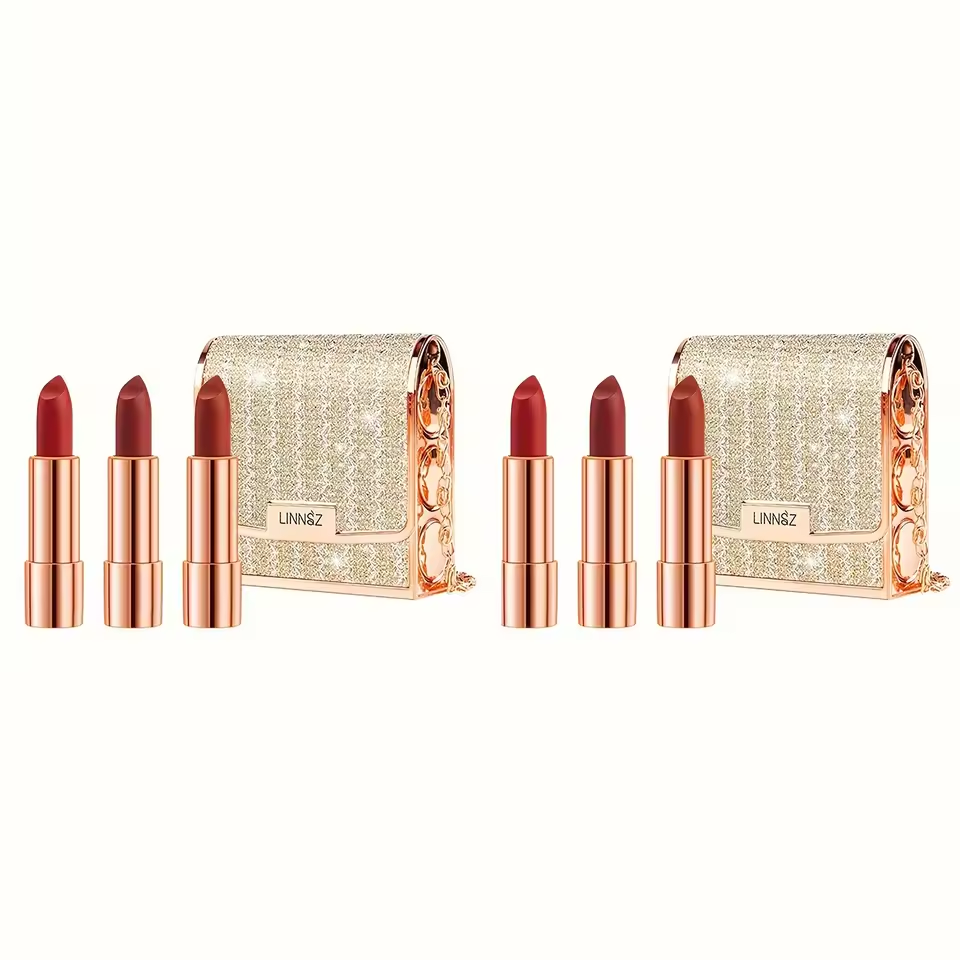
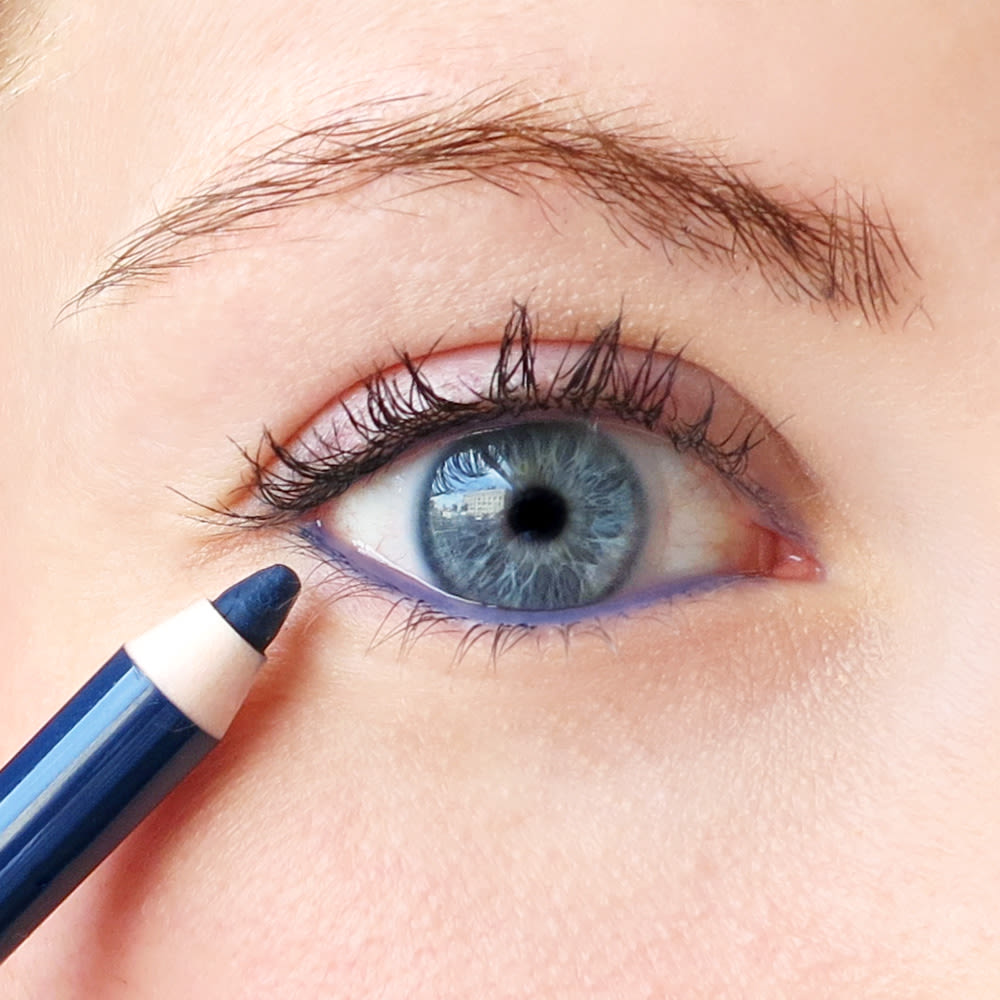
Transitioning into the core of this discussion, it’s essential to recognize that the best lipstick isn’t one-size-fits-all. Your skin tone, for instance, plays a critical role in determining which shades flatter you most. Let’s delve deeper into this aspect first.
Understanding Your Skin Tone: Choosing the Best Lipstick Shade
Your skin tone is the foundation for selecting the ideal best lipstick shade. Skin tones are broadly categorized into warm, cool, and neutral, each responding differently to colors. Warm tones (characterized by golden undertones) pair beautifully with earthy browns, corals, and warm reds. Cool tones (with pink or blue undertones) look stunning in berries, plums, and deep reds. Neutral tones can wear any shade but shine brightest with muted pinks or classic nudes.
A common mistake is overlooking the relationship between lip color and facial features. For example, a bold best lipstick like a deep burgundy can balance a round face, while soft pinks enhance angular jawlines. Additionally, seasonal trends often influence shade popularity, but prioritizing personal preference ensures longevity in your makeup choices. Remember, the best lipstick isn’t just about trends—it’s about confidence in your natural beauty.
Moving forward, durability is another critical factor. A lipstick that fades quickly can disrupt even the most meticulously crafted makeup look. Let’s explore how to identify formulas that stay put without feeling heavy.
Key Features of the Best Lipstick for Long-Lasting Wear
Longevity is a hallmark of the best lipstick. Formulations containing ingredients like beeswax, castor oil, or synthetic polymers create a protective barrier that prevents smudging. However, longevity shouldn’t come at the cost of comfort. Opt for lipsticks labeled as “hydrating” or “moisturizing” to avoid dryness.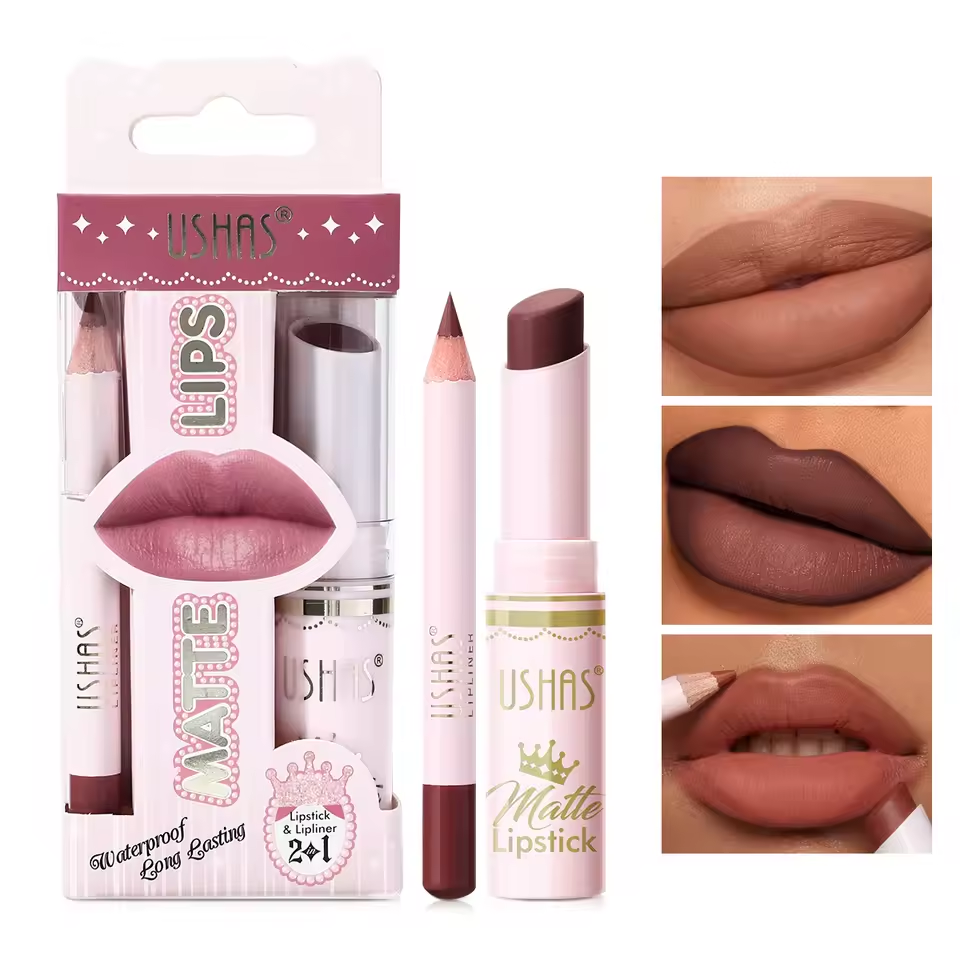
Water-resistant formulas are ideal for humid climates or active lifestyles, while transfer-proof options minimize staining on cups or clothes. Testing a lipstick’s staying power before purchasing is advisable—apply it on your wrist and check how it holds up after an hour. Brands like Mac and NARS are renowned for their long-wear best lipsticks, but affordable alternatives like NYX also deliver comparable results.
Transitioning to texture, the choice between matte and creamy impacts both appearance and application. Let’s analyze these textures in detail.
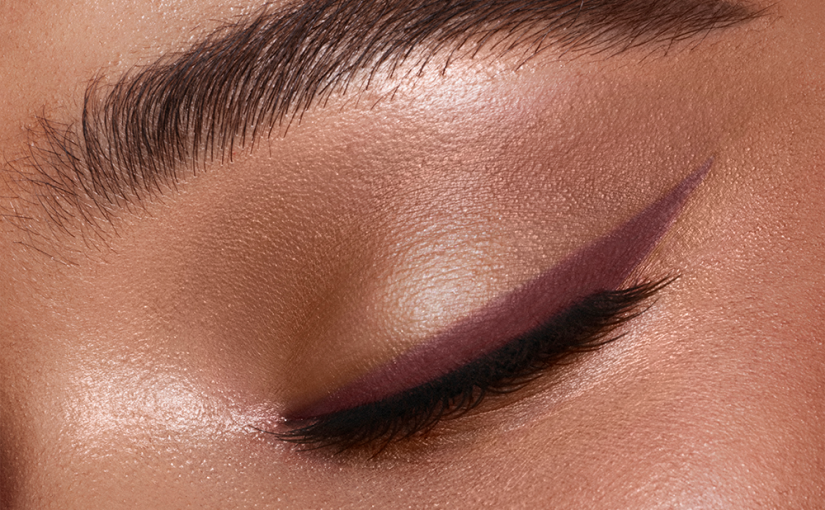
Matte vs. Creamy: Which Texture Suits Your Style?
The debate between matte and creamy textures often divides beauty enthusiasts. Matte lipsticks offer a sleek, high-fashion look but can emphasize lip lines if applied improperly. Opt for a best lipstick in a matte finish only if your lips are well-hydrated beforehand. Conversely, creamy formulas provide a dewy, natural finish that suits everyday wear. They’re also less likely to settle into fine lines, making them ideal for sensitive lips.
Hybrid textures, such as satin or velvet finishes, bridge the gap between these two extremes. A satin best lipstick combines the boldness of matte with the comfort of a cream. For instance, Fenty Beauty’s Gloss Bomb Hybrid offers a glossy yet pigmented payoff that’s perfect for casual outings.
Another key consideration is the occasion. A bold matte red might dominate a formal event, while a sheer, creamy nude works wonders for a professional setting. Understanding these nuances ensures you choose a texture that aligns with your lifestyle.
Exploring the Best Lipstick Brands for Different Budgets
Luxury Options (High-End):
Brands like Chanel, Tom Ford, and Charlotte Tilbury offer unparalleled quality and longevity. Their pigments are rich, formulas blend seamlessly, and packaging is exquisite. While pricier (30–60), their invest-in-a-favorite approach ensures a single shade lasts months. For instance, Tom Ford’s Velvet Formula Lip Color delivers a velvety matte finish that stays for hours.
Mid-Range Picks (Moderate Budget):
Mid-tier brands like NARS and Sephora Collection strike a balance between price and performance. NARS’ Velvet Matte Lip Pencil combines the intensity of a lipstick with the control of a pencil, while Sephora’s Iconic Lip Crème offers creamy hydration at under $20. These brands cater to those seeking professional results without luxury pricing.
Budget-Friendly Staples (Affordable):
Drugstore gems like Maybelline, L’Oréal Paris, and Milani provide exceptional value. Maybelline’s SuperStay 24hr Lipstick resists fading for long days, while L’Oréal’s Infallible 24HR Lip Color boasts a satin finish at under $10. Vegan brands like e.l.f. Cosmetics and Too Faced also excel—Too Faced’s Better lips, Better Mood line combines hydration with bold shades.
Key Tips:
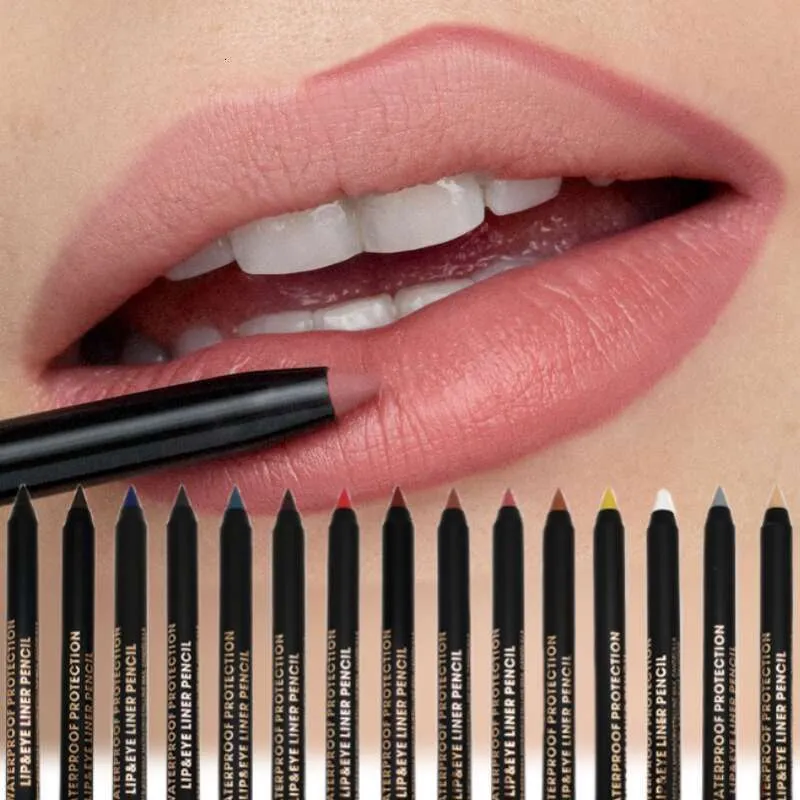
- Prioritize ingredients: Look for hyaluronic acid for hydration or vitamin E for nourishment.
- Test shades on lips (not wrists) to ensure color accuracy.
- Opt for cult-favorite shades like nudes or reds for versatile everyday use.
Whether splurging or budgeting, the best lipstick brands prioritize pigmentation, comfort, and inclusivity, ensuring every skin tone finds its match.
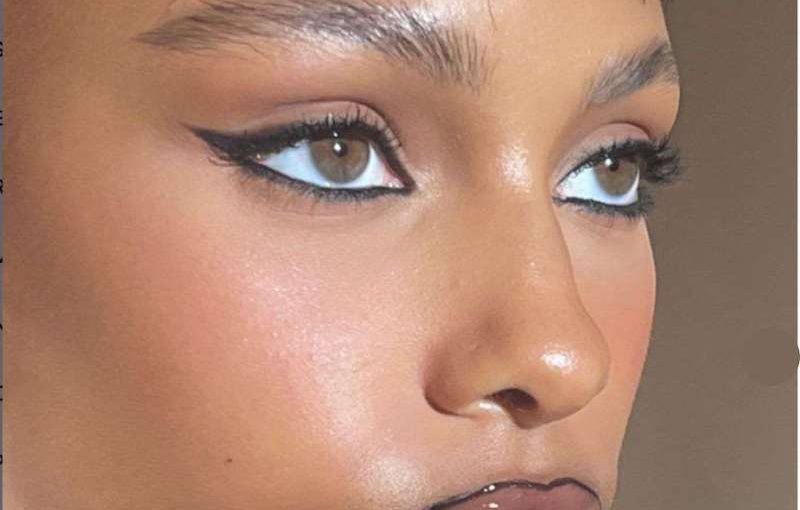
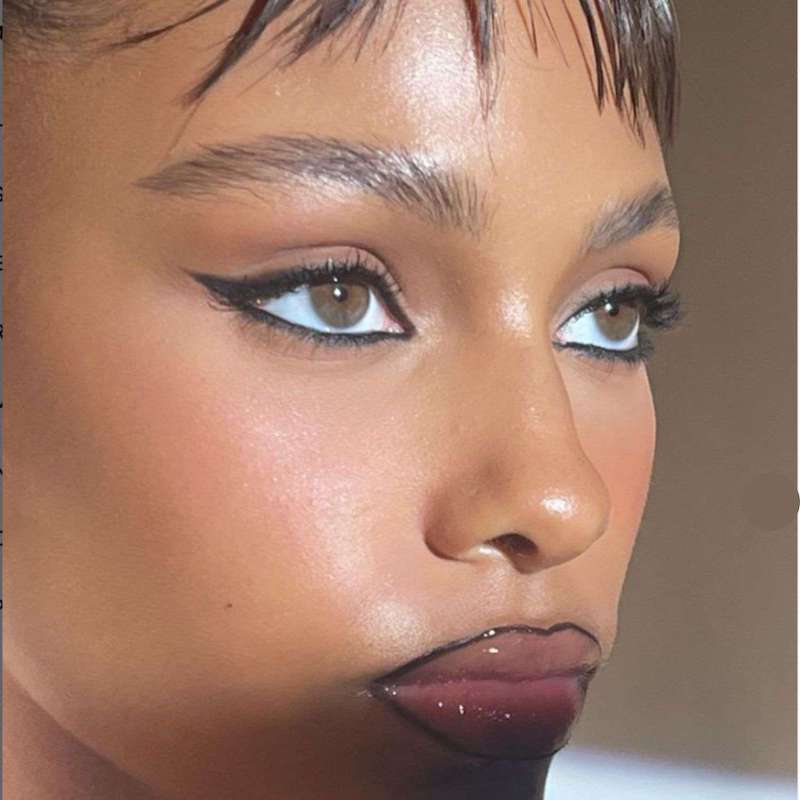
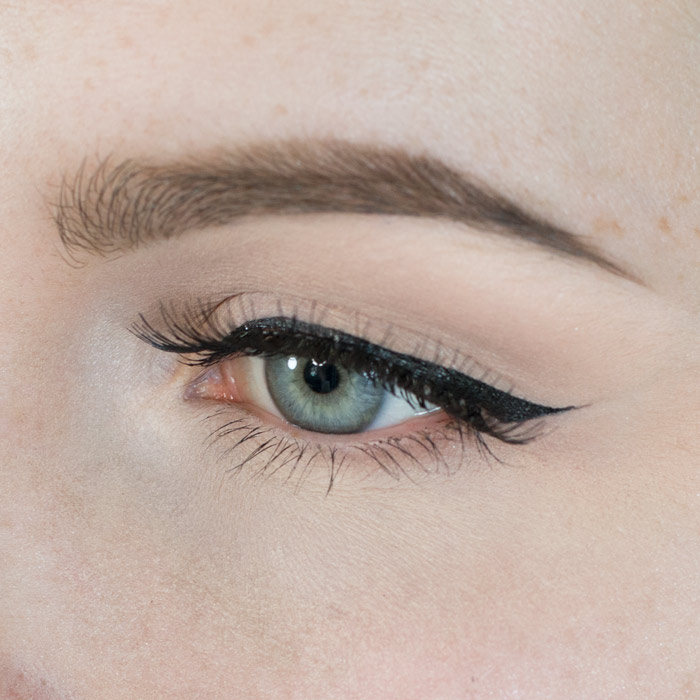
Black Lipstick: A Bold Choice for Bold Occasions
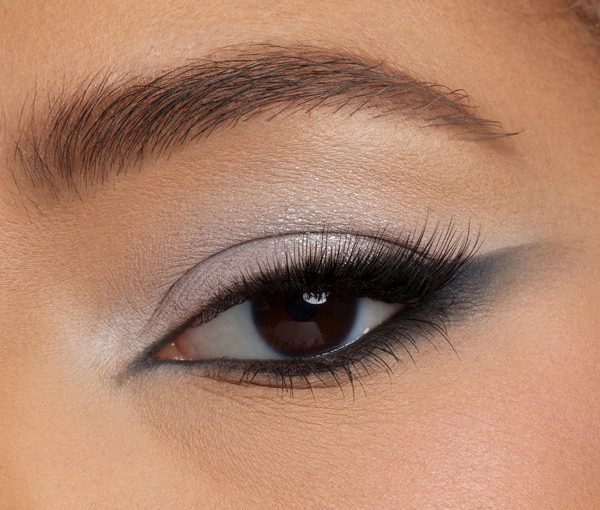
The best lipstick isn’t confined to traditional reds or pinks. Black lipstick has emerged as a daring statement piece, popularized by avant-garde fashion and pop culture. While it’s unconventional, it works exceptionally well for dramatic events like Halloween, music festivals, or artistic performances. Pairing black lipstick with a monochromatic makeup look amplifies its impact, while a subtle eyeshadow keeps the focus on the lips.
However, this shade isn’t for daily wear. It demands confidence and a willingness to stand out. For beginners, opt for a glossy black formula rather than a matte to soften the intensity. Brands like Kat Von D and Huda Beauty offer striking options in this category.
Transitioning to application techniques, the next section explores how to pair lipsticks with other makeup elements for cohesive looks.
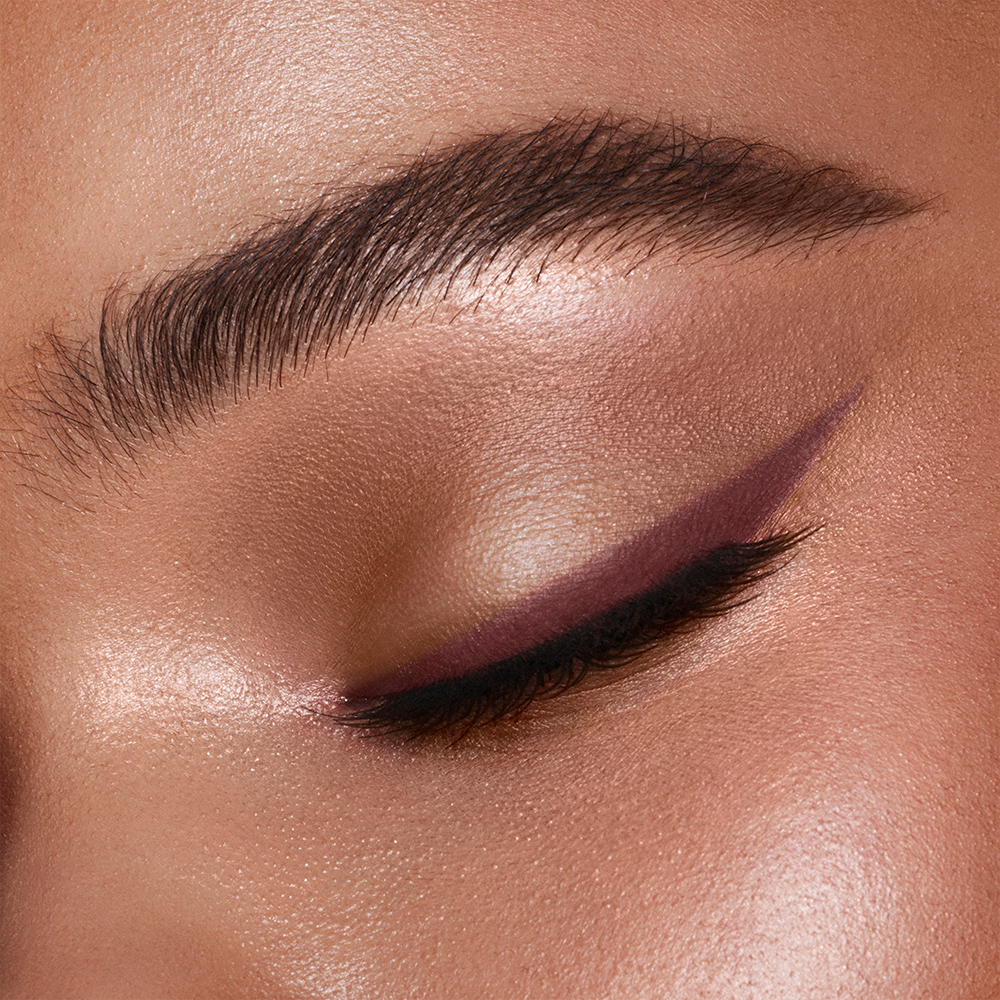
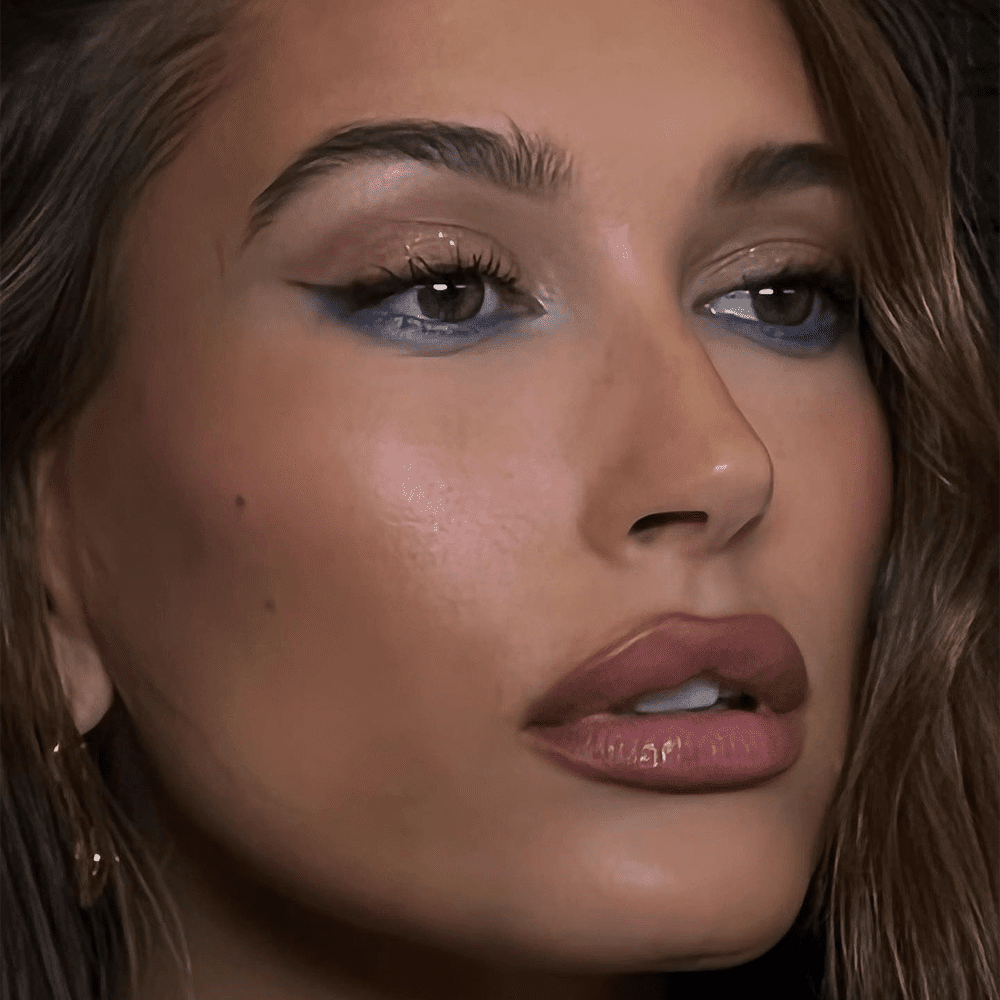
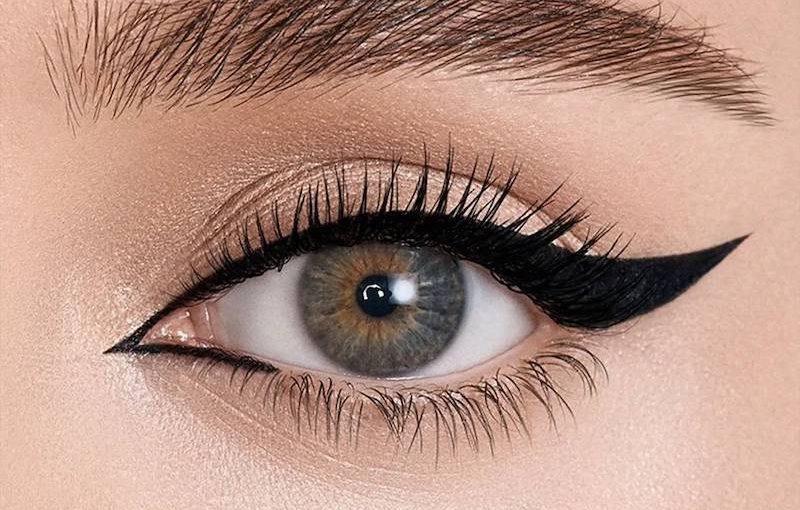
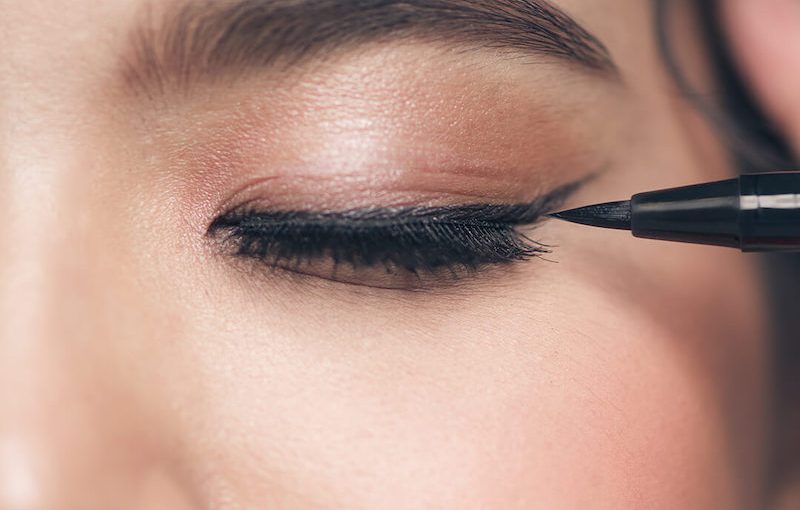
Tips for Pairing Lipstick with Makeup Looks
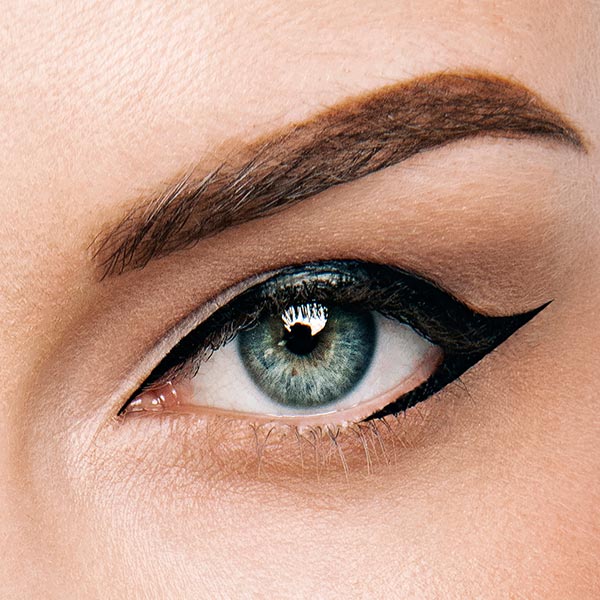
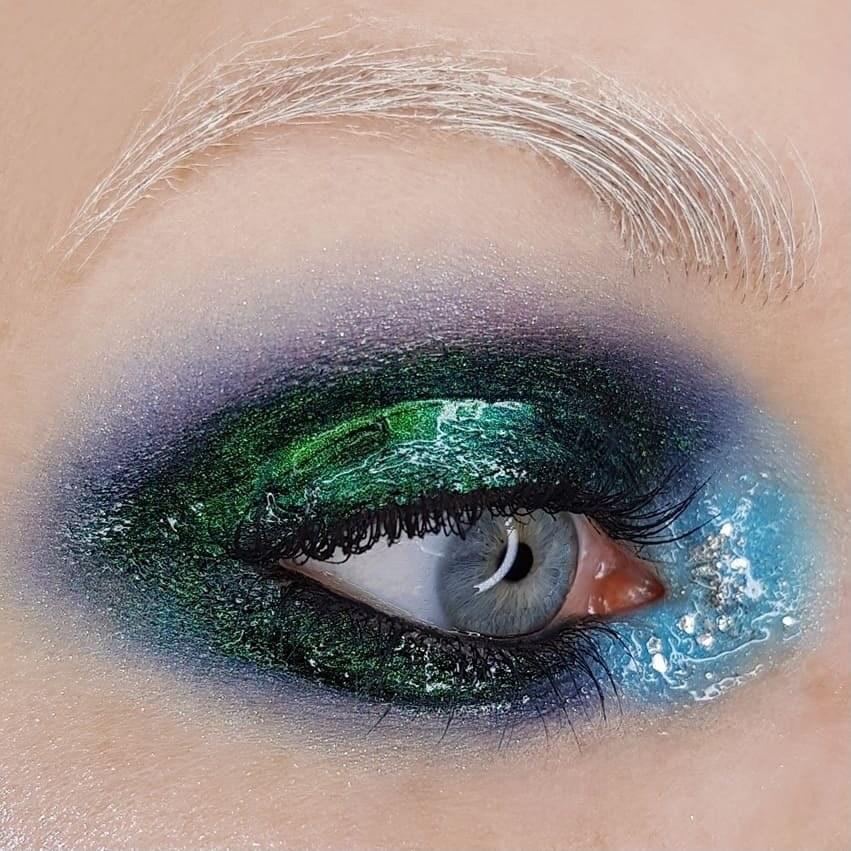
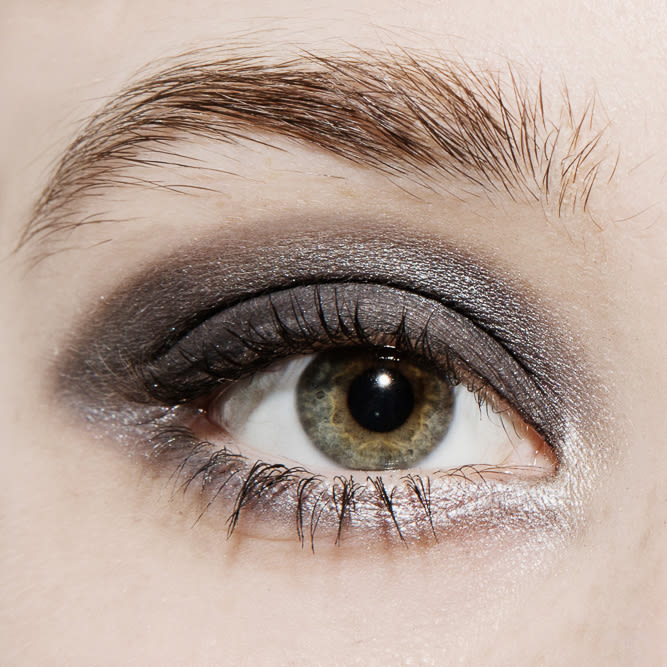
Pairing lipstick with your makeup look requires balancing boldness and harmony. First, consider the occasion: a dramatic red or black lipstick demands minimal eyeshadow (opt for neutral highlights), while a sheer nude allows creativity with eyeliners or glitter. Second, match undertones—orange-based reds pair well with bronze eyeshadows, while blue-based reds complement cooler tones like silver or navy.
Third, texture matters. Matte lipsticks suit dramatic events, but pair them with dewy skin for balance. Creamy formulas work best for everyday looks—try a soft coral with a natural eye. Fourth, experiment with metallic lipsticks (gold, silver) for evening events,a smoky eye or glitter accents to amplify the statement.
Lastly, simplify based on skin tone. Warm tones thrive with earthy browns or corals, while cool tones excel in berries or plums. A timeless tip: always test shades on your lips, not just the wrist, to ensure color accuracy. By aligning lipstick choices with your eye makeup, skin tone, and event, you’ll create cohesive, polished looks that elevate your confidence.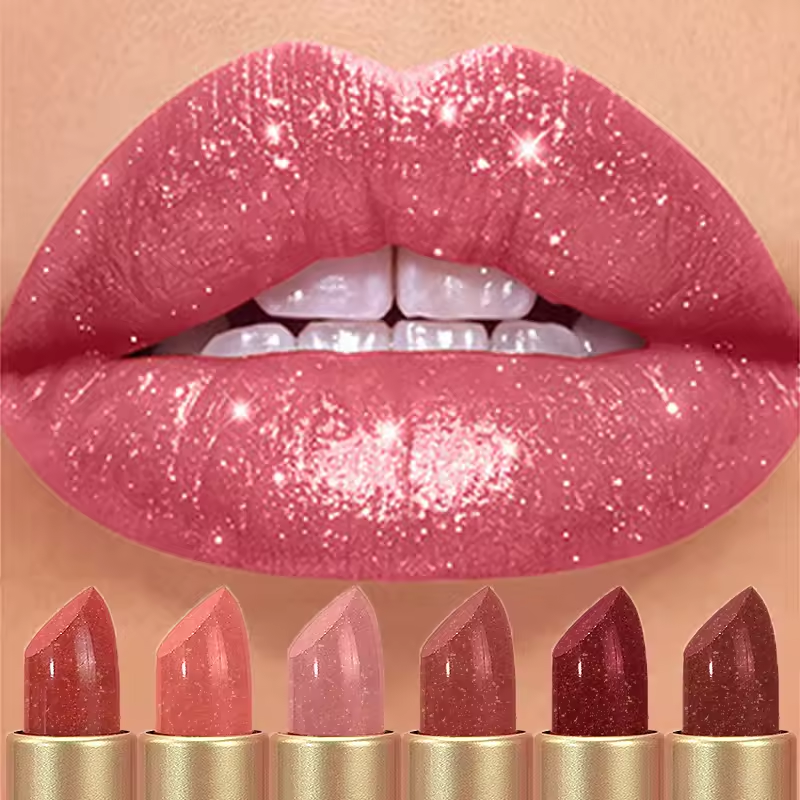
Common Misconceptions and Care Tips for Your Lipstick
1: “Matte lipsticks are always drying.”
While matte finishes can feel dry, many modern formulas now include hydrating ingredients like hyaluronic acid or shea butter. Always check the ingredient list—opt for products with moisturizing additives to avoid chapped lips.
2: “Lipstick must be reapplied hourly.”
A quality lipstick should last 4–6 hours without fading. Long-wear brands like Mac or NARS achieve this via polymers that bond with skin. Over-application or touch-ups can反而 cause smudging or uneven layers.
3: “Lipstick storage doesn’t matter.”
Incorrect storage ruins texture. Always keep lipsticks upright in a cool, dry place—heat causes melting, while humidity leads to separation.
Care Tips:
- Revive dried-out lipsticks: Gently warm the tip with a blowdryer or roll it over a lip balm to soften.
- Exfoliate lips weekly: Use a sugar scrub or dedicated lip exfoliant to remove dead skin, ensuring smooth, even color application.
- Clean lips before applying: A light swipe of concealer or micellar water removes old residue, preventing patchy coverage.
By debunking these myths and adopting proper care, you extend your lipstick’s lifespan while enhancing its performance. Prioritize quality ingredients and mindful habits for flawless, long-lasting results.