Understanding Eczema and Hand Soap Interaction
Eczema can make the skin dry and itchy. Using the wrong hand soap can worsen these symptoms. It’s important to understand how hand soap affects eczema-prone skin. Some soaps have harsh chemicals that strip away natural oils. This leaves the skin feeling dry and tight. For people with eczema, gentle cleansing is key. Look for soaps with moisturizing ingredients that support the skin’s barrier. Avoid hand soaps with Sodium Lauryl Sulfate (SLS) and alcohol. They can be very drying and irritating. Proper hand washing with the right soap can help manage eczema symptoms. It can prevent the skin from becoming more irritated or infected. In this section, we guide you on choosing hand soaps compatible with eczema-prone skin. We will look at what ingredients to seek out and which to avoid. With the right hand soap for eczema, you can keep your hands clean and soothed.
Essential Qualities of Eczema-Friendly Hand Soaps
For those with eczema, not all hand soaps will do. The skin needs gentle care. Look for soaps with specific qualities tailored for sensitive skin. Eczema-friendly hand soaps should not aggravate the skin. Instead, they should soothe and maintain moisture. Below are the qualities to look for in these soaps.
The Role of Moisturizing Ingredients
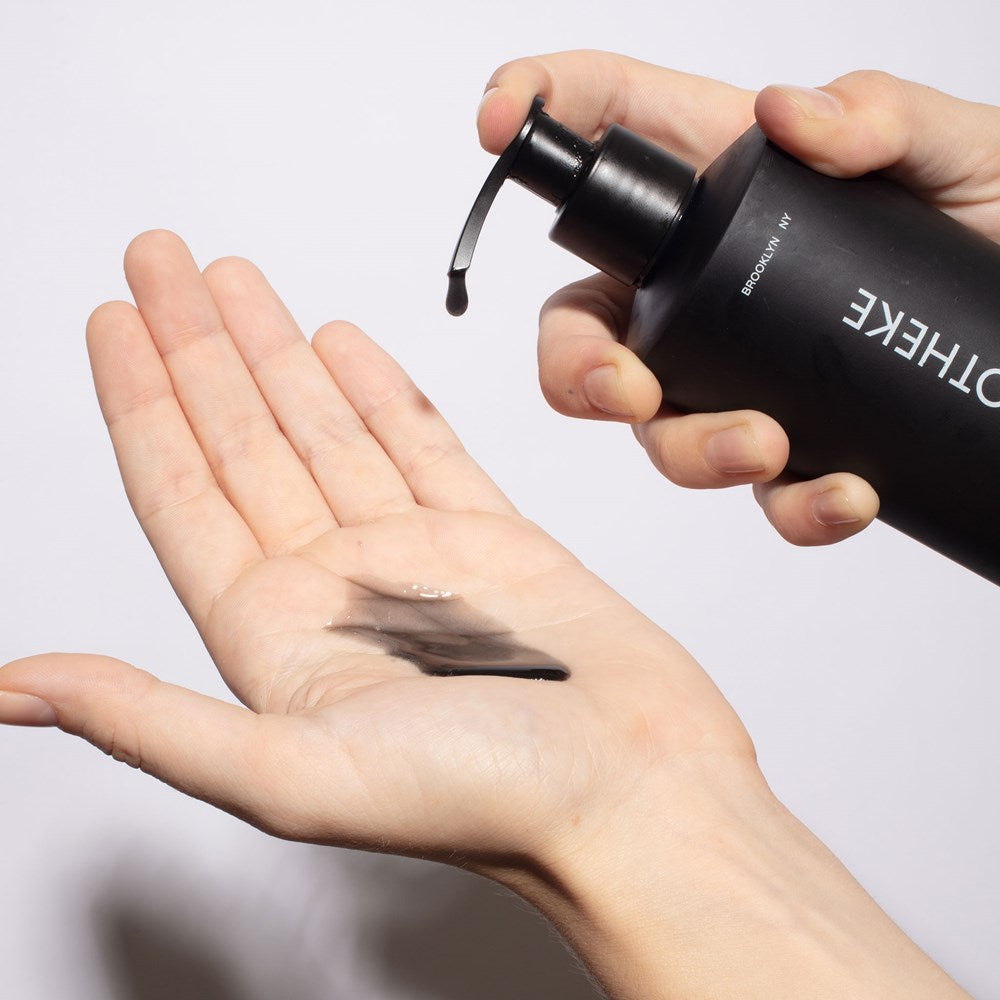
Moisturizing ingredients are key in hand soaps for eczema sufferers. They help keep the skin hydrated. This is vital after washing your hands. Ingredients like glycerin, aloe vera, and natural oils replace lost moisture. They also help form a protective barrier. Look for soaps with these hydrating agents. They ensure your hands stay soft and comfortable.
Importance of Avoiding Harsh Chemicals
Hand soaps with harsh chemicals can trigger eczema flare-ups. Sodium Lauryl Sulfate (SLS) and alcohol are big offenders. They strip the skin of its natural oils. Avoid soaps with these ingredients. Instead, choose soaps with natural, gentle ingredients. They clean effectively without damaging the skin. This will help to minimize irritation and dryness.
Recommended Ingredients for Hand Soaps for Eczema Sufferers
Choosing the best hand soap for eczema means knowing which ingredients work best. The right ingredients can prevent drying and irritation. They can also nourish the skin and help maintain its natural barrier. The following are recommended components to look for in eczema-friendly hand soaps.
Natural Oils and Butters
Natural oils and butters are ideal for eczema-prone skin. They offer deep hydration and help preserve the skin’s moisture. Some top picks for hand soaps include:
- Coconut Oil: This oil hydrates and protects the skin with its fatty acid content.
- Olive Oil: Olive oil is known for its ability to moisturize and repair the skin.
- Shea Butter: Rich in vitamins, shea butter reduces inflammation and soothes the skin.
Products containing these natural moisturizers can create a gentle lather without stripping the skin.
Aloe Vera: A Soothing Component
Aloe vera is a powerhouse for calming irritated skin. It can quickly hydrate the skin and provide relief. Hand soaps infused with aloe vera support skin healing. They also lock in moisture, leaving hands feeling smooth.
The Benefits of Honey in Hand Soaps
Honey is another excellent ingredient for eczema-friendly soaps. It has natural antibacterial properties. It also acts as a humectant. This means it draws moisture into the skin and keeps it there. Soaps with honey can help the skin stay hydrated and fight inflammation.
By choosing hand soaps with these ingredients, you can wash your hands without fear of irritation. Remember to read labels carefully to ensure you’re picking a soap that truly comforts your eczema-prone skin.
Tips for Protecting Hands with Eczema During Washing
Washing hands often is necessary, but for those with eczema, it can be a challenge. Keeping hands safe from irritation requires a gentle approach and careful aftercare. Here are tips to protect your hands while keeping them clean.
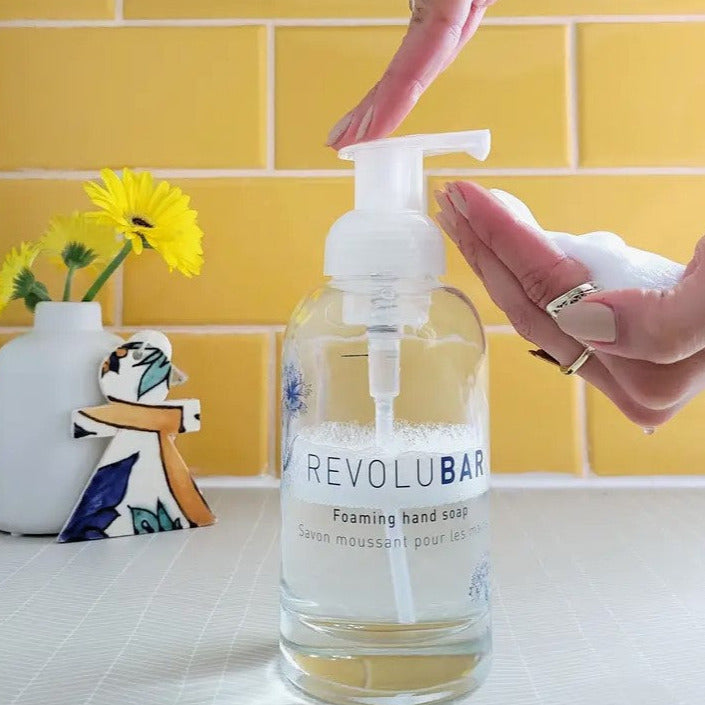
Proper Hand Washing Technique
To wash hands without causing harm:
- Use lukewarm water, not hot.
- Choose an eczema-friendly hand soap with natural ingredients.
- Wash gently for 20 seconds. Do not scrub.
- Rinse well to remove all soap traces.
- Pat hands dry with a soft towel, and avoid rubbing.
These steps help minimize skin stress during hand washing. It is about being kind to your hands each time you clean them.
The Role of Hand Creams in Eczema Care
After washing hands, applying a hand cream is crucial. This helps to:
- Restore moisture, preventing dryness.
- Maintain the skin’s barrier, protecting against irritants.
- Soothe inflammation and reduce discomfort.
A cream with ingredients like glycerin, shea butter, or aloe vera works well. The hand cream should be applied right after drying the hands. For added protection, use cream before bed and wear cotton gloves overnight.
Remember, hand care for eczema shouldn’t end with just washing. It’s a step-by-step routine that includes gentle cleaning and consistent moisturization. This way, you can keep your hands clean and soothe your eczema at the same time.

The Dangers of Common Soap Additives for Eczema
When dealing with eczema, certain additives in soaps can pose risks. It’s important to understand these risks to avoid worsening skin conditions. We’ll discuss two common additives found in soaps – Sodium Lauryl Sulfate (SLS) and alcohol. Their negative effects can be especially harmful to eczema-prone skin.
Understanding SLS and Its Effects
SLS is often found in cleaning products for its foaming action. But for eczema sufferers, SLS can be a nightmare. It strips away natural oils from the skin, leaving it dry and prone to irritation. When choosing a hand soap for eczema, always check for SLS in the ingredients list. Avoiding it can lead to better skin health and less discomfort.
Alcohol in Hand Soaps: What You Need to Know
Alcohol in hand soaps is common, especially in sanitizers. It’s a strong cleaning agent that kills germs effectively. However, it can also dry out the skin quickly. This drying effect can cause cracks and worsen eczema symptoms. Look for alcohol-free hand soaps that use gentler alternatives. This way, you keep your hands clean without sacrificing moisture.
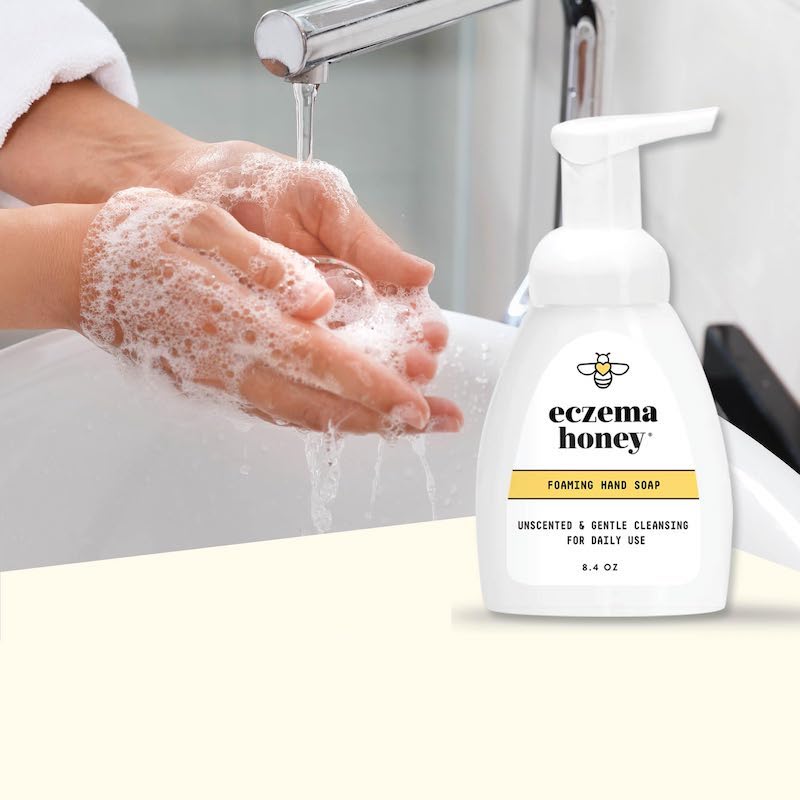
How to Choose an Eczema-Friendly Hand Wash
Choosing a hand wash for eczema involves careful label scrutiny to ensure skin safety. For effective cleaning that guards against flare-ups, prioritize soaps noted for their ‘eczema-friendly’ properties. Avoid products with Sodium Lauryl Sulfate (SLS) and alcohol, which strip natural oils and dry the skin. Opt for hand washes rich in natural oils like coconut or olive, and those with soothing components such as aloe vera. Check for hydrating ingredients like glycerin and honey. These are humectants, meaning they help retain moisture in the skin. Lastly, be wary of long chemical names or fragrances that can irritate sensitive skin. Always pick soaps with a clear list of gentle, protective ingredients.
Reading Labels: What to Look for and What to Avoid
Reading labels is key when finding the right hand wash. Look for positive terms such as ‘moisturizing,’ ‘gentle,’ ‘hypoallergenic,’ or ‘for sensitive skin.’ Ensure the hand wash is SLS-free and free from alcohols. Harmful additives to avoid include parabens, phthalates, and synthetic fragrances. These can all lead to skin issues. Seek out labels that list natural moisturizers and healing compounds. Such ingredients promote skin health and reduce the risk of eczema symptoms after handwashing.
Evaluating Hand Washes for Children with Eczema
Children’s skin demands even more care due to its sensitivity. When selecting hand washes for young ones with eczema, choose hypoallergenic options. These should be free from harsh chemicals and fragrances. Nature-based ingredients like aloe vera and gentle oils are best. They soothe young skin without harsh effects. Light, unscented formulas are preferable, and organic certifications can be a plus. It signifies quality and care in ingredient sourcing. Always opt for soft, healing hand washes that match the delicate nature of a child’s skin.
Additional Eczema Hand Care Tips
Managing eczema involves more than just selecting the right hand soap. Here are additional steps to follow.
The Importance of Hand Drying
Proper hand drying is just as important as the washing step. Here’s why:
- Avoid Damp Skin: Dampness increases the risk of eczema flare-ups. Always dry hands thoroughly.
- Use Soft Towels: Rough towels can irritate the skin. Opt for a soft, gentle towel.
- Be Gentle: Pat, don’t rub, your hands dry to avoid damaging sensitive skin.
By ensuring your hands are well-dried, you minimize the potential for irritation and keep skin comfortable.
Protecting Your Hands from Irritants
To reduce eczema symptoms, protect your hands from known irritants:
- Wear Gloves: Use gloves when cleaning or in the cold to shield hands from harsh substances and weather.
- Choose Products Wisely: Pick products labeled ‘for sensitive skin’ or ‘eczema-friendly’ as these are less likely to cause irritation.
- Avoid Excessive Heat: Hot water and air can dry out skin. Use lukewarm water for washing and avoid high heat when drying hands.
By following these tips and combining them with the right hand soap for eczema, you can care for your hands effectively and keep your skin calm and soothed.