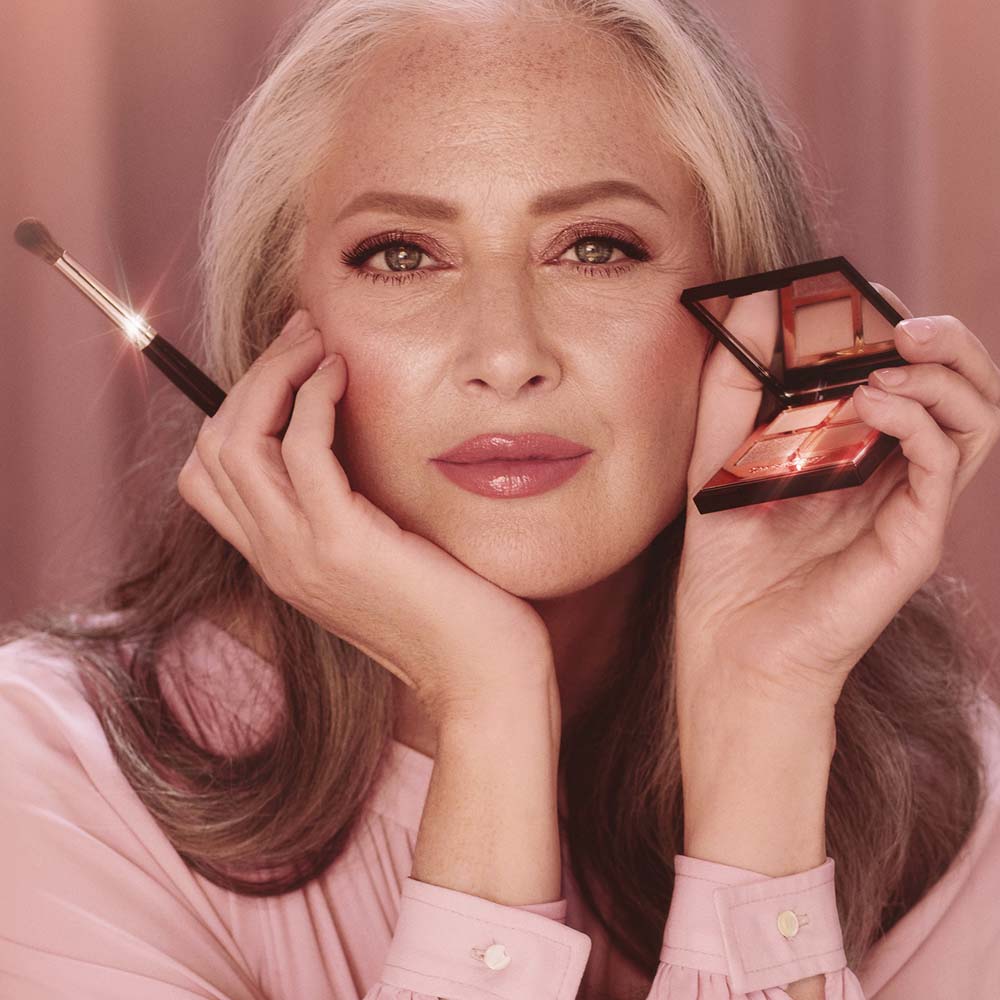
Introduction
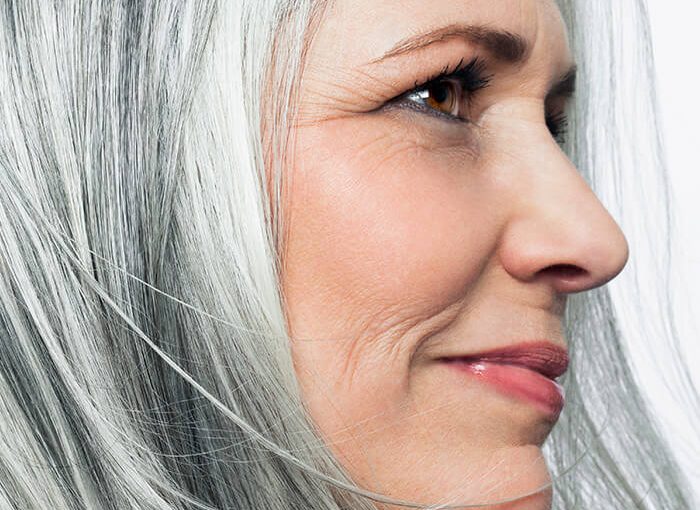
As we age, our skin and features change, and so do our makeup needs. One area of the face that requires special attention as we get older is the eyes. Mature eyes need special care and attention when it comes to makeup, especially when it comes to eye shadow. In this article, we will explore the best eye shadow options for mature eyes, taking into consideration factors such as texture, pigmentation, and staying power.
Part 1: Understanding Mature Eye Needs
Level 1: Changes in skin texture and elasticity
As we age, the skin around the eyes tends to lose elasticity and become more prone to wrinkles and sagging. This means that the eye shadow needs to have a smooth and blendable texture that won’t settle into fine lines or emphasize wrinkles.
Level 2: Pigment and staying power
Mature eyes also require eye shadow that is highly pigmented and long-lasting. As the skin around the eyes becomes thinner and more delicate, it can be more challenging to achieve vibrant, long-lasting color. Finding eye shadow that stays put without creasing or fading throughout the day is essential for mature eyes.
Part 2: Best Eye Shadow Formulas for Mature Eyes
Level 1: Cream eye shadows
Cream eye shadows are a great option for mature eyes. They have a smooth, blendable texture that won’t tug or pull on delicate skin. Additionally, cream eye shadows can be easier to apply than powder formulas, making them a great choice for those with less dexterity in their hands.
Level 2: Matte eye shadows
Matte eye shadows are another excellent option for mature eyes. Shimmer and glitter can emphasize fine lines and wrinkles, while matte shades create a soft, natural look that is universally flattering. Look for matte eye shadows with a creamy, buildable texture for the best results.
Part 3: Choosing the Right Colors for Mature Eyes
Level 1: Neutral shades
Neutral shades such as taupe, beige, and soft brown are perfect for mature eyes. These hues are versatile and can be worn for any occasion, providing a subtle, sophisticated look without drawing attention to any imperfections.
Level 2: Warm tones
Warm tones like peach, copper, and bronze can add a youthful glow to mature eyes. These shades can brighten and lift the eyes, helping to counteract any signs of fatigue or dullness.
Part 4: Tips for Applying Eye Shadow on Mature Eyes
Level 1: Use a primer
Using an eye shadow primer is essential for mature eyes. A good primer will create a smooth, even base for the eye shadow, preventing it from settling into fine lines and ensuring that it stays in place all day.
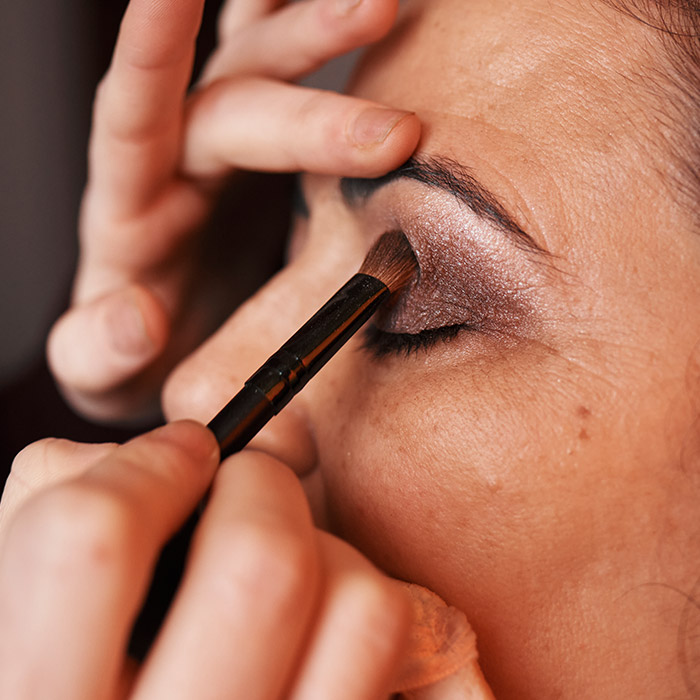
Level 2: Blend, blend, blend
Proper blending is key to achieving a seamless, natural look on mature eyes. Use a fluffy brush to blend the eye shadow gently, creating soft, diffused edges for a flattering finish.
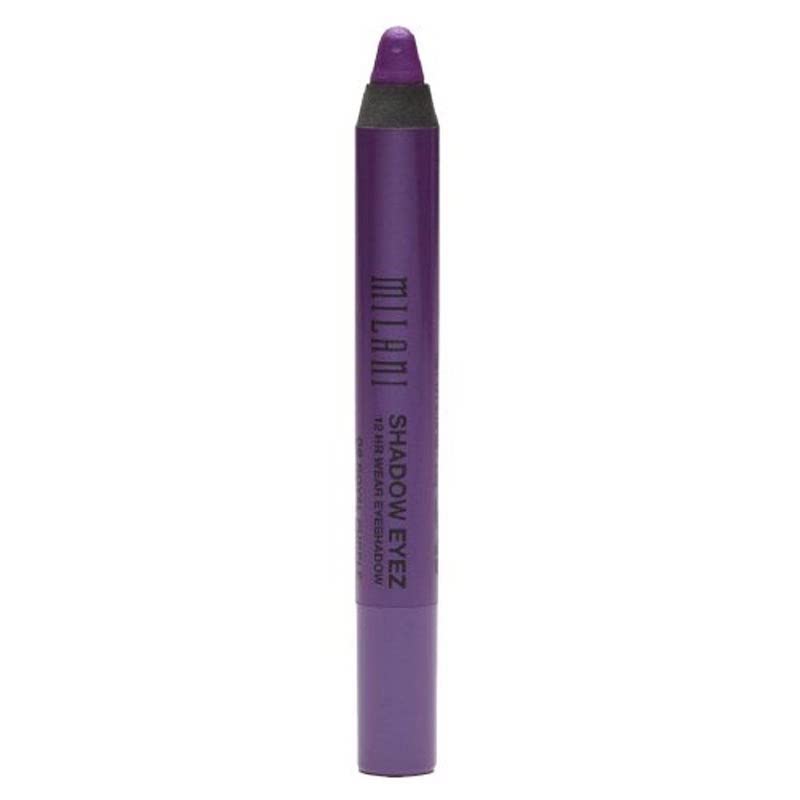
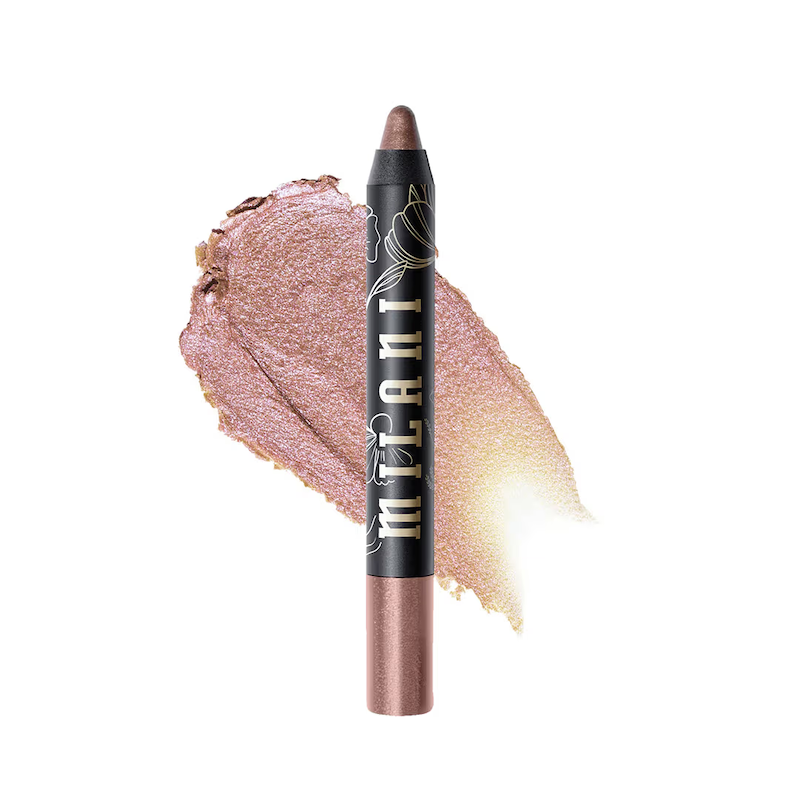
Part 5: Product Recommendations for Mature Eyes
Level 1: Bobbi Brown Long-Wear Cream Shadow
This cream eye shadow is highly pigmented and has a smooth, buildable texture that won’t settle into fine lines. It comes in a range of neutral and warm shades that are perfect for mature eyes.
Level 2: Urban Decay Naked Basics Palette
This matte eye shadow palette features six versatile shades in a creamy, blendable formula. The neutral hues are perfect for creating soft, natural looks on mature eyes.

Part 6: Tips for Applying Eye Shadow on Mature Eyes
When applying eye shadow on mature eyes, there are a few key tips to keep in mind to enhance the natural beauty of your eyes. First, be sure to use a primer on your eyelids to create a smooth canvas for the eye shadow to adhere to. This will also help prevent creasing and make the color last longer.
Next, opt for matte or satin finish eye shadows as these are less likely to settle into fine lines and wrinkles. Avoid using shimmer or glittery eye shadows as they can draw attention to any texture on the eyelids.
When applying the eye shadow, use a fluffy blending brush to softly blend the color into the crease of the eyelid. This will create a natural-looking gradient and prevent any harsh lines.
Lastly, consider using a lighter, neutral shade on the eyelid and a slightly darker shade in the crease to add depth and dimension to the eyes. This will help create a lifted and more youthful appearance.
Part 7: Best Eye Shadow Colors for Mature Eyes
When it comes to choosing the best eye shadow colors for mature eyes, it’s important to select shades that complement and enhance your natural eye color while also taking into consideration your skin tone. For blue eyes, warm shades such as copper, bronze, and peach can help make the eyes pop. Green eyes, earthy tones like taupe, olive, and plum can enhance the eye color. For brown eyes, shades like gold, bronze, and warm browns can bring out the richness of the eye color.
Part 8: Blending Techniques for Mature Eyes
Blending eye shadow on mature eyes is crucial for achieving a seamless and polished look. When blending eye shadow, use a fluffy blending brush to soften any harsh lines and create a smooth transition between colors. Start by applying a transition shade in the crease of the eyelid to create depth and dimension. Then, use a slightly darker shade to define the outer corner of the eye and blend it into the crease. Finally, use a lighter shade on the eyelid to add brightness and open up the eyes.
Another key blending technique for mature eyes is to focus on the outer corner of the eye to create a lifted and elongated shape. By blending a darker shade in the outer corner and slightly extending it upwards towards the brow bone, you can create a subtle lifting effect that can make the eyes appear more youthful.
When blending, always use a light hand and build up the color gradually to avoid any harsh lines or excess product. Take your time and blend the colors seamlessly for a polished and professional-looking eye shadow application.
Part 9: Tips for Choosing the Best Eye Shadow for Mature Eyes
As we continue to explore the best eye shadow options for mature eyes, it’s important to consider shades that complement your skin tone. For those with fair skin, soft, cool-toned shades like pale pinks, soft taupes, and cool greys can work beautifully. These shades can help to brighten and lift the eyes without being too overpowering. For those with medium to olive skin tones, warm neutrals like copper, bronze, and golden tones can add warmth and depth to the eyes. Deep, rich shades like plum, navy, and forest green can be stunning on those with darker skin tones, providing a striking contrast.
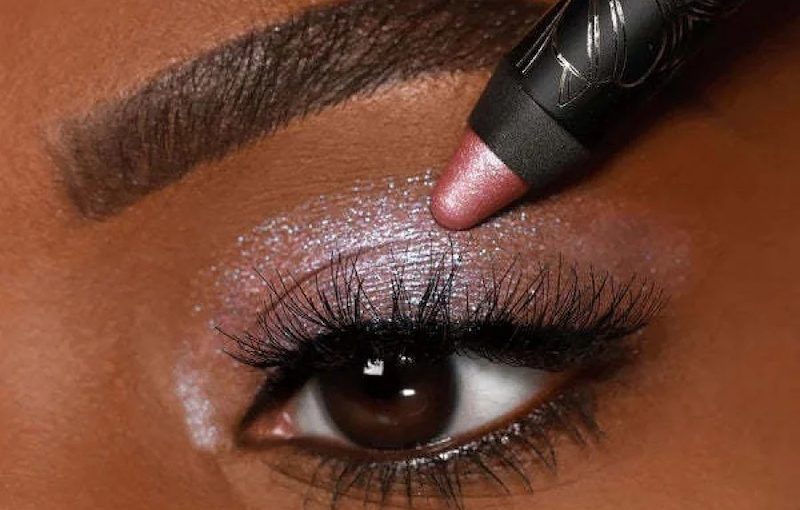
Another important consideration when choosing eye shadows for mature eyes is the texture. Creamy, smooth formulas are ideal for mature skin as they glide on easily and blend seamlessly without settling into fine lines and wrinkles. Look for velvety matte shades and subtle shimmer finishes to create dimension without emphasizing texture. Avoid highly glittery, chunky formulas, as these can accentuate lines and creases.
Finally, don’t be afraid to experiment with different eye shadow techniques to enhance the natural shape of your eyes. For example, using a lighter shade on the inner corners and along the brow bone can create a lifting effect, while applying a deeper shade in the outer corner and along the crease can add depth and definition. Consider using a dampened brush or your fingertip to intensify the color and pigment payoff, especially with shimmer or metallic shades, for a more impactful look.
Conclusion
Choosing the best eye shadow for mature eyes can make a world of difference in your makeup routine. By understanding the specific needs of mature eyes and selecting the best formulas and colors, you can achieve a flattering, youthful look that enhances your natural beauty. Whether you opt for cream or matte formulas, neutral or warm shades, following these tips and product recommendations will help you find the best eye shadow for your mature eyes.


:format(jpg)/d2lnr5mha7bycj.cloudfront.net/product-image/file/large_4b1b7762-ea3c-4fdc-a16b-8024d740cfe5.jpg)