Introduction to DIY Foaming Hand Soap
Making your own foaming hand soap is both rewarding and simple. It allows for customization and can lead to significant savings. With a few basic ingredients, you can create a product that fits your personal preferences for cleanliness, moisturization, and scent.
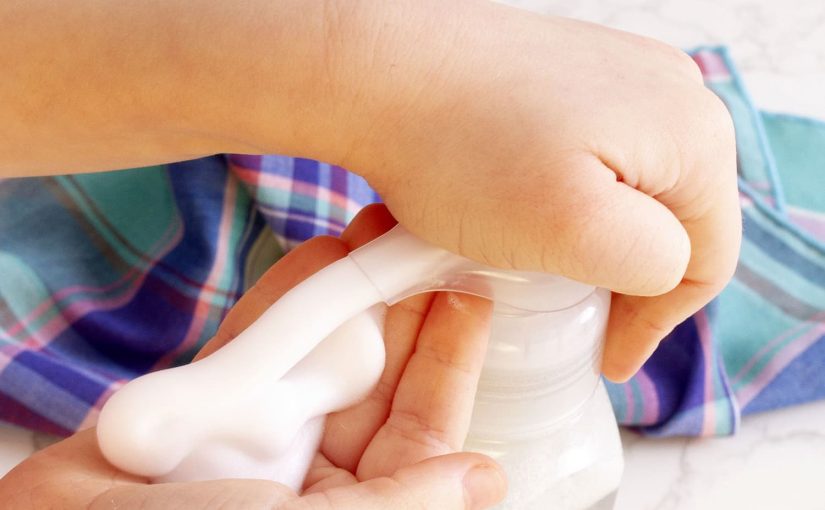
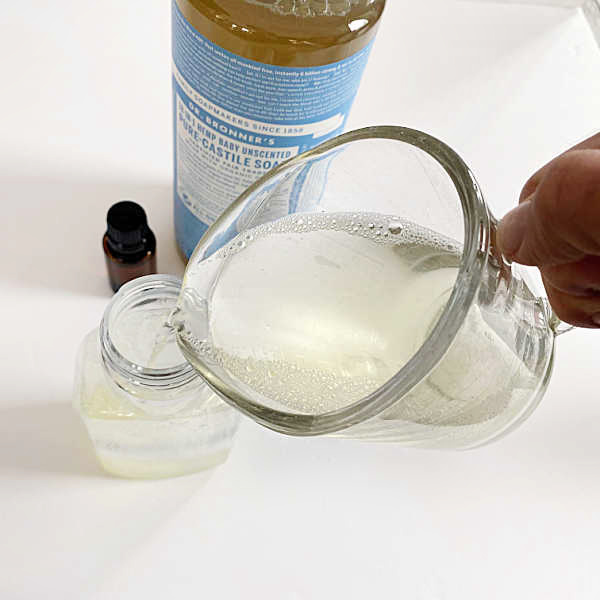
To start, you will need a foaming soap dispenser, which is crucial to get the right consistency of foam. The simple act of mixing a soap concentrate with water— in correct proportions—transforms into a luxurious foam. This transformation is not just about cost-efficiency; it’s about taking control of what goes on your skin.
When you choose the diy foaming hand soap route, think of it as a fun experiment. You can adjust the diy foaming hand soap ratio to suit your needs, which isn’t possible with store-bought alternatives. Moreover, by adding natural ingredients, you can tailor the soap for extra skin care benefits or a therapeutic aroma.
The process isn’t complicated, but it does require some knowledge about the diy foaming hand soap ratio and the components that work best. In the following sections, we’ll explore the basics of creating the perfect mix, how to customize your soap with fragrances and additives, and tips to ensure your DIY hand soap is as effective as it is indulgent.
The Basic Components of Foaming Hand Soap
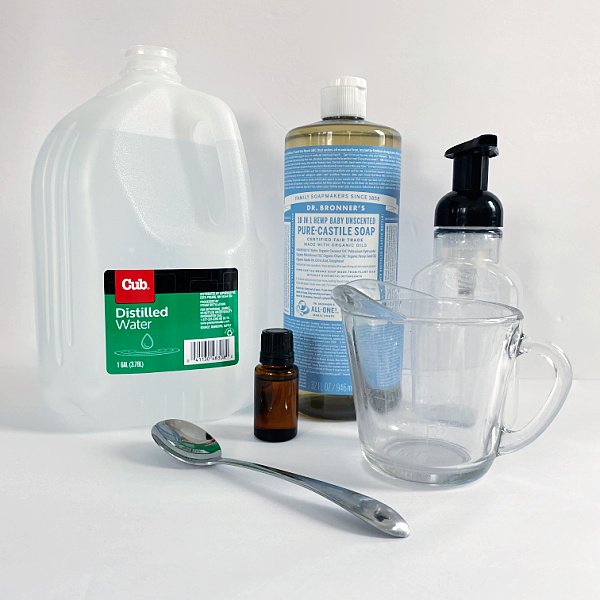
Before you can master the diy foaming hand soap ratio, it’s essential to understand the components. At its core, foaming hand soap consists of three main ingredients: water, soap concentrate, and air. The soap concentrate, often a liquid castile soap, acts as a cleaning agent. Water dilutes the concentrate, and the pump injects air to create foam. The right balance of these elements results in a soap that’s thick enough to cleanse effectively but light enough to pump through a foaming dispenser.
When it comes to the soap base, you have options. Many diy enthusiasts choose castile soap because it’s natural and gentle on the skin. Some prefer certain brands for their specific cleaning strengths or organic certifications. Regardless of brand, the concentrate should be of good quality to avoid skin irritation.
Next, you’ll need distilled or boiled water. Tap water can lead to bacteria growth due to minerals and contaminants. Using distilled water helps keep your diy foaming hand soap safe and fresh longer.
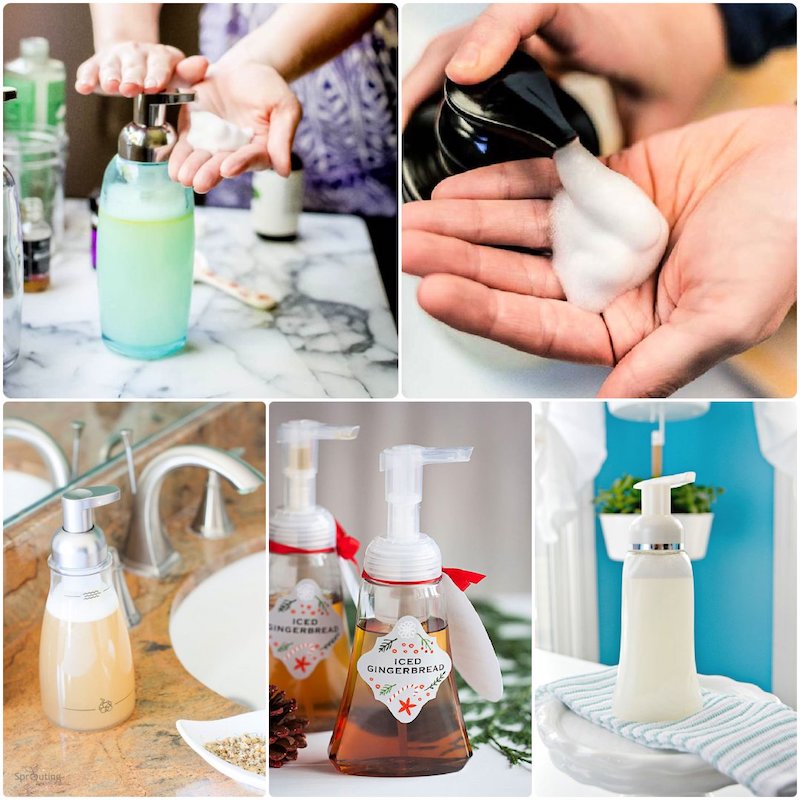
Finally, the air incorporated by the foaming pump is what transforms the mix into a light, airy foam. A pump designed for foaming soap is necessary, as a regular soap dispenser won’t introduce the right amount of air.
Remember, the diy foaming hand soap ratio is critical in this mix. If you get it right, you’ll enjoy a luxurious foam that cleans and delights with every pump.
Understanding the Ideal Soap to Water Ratio
Getting the diy foaming hand soap ratio right is key to perfect soap. Too much water may leave hands unclean. Too little can dry out the skin and clog the pump. The ideal diy foaming hand soap ratio is typically 1 part soap to 5 parts water. This balance gives you a rich foam that cleans and is gentle on skin.
To find your perfect diy foaming hand soap ratio, start with the basic 1:5 ratio. Then, test it. You can always adjust the ratio to find what works best for you. Some might prefer a thicker foam and can reduce water slightly. If you want a lighter foam, add a bit more water.
Measure your soap first, then add water. This method prevents too many suds that can happen if water is poured too quickly into the soap. Make sure to mix gently to avoid creating bubbles in the bottle before use.
Remember, the goal is making hand soap that feels good and cleans well. With some trial and error, you’ll master the perfect diy foaming hand soap ratio. Make small adjustments and keep testing until you discover what brings out the best foam for your preference.
Choosing the Right Soap for Your Foam Dispenser
Choosing the right soap for your foam dispenser is just as important as the diy foaming hand soap ratio. Most foam dispensers work well with a thin, water-like soap consistency, thus liquid castile soap is a favored choice. Its natural composition is gentle on the skin, reducing the risk of irritation and making it a top pick for many DIY enthusiasts.
When selecting a soap base, consider the skin benefits you wish to achieve. For a moisturizing effect, look for soap that contains natural oils like coconut or olive oil. These oils help nourish the skin while cleaning. For a deep cleanse, choose a soap with tea tree oil, which has natural antiseptic properties.
Be cautious with thicker soaps since they can clog foam dispensers. If you want to use a thicker soap, thin it down with water using your diy foaming hand soap ratio skills. Always aim for a mixture that easily moves through the pump, creating a consistent foam.
Remember to use unscented soap if you plan to add your fragrances or essential oils later. This way, you can customize the scent without the base soap’s aroma overpowering your added fragrances. Always check for quality and aim for soaps with minimal ingredients to avoid unnecessary chemicals on your skin.
Finally, pay attention to how your dispenser reacts to your soap mixture. You might need to adjust the soap base or the diy foaming hand soap ratio to find the perfect match for your dispenser. Take your time to test and adjust until you achieve that flawless foam every time you wash your hands.

Adding Fragrance and Essential Oils for Aromatherapy Benefits
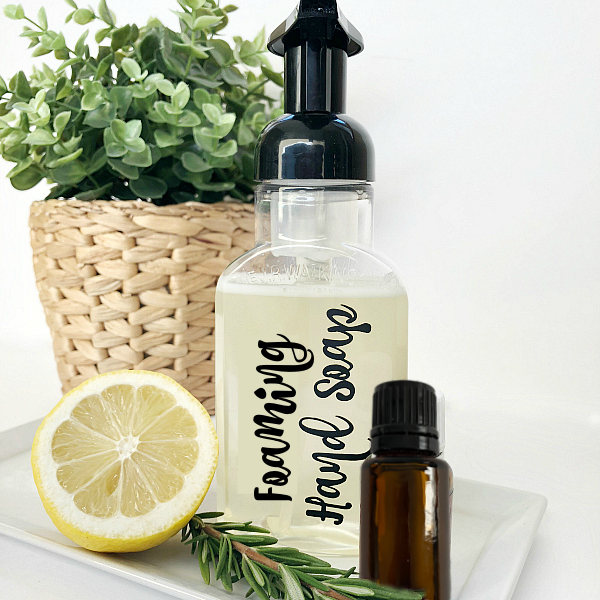
Once you’ve found the ideal diy foaming hand soap ratio, you can enhance your soap with scents. Essential oils work well for this. They don’t just smell great; they also offer therapeutic benefits. For relaxation, lavender oil is a popular choice. Peppermint or citrus oils can energize and uplift.
Adding oils is simple. First, choose your essential oils. Then, for every cup of soap mixture, add 5-10 drops of oil. Be careful not to add too much. Too many oils can cause skin irritation and may overpower the soap’s scent. Also, some oils can react with the soap, leading to an unpleasant smell or reduced foaming ability.
Aromatherapy brings many benefits to soap-making. It can improve mood, relieve stress, and even help with sleep. Each essential oil offers different health benefits. For example, tea tree oil has antibacterial properties. Eucalyptus oil can help with respiratory issues. Choose oils that fit your needs. Always use pure essential oils and avoid artificial fragrances as they may contain chemicals.
Remember, when adding fragrance, to do so sparingly and always mix well. This ensures an even distribution of scent throughout the soap. Now, with the perfect soap base, ratio, and a touch of aroma, your diy foaming hand soap is not just a cleanser. It’s a sensory experience that pampers your hands and soothes your spirit with every pump.
Natural Additives for Enhanced Skin Care
Once you have the basic diy foaming hand soap ratio down, it’s time to talk about skin care. We can boost the nourishing power of our soap by adding natural additives. These will provide added moisture and care for the skin during the cleansing process. Let’s dive into some great natural additives you can include.
Aloe Vera
Aloe vera is known for its soothing properties. It can help calm irritated skin and add hydration. Mix in a small amount of aloe vera gel with your soap base before diluting it with water.
Coconut Oil
Coconut oil is a fantastic moisturizer. It also has antimicrobial properties. A teaspoon or two can be mixed into the soap base for extra skin softness.
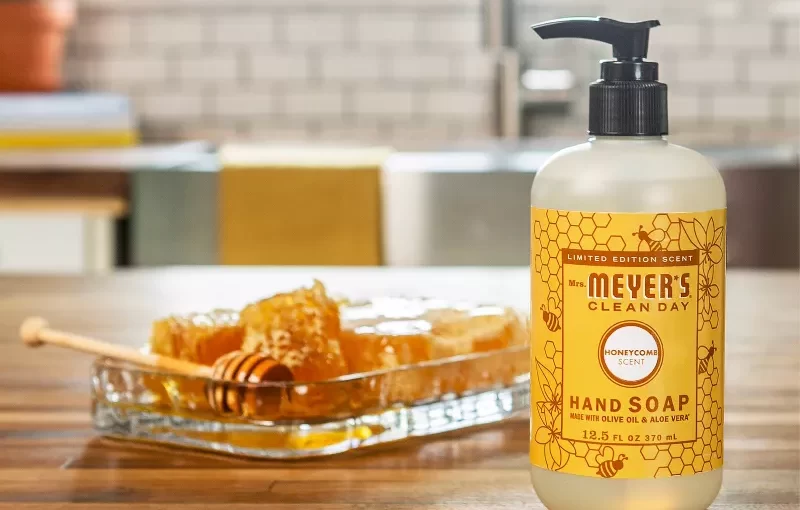
Honey
Honey is a natural humectant. It draws moisture to the skin, helping to keep it hydrated. Add a spoonful of raw honey to your hand soap mix for a touch of luxury.
Oatmeal
Finely ground oatmeal works well for sensitive skin. It’s known to relieve itching and inflammation. Include a small amount in your soap for a gentle exfoliating effect.
Vitamin E
Vitamin E is great for skin repair and protection. Puncture a vitamin E capsule and squeeze the contents into your soap mixture. It’s a simple way to increase the antioxidant power of your hand soap.
Choose one or combine several of these natural additives for their unique benefits. Always mix them thoroughly into your base before adding water. This way you ensure they are evenly distributed in your diy foaming hand soap. Tailor the additives to your skin’s needs and you’ll not only have clean hands but nourished skin as well.
Tips for Mixing and Avoiding Common Mistakes
Mixing your own foaming hand soap is straightforward when you know the diy foaming hand soap ratio, but it’s also easy to make mistakes that can ruin your soap. Here are some tips to ensure that your soap turns out perfect every time.
- Measure Precisely: Use accurate measuring tools when mixing your soap to water ratio. Guesswork can lead to incorrect consistency.
- Mix Slowly: To prevent excess bubbles, mix the soap and water together slowly and gently.
- Test Your Soap: Before committing to a full bottle, test your diy foaming hand soap ratio in a smaller container.
- Temperature Matters: Both your soap concentrate and water should be at room temperature to blend well.
- Avoid Contamination: Keep your mixing tools and dispenser clean to prevent bacteria growth in your soap.
- Check Your Additives: Ensure that your fragrances and oils are skin-safe and compatible with soap mixtures. Some essential oils may reduce foaming if used excessively.
- Adapt to Your Dispenser: Not all foam dispensers are the same. If your dispenser isn’t foaming as desired, tweak the ratio or the soap base formula.
- Don’t Overfill: Leave some space at the top of your dispenser to allow room for the pumping mechanism to work effectively.
- Label Your Creation: Write down your diy foaming hand soap ratio and additives on the bottle, so you remember what works best.
Following these steps will help you mix your diy foaming hand soap accurately, providing you with a consistent and enjoyable washing experience. Plus, these practices will help avoid common mistakes that could lead to less-than-ideal soap quality. Keep experimenting and refining your technique, and you’ll be a diy foaming hand soap expert in no time.
Environmental and Cost Benefits of DIY Foaming Hand Soap
Switching to DIY foaming hand soap offers more than just custom scents and skin benefits. It’s also a win for your wallet and the environment. Let’s dive into the eco and cost advantages you gain from making your own soap.
Save Money in the Long Run
DIY foaming hand soap is a smart choice for budget-conscious consumers. Mixing your soap means buying ingredients in bulk, often at a lower cost per use than pre-made soaps. By mastering the diy foaming hand soap ratio, you avoid overusing soap concentrate. This stretches your dollars further as you get more batches from the same amount of base soap.
Reduce Plastic Waste
Single-use plastic dispensers are a significant contributor to environmental pollution. When you choose the DIY route, you reuse the same dispenser many times. This simple change cuts down on the plastic waste you send to landfills. Plus, by refilling one bottle, you diminish the demand for new plastics, pushing manufacturers towards more sustainable practices.
Lessen Environmental Impact
The ingredients in some store-bought soaps can harm ecosystems when they go down the drain. By choosing natural and biodegradable components for your DIY mix, you protect marine life and water quality. Likewise, minimal packaging and reduced transportation of store-bought options result in a smaller carbon footprint.
Control Over Ingredients
Creating your own foaming hand soap means you know exactly what goes in it. You avoid harsh chemicals present in commercial soaps that may harm the environment when rinsed away. Using eco-friendly and skin-safe ingredients ensures that your hand washing habits are as green as they are clean.
Encourage Sustainability
Making your own soap can inspire you and others to adopt more sustainable habits. It can be a starting point for a journey toward a more eco-conscious lifestyle. Sharing your diy foaming hand soap ratio and results with friends may motivate them to make green choices too.
In conclusion, DIY foaming hand soap is a gesture of care—not just for your skin but for your budget and our planet. With each pump, you’ll feel the satisfaction of saving money and taking an active role in reducing your environmental impact.