Introduction to Artisan Soap Making
Artisan soap making is a creative and fulfilling hobby. It combines the science of chemistry with the art of design. As a beginner, you might feel overwhelmed, but don’t worry. This guide will help you understand the basics and get started with your first hand made soap batch. Handcrafted soap, unlike commercial options, offers a personal touch. You can choose the ingredients and scents that suit your preferences. Artisan soaps also make great gifts, or they can become a profitable business venture.
To start, let’s discuss what artisan soap actually is. It’s soap made by hand, using traditional methods. These methods include melting, mixing, and setting. You often use natural ingredients, like plant oils and butters. You can add herbs, flowers, or other organic items for texture and benefits. Making soap by hand lets you avoid the harsh chemicals found in many store brands. As a result, your soaps are gentle on the skin and eco-friendly.
In the following sections, we’ll explore the tools you’ll need, the soap making process, and how to customize your creations. Whether you’re aiming to craft soaps for personal use or to sell, we’ll guide you through each step. Let’s embark on this exciting journey of creating beautiful, nourishing hand made soaps together!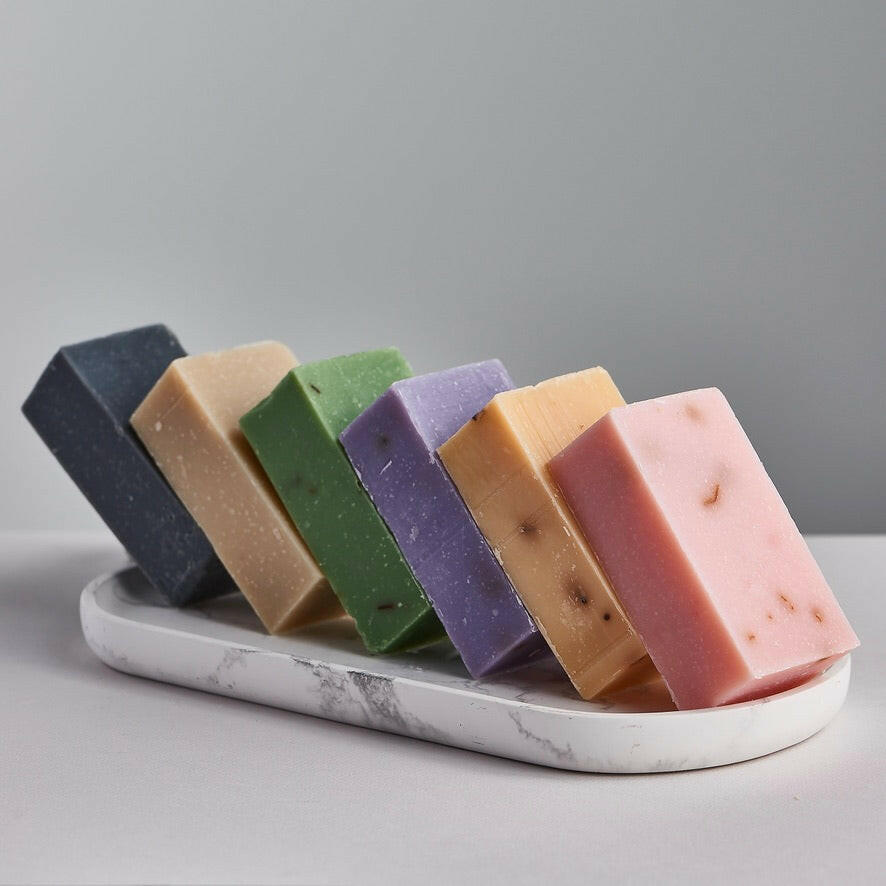
Tools and Materials Needed for Soap Making
To embark on your hand made soap journey, you’ll need specific tools and materials. Here’s what to gather before you start:
- Safety Gear: Safety comes first. Get gloves, goggles, and long-sleeve shirts to protect your skin and eyes from lye.
- Soap Base: Choose a soap base; glycerin, shea butter, and goat milk are popular.
- Lye: Essential for saponification, lye, or sodium hydroxide, turns oils into soap.
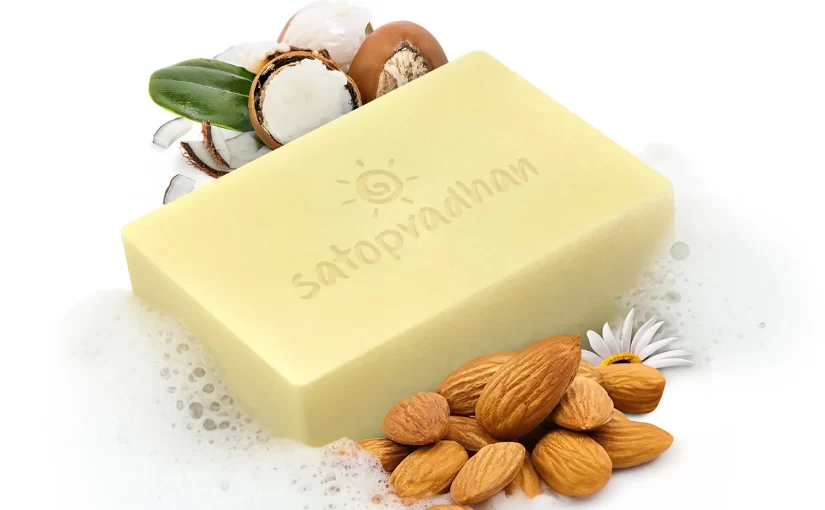
- Oils and Butters: These provide moisture. Options include coconut, olive, and almond oil.
- Molds: Soap molds shape your creations. Silicone molds ease soap removal.
- Thermometer: Ensuring ingredients are correct temperatures is crucial for successful saponification.
- Mixing Tools: You’ll need stainless steel spoons and heatproof containers for mixing.
- Digital Scale: Precision is key in soap making, so measure ingredients with a digital scale.
Remember to choose high-quality ingredients for the best results in your hand made soap. With these items ready, making soap is both safe and enjoyable. Keep them stored away from children and pets. Following this list, you’re now prepared to learn the soap making process. Let’s move forward to creating your first batch!
Understanding the Soap Making Process
Making hand made soap involves a process known as saponification. This is where lye reacts with oils to create soap. Let’s break this down into simple steps to understand it better.
- Prepare Your Workspace: Cleanliness is crucial. Clear your area and have all tools and materials at hand.
- Suit Up with Safety Gear: Put on your gloves, goggles, and long-sleeve shirt. Safety first.
- Measure Ingredients Accurately: Use your digital scale to measure lye, oils, and butters precisely.
- Mix Lye with Water: Slowly add lye to water, never the other way around, to prevent a chemical reaction.
- Allow Lye Mixture to Cool: Wait for the lye to cool down before mixing it with oils.
- Heat Oils and Butters: Warm these until they melt completely, ready for blending with the lye mixture.
- Combine Lye and Oils: Once both are at similar temperatures, mix them slowly to start saponification.
- Pour into Molds: Transfer the mixture to soap molds, which shape the final product.
- Cure the Soap: Leave the soap undisturbed to set and harden over several weeks.
Remember, precision and patience are key to successful hand made soap making. With each step, you’re closer to creating your very own artisan soap.
Step-by-Step Guide to Making Your First Batch
Ready to make your first hand made soap? Follow these clear steps for a successful batch. Ensure all your tools and materials are within reach before you begin.
- Step 1: Set up Your Workspace: Find a clean, well-ventilated area. Have your safety gear, ingredients, and tools ready.
- Step 2: Gear Up for Safety: Wear goggles, gloves, and a long shirt. Keep vinegar nearby to neutralize any lye spills.
- Step 3: Measure Your Ingredients: Use the digital scale to get precise amounts. Accuracy is crucial for a perfect reaction between lye and oils.
- Step 4: Mix Lye and Water: Add lye to water slowly to avoid splashes. Do it in a well-ventilated space or outdoors.
- Step 5: Heat Oils and Butters: Gently warm them until they melt fully. Use a thermometer to check the temperature.
- Step 6: Combine Lye and Oils: Wait until both have similar temperatures. Then, slowly mix them and blend well.
- Step 7: Mixture into Molds: Pour the blended mixture into soap molds. Make sure there are no air bubbles.
- Step 8: Set the Soap: Leave your soaps in a safe place. Allow them to set for 24-48 hours.
- Step 9: Unmold and Cut: Once set, gently remove the soaps from the molds. Cut them into bars if needed.
- Step 10: Cure the Soap: Place the soap on a rack in a ventilated area. Let them cure for 4-6 weeks.
Remember, patience is a virtue in soap making. Your hand made soap will need time to set and cure properly. Once done, your soaps will be ready for use or gifting! Keep practicing, and you will refine your soap-making skills over time.
Customizing Your Soaps with Scents and Colors
After mastering the basics of hand made soap making, you now get to the fun part: customization. Adding personal touches to your soaps with scents and colors can truly make them stand out. Not only do they enhance the sensory experience, but they also allow you to express creativity.
Choosing Scents for Your Soaps
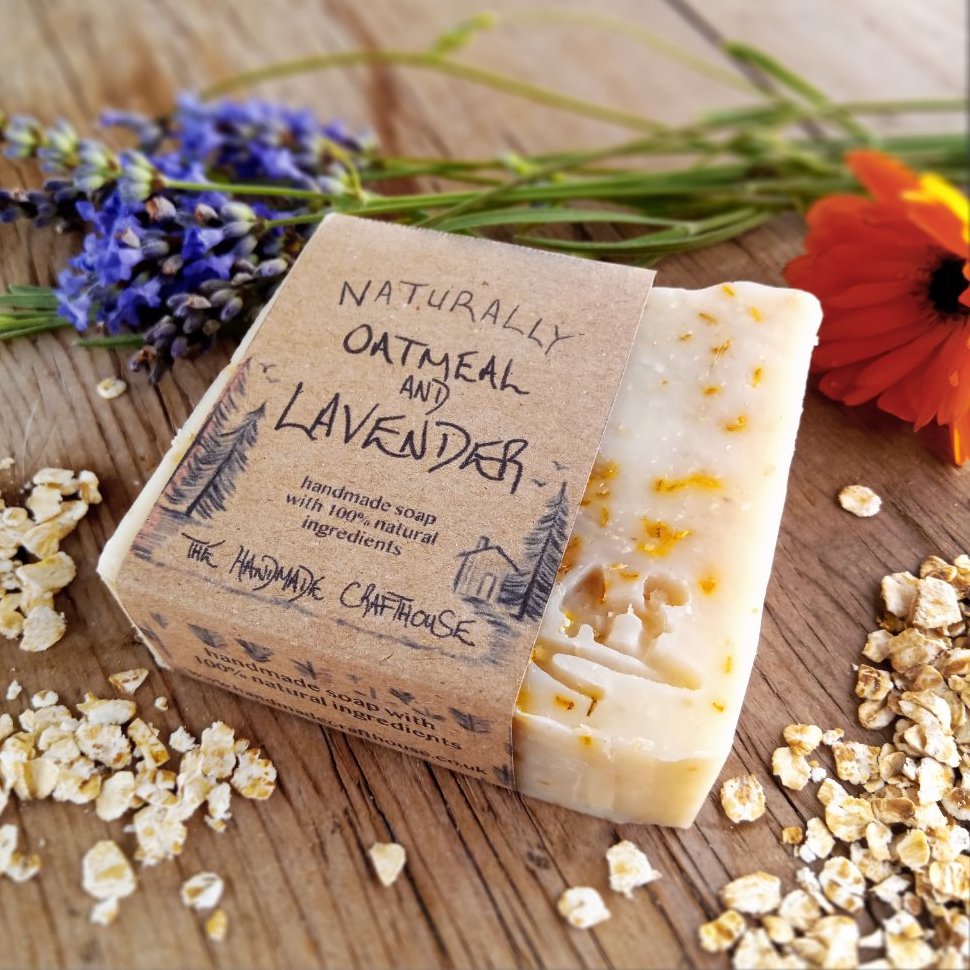
Scents are a key element in hand made soap. They can create a mood or evoke memories. When selecting scents, consider these points:
- Natural vs. Synthetic: You can choose essential oils for a natural scent or fragrance oils for a wider variety of options.
- Potency: Essential oils are potent. A few drops often do the trick. Fragrance oils might need more. Always measure carefully.
- Preferences: Think about who will use the soap. Choose scents that you or your potential customers prefer.
- Purpose: Some scents have therapeutic benefits. For example, lavender is calming, and peppermint is refreshing.
Remember, scents should be pleasing and not overpowering. Stick to recommended usage rates to avoid skin irritation.
Adding Colors to Your Soaps
Colors can turn a plain bar into a work of art. Here’s how to add them:
- Colorants: You have options like natural clays, micas, or lab-made colorants. Each has its own effect.
- Experiment: Test colors in small batches. Some colorants change when mixed with lye.
- Intensity: Adjust the amount of colorant to achieve the shade you desire—from subtle to bold.
- Safety: Ensure your colorants are safe for skin use. Not all pigments are suitable for soaps.
With scents and colors, your hand made soaps become not just cleansers, but an experience. A gentle swirl of color or a hint of your favorite scent makes bathing with your artisan soap a special moment. Enjoy the process of experimenting with different combinations to develop your signature soap.
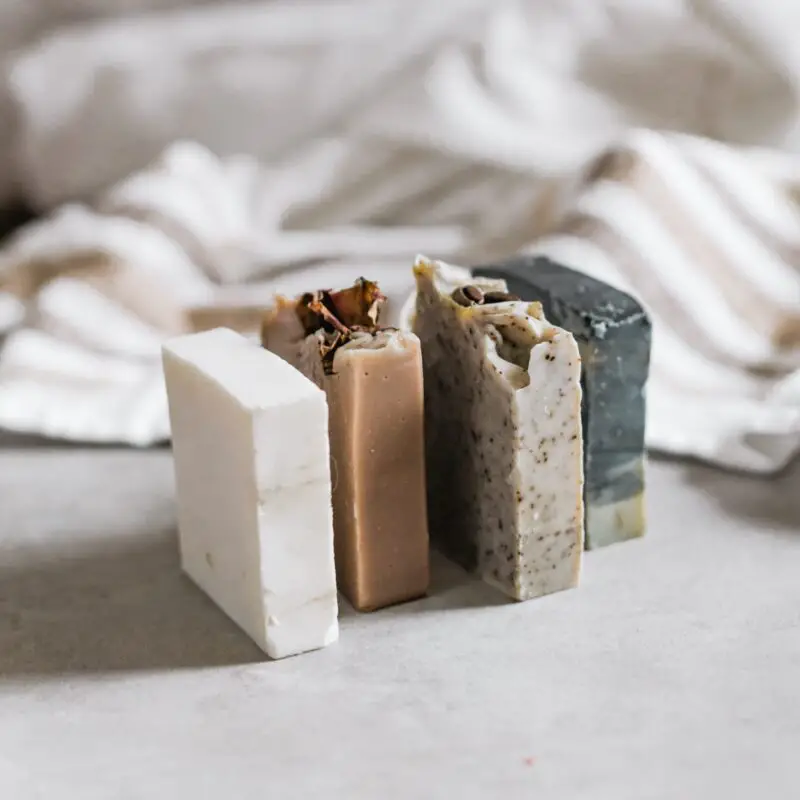
Decorative Techniques for Unique Soaps
After learning to make basic hand made soap, it’s time to get creative. Here are some decorative methods:
- Layering: Pour soap base in stages and let each one set slightly before adding the next to create layers.
- Embedding: Place objects like small toys or dried flowers into the soap base before it sets for a surprise inside.
- Swirling: Use a skewer or chopstick to swirl different colored soap mixtures together for a marbled effect.
- Stamping: Once your soap has set, but is still somewhat soft, you can press a stamp into it to create an embossed design.
- Texturing: While the soap is still soft, create peaks, waves, or other textures on the surface using a spoon or spatula.
Practicing these techniques can make your hand made soap stand out. Remember, each method might take a few tries to perfect. Have fun and let your creativity flow!
Safety Precautions for Handmade Soap Making
When diving into hand made soap making, safety should always be your top priority. It’s important to treat the process with respect, especially when working with substances like lye. Here are crucial safety steps to follow:
- Understand Lye Safety: Lye is caustic and can cause serious burns. Learn how to handle it properly.
- Wear Protective Gear: Always use gloves, goggles, and long sleeves to protect your skin and eyes.
- Work in a Ventilated Area: Fumes from mixing lye and water can be harmful. Make sure there’s good airflow.
- Keep Vinegar Handy: Vinegar can neutralize lye spills. Have it ready in case of an accident.
- Strictly Follow Recipes: Accurate measurements prevent mishaps. Use a digital scale for precision.
- Label Your Materials: Clearly mark all your ingredients and tools. This avoids any dangerous mix-ups.
- Store Materials Safely: Keep lye and other soap-making supplies out of reach of children and pets.
- Dispose of Waste Properly: Never pour lye water down the sink without correct dilution.
Keeping these safety precautions in mind, you’ll create a secure environment for crafting your hand made soap. Safety is not just a practice, but a responsibility to ensure a joyful and accident-free soap making experience.
Selling Your Handcrafted Soaps: Tips and Best Practices
Turning your hand made soap hobby into a business can be thrilling. To succeed in selling your artisan soaps, consider these tips and practices.
- Know Your Market: Understand who wants to buy your soaps. Tailor your products to meet their needs.
- Pricing Strategically: Set competitive prices. Cover your costs and pay yourself for your time.
- Branding is Key: Create a unique brand. Your soap’s packaging should catch the eye.
- Legal Compliance: Make sure you follow local laws for selling cosmetics. Label your soaps correctly.
- Online Presence: Set up a website or online store. Use social media to reach more customers.
- Craft Fairs and Markets: Sell your soaps locally at fairs and farmers markets. Meeting customers face-to-face can build loyalty.
- Quality Photos: Post clear, attractive photos of your soaps. Online shoppers rely on images to make buying decisions.
- Customer Service: Offer excellent customer service. Respond to questions and address issues promptly.
- Collect Feedback: Listen to customers. Their feedback can help you improve your product.
- Stay Inspired: Keep creating new scents and designs. A fresh variety keeps customers interested.
By following these tips, you can build a strong foundation for your hand made soap business. Keep learning and adapting your strategies as you grow.