Evolution of Hand Soap
Hand soap has journeyed through many forms and formulations. From the early days of bar soaps to liquid hand soaps, we’ve seen a shift in preferences and technology. In recent years, however, powdered hand soap is making a notable comeback. This resurgence sparks curiosity about its evolution.
Early Beginnings of Hand Soaps
Initially, hand cleaning relied on basic bar soaps, made from fats and lye. They were effective but basic, lacking in variety and sophistication. As hygiene awareness grew, so did the desire for better and more convenient options.
The Rise of Liquid Hand Soaps
With advancements in chemistry, liquid soaps gained popularity. They offered ease of use and came with a plethora of scents and added moisturizers. Liquid hand soaps soon became the norm in households and public facilities, almost making bar soaps obsolete.
Powdered Hand Soap’s Historical Use
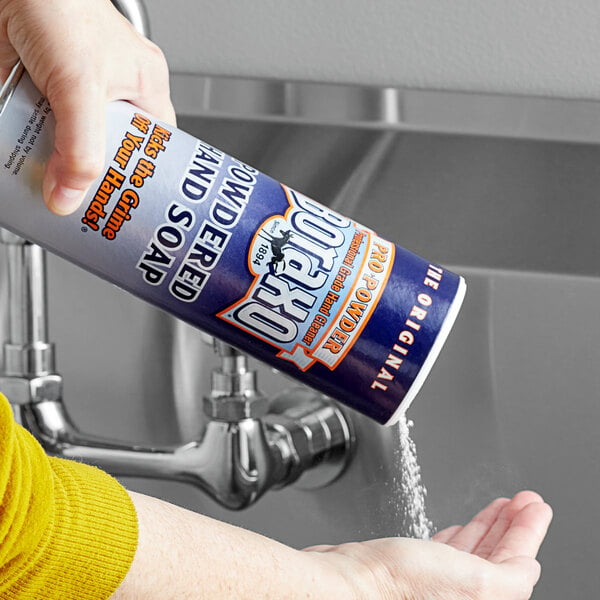
Powdered hand soap isn’t new; it has roots in history. Before the widespread use of liquid soap, powdered options were common. They provided a simple, effective clean but eventually stepped back when liquid formulations took over.
Reintroduction in the Modern Era
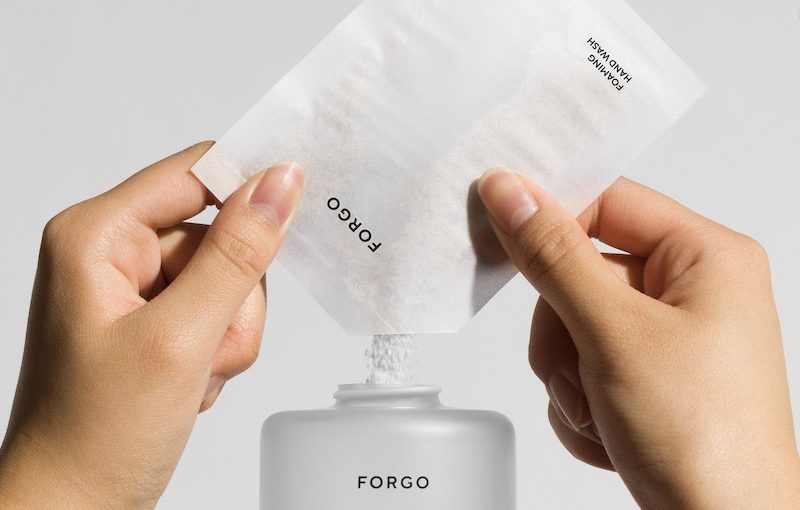
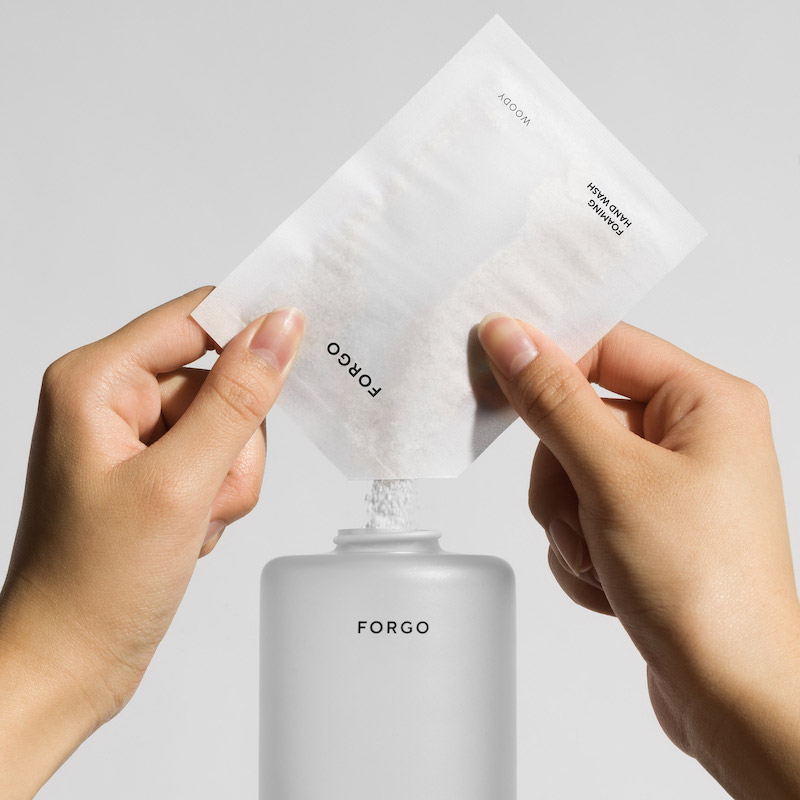
The reintroduction of powdered hand soap speaks to a blend of nostalgia and innovation. Brands are reinventing this classic form by infusing modern scents, skin-friendly ingredients, and sustainable packaging.
Current Trends Shaping a Comeback
As consumer behaviors shift towards eco-friendly and minimal waste products, powdered hand soap is returning as a fresh solution. It aligns with the growing trend of reducing plastic usage and offering a more concentrated product, which has less environmental impact than its liquid counterpart. The wheel of soap evolution is turning, and powdered hand soaps are riding the wave back into mainstream use.

Reasons Behind the Resurgence of Powdered Hand Soap
The return of powdered hand soap in 2025 has caught attention for several reasons. Let’s explore the driving factors behind this resurgence.
Eco-Friendliness
One major reason is eco-friendliness. Powdered hand soap often uses less plastic packaging compared to liquid soap. This appeals to eco-conscious consumers wanting to reduce their plastic waste. With a push for environmental sustainability, more people choose products with a smaller carbon footprint.
Cost-Effectiveness
Powdered hand soap can be more cost-effective. It’s concentrated, so a little goes a long way. This means buyers get more uses out of a single package, which saves money over time.
Travel Convenience
People on the go prefer powdered hand soap for its travel convenience. Since it’s not a liquid, it easily passes through airport security. This makes it a hassle-free option for travelers.
Novelty and Nostalgia
The novelty factor also plays a role. New generations are discovering powdered hand soap as a fresh option. Meanwhile, older generations may feel nostalgia for a product they used in the past.
Innovation and Quality
Powdered hand soap has seen innovative updates. Brands have improved scents, skin conditioning properties, and sustainability. These quality improvements make it more attractive to the modern consumer.
Conclusively, powdered hand soap’s comeback stems from environmental awareness, cost savings, travel ease, and the combined appeal of novelty and quality improvements.
Benefits of Using Powdered Hand Soap
Powdered hand soap is becoming a preferred choice for many, and it’s not without reason. Its benefits range from being eco-friendly to user convenience, here’s why it stands out:
Gentle on Skin
Powdered hand soap often contains fewer additives than its liquid counterparts. This means less risk of skin irritation for users.
Long-lasting
With a concentrated formula, powdered hand soaps last longer. You use a small amount each time, extending the life of each package.
Minimalist Packaging
The packaging for powdered hand soap is typically more minimalist. This means reduced waste and a smaller environmental footprint.
Cost Savings
Since it’s concentrated, powdered soap offers more washes per unit. This translates to more savings over time.
Easy to Store
Its compact nature makes storage a breeze. Powdered hand soap takes up less space in cabinets and on counters.
Less Mess
No risk of spills or drips makes powdered hand soap a cleaner option.
Opting for powdered hand soap not only supports sustainability but also offers practical benefits for the consumer. Its continued rise in popularity is a testament to its advantageous use and eco-conscious appeal.
Environmental Impact of Powdered vs. Liquid Soap
As we weigh the benefits of powdered hand soap, its environmental impact stands out. Here’s a closer look at how powdered soap edges out liquid soap in terms of eco-friendliness.
Reduced Plastic Packaging
Powdered hand soap typically comes in paper or cardboard packaging. These materials are recyclable and biodegradable. Liquid soap often uses plastic bottles that contribute to waste and pollution.
Lower Carbon Footprint
Producing powdered soap requires less energy. It’s lighter and smaller, which reduces transportation emissions. In contrast, liquid soap’s heavier weight and bulk add to its carbon footprint.
Water Conservation
The concentrated nature of powdered soap saves water. It only uses water at the point of use. Liquid soap, however, includes water in its formulation, leading to higher consumption during production.
Less Waste
Users measure the amount of powdered soap needed, which reduces wastage. With liquid soap, it’s easy to dispense more than needed, leading to faster depletion and more frequent purchases.
Chemical Usage
Powdered hand soaps may have a simpler ingredient list with fewer chemicals. This can reduce environmental harm when the product goes down the drain. Liquid soaps can contain more complex chemicals that are harder on ecosystems.
Choosing powdered hand soap over liquid can significantly impact the environment. It leads to less plastic use, lower greenhouse gas emissions, water conservation, minimal waste, and potentially less chemical pollution. These factors make powdered soap an environmentally sound choice that aligns with the green values of modern consumers.
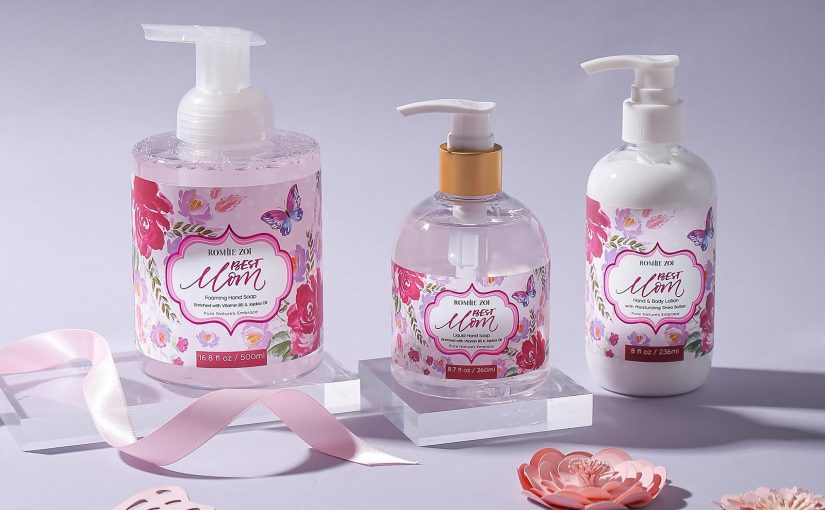
Popular Brands Leading the Powdered Hand Soap Revival
As powdered soap gains momentum in 2025, some brands stand out. They lead the charge with innovative products that resonate with consumers. These brands have mastered the art of blending tradition with modernity. Their offerings showcase enhanced scents, high-quality ingredients, and eco-conscious packaging.
Embracing Tradition with a Modern Twist
In reviving powdered hand soap, top brands hinge on consumers’ love for tradition. They evoke memories of simpler times while delivering high-performance cleaning. These brands have reworked classic formulas to cater to today’s needs. They focus on natural ingredients that promise to be gentle on skin.
Eco-Conscious Packaging Innovations
Eco-friendly packaging is a hallmark of these leading brands. They opt for paper or cardboard that consumers can recycle or compost. This move strikes a chord with those looking to reduce plastic waste.
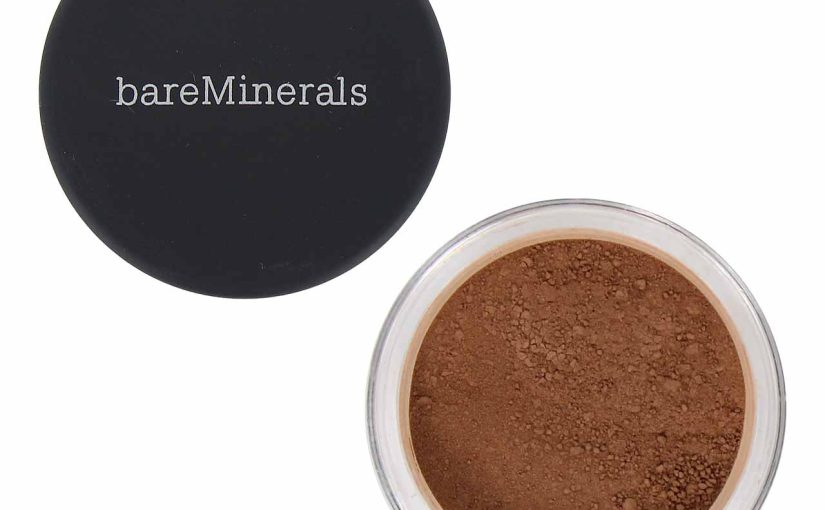
Prioritizing Skin Health
Many popular brands highlight their commitment to skin health. Their powdered hand soaps boast minimal additives. This aligns with a growing consumer preference for purity and safety in skincare.
A Refreshing Range of Scents
Gone are the days of unscented, utilitarian powdered soaps. Now, brands are infusing their products with a variety of pleasant aromas. This adds an element of personal indulgence to the hand-washing experience.
Affordability and Accessibility
Despite these advancements, leading brands ensure their powdered hand soaps remain affordable. They aim to make sustainable options accessible to a wide audience. By doing so, they solidify their position in the market and drive the product’s resurgence.
In summary, these popular brands capitalize on innovation while honoring the past. They leverage eco-friendly approaches and consumer-centric developments. This positions them as the forerunners in the powdered soap revival.
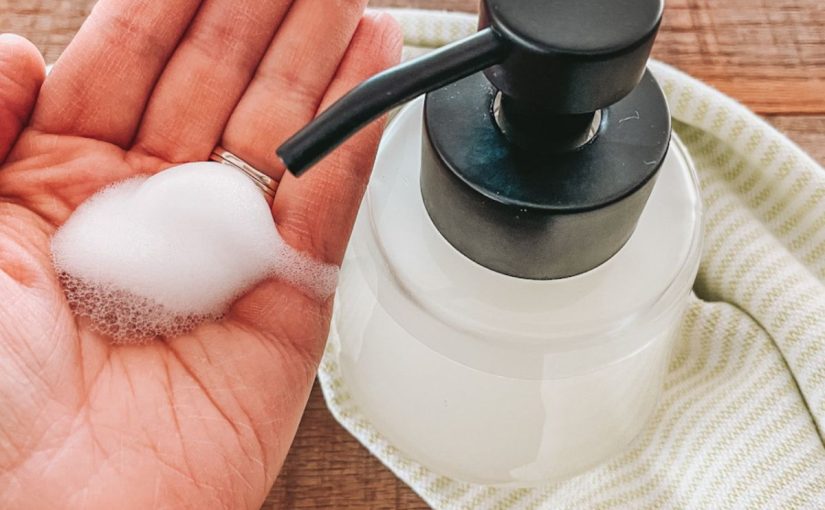
How to Use Powdered Hand Soap Effectively
To get the most out of powdered hand soap, follow these simple steps. First, wet your hands with water. Next, sprinkle a small amount of the soap onto your palm. Then, rub your hands together to create a lather. Once you have a good foam, scrub all parts of your hands for at least 20 seconds. After scrubbing, rinse your hands under clean water. Finally, dry them with a towel or air dryer.
Step-by-Step Instructions
- Wet hands: Run hands under water.
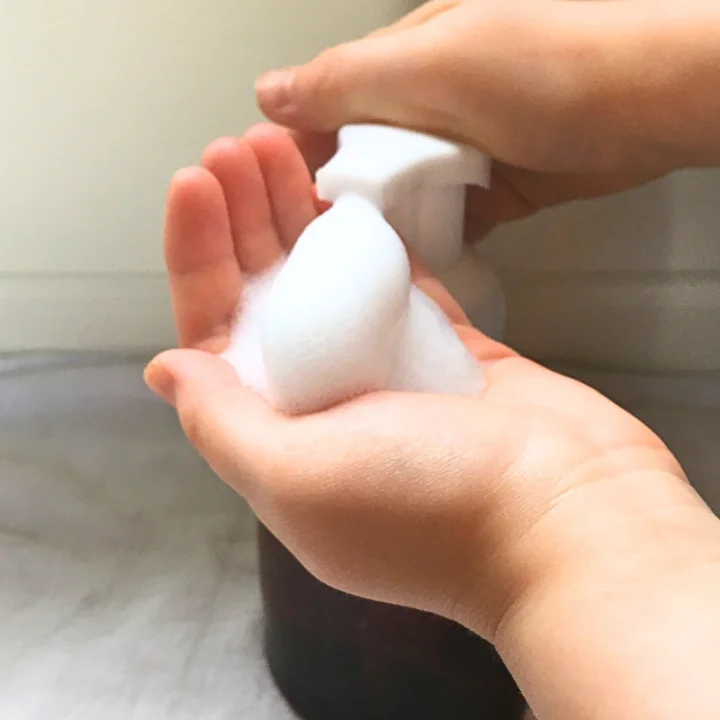
- Apply soap: Sprinkle powdered hand soap on one hand.
- Lather:: Rub hands together to create foam.
- Scrub: Clean for 20 seconds, including nails and between fingers.
- Rinse: Use clean water to wash the soap away.
- Dry: Pat hands with a towel or use an air dryer.
Tips for Effective Use
- Use warm water to improve lather formation.
- Only use as much soap as needed to reduce waste.
- Make sure to store the soap in a dry place to prevent clumping.
- If available, use a shaker container for controlled dispensing.
By following these steps and tips, you’ll ensure effective cleaning, which can protect you from germs and bacteria. Powdered hand soap is not only eco-friendly but also efficient when used properly. Remember these guidelines next time you reach for powdered soap. This way, you uphold hygiene while supporting environmental sustainability.
Consumer Preferences: Powdered Soap in the Digital Age
The digital age shapes how we choose and use products, including powdered hand soap. Here’s how consumer preferences are shifting:
Ease of Online Shopping
Online shopping makes buying powdered soap easy. Consumers can find and order a variety with a few clicks. They enjoy doorstep delivery and hassle-free experiences.
Social Media Influence
Social media impacts buying decisions. Users see influencers promote powdered soaps and want to try them. Brands that engage customers online see better sales.
Reviews and Ratings
Shoppers rely on reviews and ratings. A product with high ratings gains trust quickly. Powdered hand soaps with positive feedback become the go-to choice.
Personalized Marketing
Data analytics allows for personalized ads. Consumers see hand soap options that match their interests. Personalized marketing helps brands connect with potential buyers.
Subscription Services
Subscription services offer convenience. Customers get regular deliveries of their favorite powdered hand soap. This saves them time and keeps them stocked.
These preferences highlight the importance of an online presence for brands. They must understand and meet the needs of the modern, connected consumer. Digital strategies drive the success of powdered hand soap in the digital age.
Future Trends in Hand Hygiene Products
With an increasing focus on sustainability and technology, future trends in hand hygiene are shaping up. Consumers are likely to see more innovative products that cater to eco-friendly practices and digital convenience.
Sustainable Ingredients and Packaging
The eco-friendly wave will continue to influence ingredients and packaging. Expect to see hand soaps with natural, biodegradable elements and zero-waste packaging.
Smart Dispensers
Next-gen soap dispensers may feature touchless technology. Sensors could deliver a precise amount of soap, minimizing waste and increasing efficiency.
Advancements in Formula
Soap formulas will likely become more concentrated. This means smaller packaging, reduced shipping impact, and longer-lasting products.
Refill Culture
There will be a push towards refill stations for hand soaps, reducing the need for new containers. This aligns with the minimal waste ethos driving the resurgence of powdered soap.
Personalization
Customized soap options could become popular. Users might select specific scents or skin care benefits that suit their unique needs.
In considering these trends, it’s clear that innovation and sustainability will continue to steer the hand hygiene market. Consumer demand for products like powdered hand soap, that balance convenience with environmental concerns, will influence the development of next-generation hand soaps. Marketers and product developers will need to keep a close eye on these trends to stay ahead in the changing landscape of hand hygiene.